
Comprehensive Guide to Chrome Extension Notifications
Enhancing User Experience with Rich Browser Notifications
Key Takeaways
- Powerful API Integration: Utilize the
chrome.notificationsAPI to create versatile and interactive notifications. - Best Practices: Implement user-centric practices such as obtaining consent and ensuring notification relevance to enhance user satisfaction.
- Advanced Features: Leverage advanced functionalities like scheduled notifications and custom templates to provide a dynamic user experience.
1. Introduction to Chrome Extension Notifications
Chrome Extension Notifications provide developers with the ability to send rich, interactive notifications to users directly through the Chrome browser. These notifications can appear in the system tray and can include various elements such as text, images, and action buttons, enabling extensions to communicate timely and relevant information even when not actively in use.
1.1 Understanding the chrome.notifications API
The chrome.notifications API is a powerful tool that allows developers to create and manage notifications within Chrome extensions. By utilizing predefined templates, developers can design notifications that are not only informative but also engaging. Key components of a notification include:
- Title: A concise heading that captures the essence of the notification.
- Message: Detailed content providing the main information.
- Icon: Visual representation that accompanies the notification, enhancing recognition.
- Buttons: Interactive elements that allow users to take actions directly from the notification.
To enable the use of this API, the "notifications" permission must be declared in the extension's manifest.json file.
2. Implementing Notifications in Your Chrome Extension
Creating notifications involves several steps, from setting up permissions to handling user interactions. Below is a detailed step-by-step guide to implementing notifications effectively.
2.1 Step 1: Declaring Permissions
The first step in enabling notifications is to declare the necessary permissions in the manifest.json file of your extension. This ensures that your extension has the authority to display notifications to the user.
{
  "name": "My Extension",
  "version": "1.0",
  "manifest_version": 3,
  "permissions": ["notifications"]
}
For Manifest V3, it's also recommended to declare background scripts if your notifications are managed through service workers:
{
  "background": {
    "service_worker": "background.js"
  }
}
2.2 Step 2: Creating a Notification
Once permissions are set, you can create a notification using the chrome.notifications.create method. This method requires specific parameters to define the appearance and behavior of the notification.
chrome.notifications.create({
  type: "basic",
  iconUrl: "icon.png",
  title: "Hello!",
  message: "This is a notification from your Chrome extension."
});
In this example:
typespecifies the type of notification.iconUrlpoints to the icon displayed in the notification.titleis the heading of the notification.messagecontains the main content.
2.3 Step 3: Handling Notification Events
To make notifications interactive, you can listen for various events such as clicks or button presses. This allows your extension to respond appropriately when a user interacts with the notification.
// Listening for notification clicks
chrome.notifications.onClicked.addListener((notificationId) => {
  console.log("Notification clicked:", notificationId);
  // Perform action, e.g., open a tab
  chrome.tabs.create({ url: 'https://www.example.com' });
});

// Listening for button clicks
chrome.notifications.onButtonClicked.addListener((notificationId, buttonIndex) => {
  console.log("Button clicked:", notificationId, buttonIndex);
  // Perform corresponding action based on buttonIndex
});
2.4 Step 4: Including Notification Assets
Ensure that all assets used in notifications, such as icons or images, are included in your extension package. These assets should be declared in the web_accessible_resources section of the manifest.json to be accessible by the notifications.
"web_accessible_resources": [
  {
    "resources": ["icon.png"],
    "matches": ["<all_urls>"]
  }
]
3. Advanced Features of Chrome Notifications
Beyond basic notifications, the chrome.notifications API offers several advanced features that can enhance the functionality and user engagement of your extensions.
3.1 Scheduled Notifications
Using the chrome.alarms API, you can schedule notifications to appear at specific times or intervals. This is particularly useful for reminders or regular updates.
// Creating a daily alarm to trigger notifications
chrome.runtime.onInstalled.addListener(() => {
  chrome.alarms.create('dailyNotification', { delayInMinutes: 1, periodInMinutes: 1440 });
});

chrome.alarms.onAlarm.addListener((alarm) => {
  if (alarm.name === 'dailyNotification') {
    chrome.notifications.create('', {
      type: 'basic',
      iconUrl: 'icon.png',
      title: 'Daily Reminder',
      message: 'This is your daily notification!',
      priority: 2
    });
  }
});
3.2 Custom Notification Templates
The API supports various notification templates such as image, list, and progress, allowing for more complex and informative notifications.
chrome.notifications.create('imageNotification', {
  type: 'image',
  iconUrl: 'icon.png',
  title: 'Image Notification',
  message: 'Here is an image for you!',
  imageUrl: 'https://www.example.com/image.jpg'
});
3.3 Action Buttons
Adding buttons to notifications provides users with direct actions they can take without navigating away from their current context.
chrome.notifications.create('buttonNotification', {
  type: 'basic',
  iconUrl: 'icon.png',
  title: 'Action Required',
  message: 'Please take an action.',
  buttons: [
    { title: 'Accept' },
    { title: 'Decline' }
  ]
});

// Handling button clicks
chrome.notifications.onButtonClicked.addListener((notificationId, buttonIndex) => {
  if (notificationId === 'buttonNotification') {
    if (buttonIndex === 0) {
      console.log('User accepted.');
      // Handle acceptance
    } else if (buttonIndex === 1) {
      console.log('User declined.');
      // Handle decline
    }
  }
});
4. Best Practices for Chrome Extension Notifications
To ensure that notifications enhance rather than detract from the user experience, it is essential to follow best practices in their implementation.
4.1 User Consent
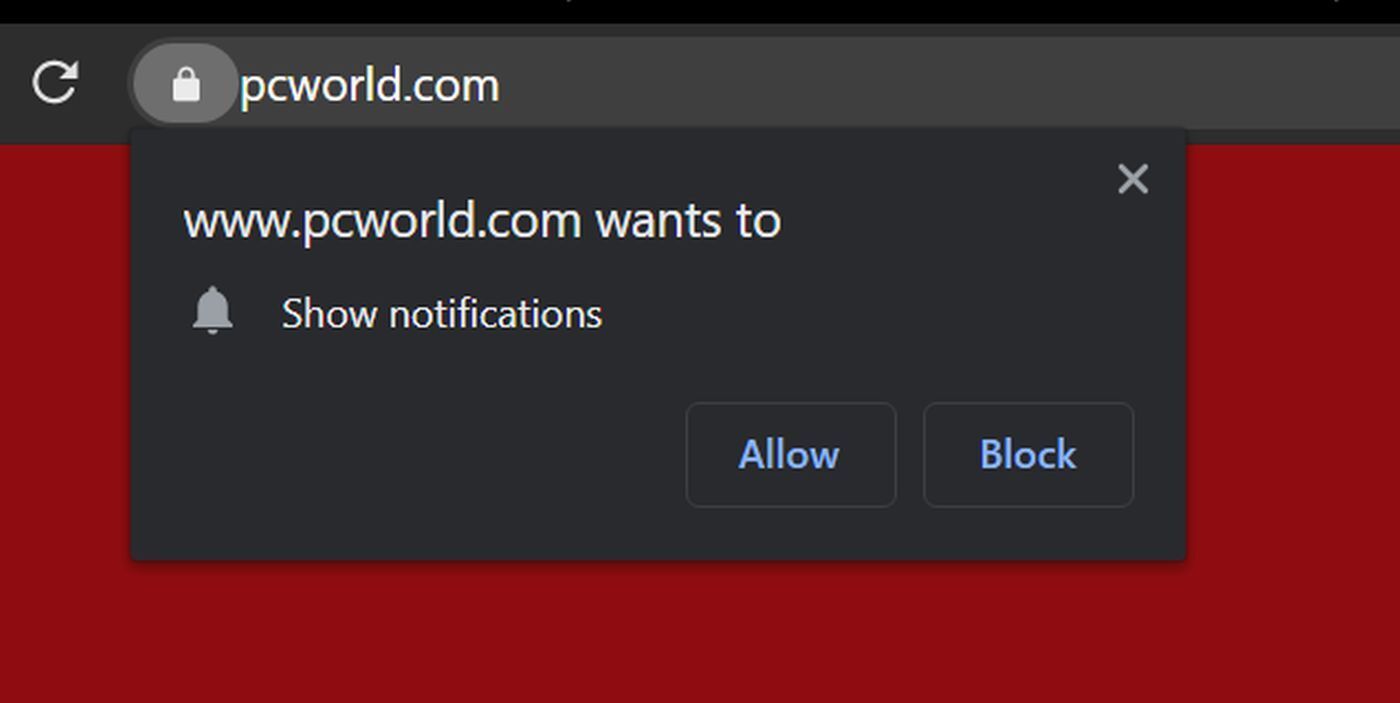
Always seek explicit permission from users before sending notifications. This can be done during the extension's installation process or through a settings page where users can opt-in.
// Checking and requesting notification permission
if (Notification.permission !== 'granted') {
  Notification.requestPermission().then(permission => {
    if (permission === 'granted') {
      // Permission granted
    }
  });
}
4.2 Relevance and Timing
Send notifications only when they are necessary and relevant to the user to avoid annoyance. Ensure that the timing of notifications aligns with the user's expectations and context.
4.3 Clear and Concise Messaging
Use clear and concise titles and messages to effectively communicate the purpose of the notification. Avoid overly verbose or ambiguous content that may confuse users.
4.4 Testing Across Platforms
Test notifications across different operating systems and devices to ensure compatibility and consistent user experiences. This helps in identifying and resolving any platform-specific issues.
5. Structuring Your Extension for Notifications
A well-structured Chrome extension ensures efficient management and scalability of notifications. Below is an example of how to organize your extension’s files and configurations.
5.1 Example manifest.json Structure
{
  "name": "Notification Example",
  "description": "A Chrome extension example for notifications",
  "version": "1.0",
  "manifest_version": 3,
  "permissions": ["notifications", "alarms"],
  "background": {
    "service_worker": "background.js"
  },
  "action": {
    "default_popup": "popup.html"
  },
  "web_accessible_resources": [
    {
      "resources": ["icon.png"],
      "matches": ["<all_urls>"]
    }
  ]
}
5.2 Example background.js Implementation
// background.js

// Listener for extension installation
chrome.runtime.onInstalled.addListener(() => {
  createNotification('Welcome', 'Thank you for installing our extension!');
  setupDailyAlarm();
});

// Function to create a notification
function createNotification(title, message) {
  chrome.notifications.create('', {
    type: 'basic',
    iconUrl: 'icon.png',
    title: title,
    message: message,
    priority: 2
  }, (notificationId) => {
    console.log('Notification created with ID:', notificationId);
  });
}

// Setting up a daily alarm
function setupDailyAlarm() {
  chrome.alarms.create('dailyNotification', { delayInMinutes: 1, periodInMinutes: 1440 });

  chrome.alarms.onAlarm.addListener((alarm) => {
    if (alarm.name === 'dailyNotification') {
      createNotification('Daily Reminder', 'This is your daily reminder!');
    }
  });
}

// Handling notification clicks
chrome.notifications.onClicked.addListener((notificationId) => {
  console.log('Notification clicked:', notificationId);
  chrome.tabs.create({ url: 'https://www.example.com' });
});
6. Advanced Structuring with Tables
Understanding the different types of notifications and their features can help in selecting the most appropriate one for your extension's needs. The table below summarizes the various notification types supported by the chrome.notifications API.
| Notification Type | Description | Use Case |
|---|---|---|
| Basic | Simple notification with title, message, and icon. | General alerts and updates. |
| Image | Includes an image alongside the basic notification elements. | Displaying visual content or previews. |
| List | Displays a list of items within the notification. | Presenting multiple pieces of related information. |
| Progress | Shows a progress bar indicating the completion status of a task. | Tracking download or upload progress. |
7. Enhancing Notifications with Code Examples
Implementing robust notifications requires understanding various code implementations. Here are additional code snippets to illustrate advanced features.
7.1 Progress Notification Example
Displaying a progress bar within a notification can inform users about ongoing processes.
// Creating a progress notification
chrome.notifications.create('progressNotification', {
  type: 'progress',
  iconUrl: 'icon.png',
  title: 'Download in Progress',
  message: 'Downloading your file...',
  progress: 0
});

// Updating the progress
let progress = 0;
let interval = setInterval(() => {
  progress += 10;
  chrome.notifications.update('progressNotification', { progress: progress });

  if (progress >= 100) {
    clearInterval(interval);
    chrome.notifications.update('progressNotification', { message: 'Download Complete!', progress: 100 });
  }
}, 1000);
7.2 List Notification Example
Displaying a list within a notification can effectively convey multiple related items.
// Creating a list notification
chrome.notifications.create('listNotification', {
  type: 'list',
  iconUrl: 'icon.png',
  title: 'Task List',
  message: 'Here are your pending tasks:',
  items: [
    { title: 'Task 1', message: 'Description for task 1' },
    { title: 'Task 2', message: 'Description for task 2' },
    { title: 'Task 3', message: 'Description for task 3' }
  ]
});
8. Ensuring Compatibility and Testing
To provide a seamless user experience, it is crucial to test notifications across various environments and handle potential issues gracefully.
8.1 Cross-Platform Testing
Different operating systems may render notifications differently. Testing on Windows, macOS, Linux, and Chrome OS ensures uniform functionality.
8.2 Handling Creation Errors
Implement error handling to manage scenarios where notification creation might fail, such as missing assets or permission issues.
// Handling notification creation errors
chrome.notifications.create('', notificationOptions, (notificationId) => {
  if (chrome.runtime.lastError) {
    console.error('Notification creation failed:', chrome.runtime.lastError);
  } else {
    console.log('Notification created with ID:', notificationId);
  }
});
9. Summary and Conclusion
Implementing notifications in Chrome extensions can significantly enhance user engagement and provide timely information. By leveraging the chrome.notifications API, developers can create rich, interactive notifications tailored to user needs. Adhering to best practices ensures that notifications are both effective and respectful of user preferences, thereby fostering a positive user experience.
9.1 Recap of Essential Steps
-
Declare the necessary permissions in the
manifest.jsonfile. -
Utilize the
chrome.notifications.createmethod to design and display notifications. -
Handle user interactions through event listeners to respond to notification clicks and button presses.
-
Implement advanced features like scheduling and custom templates to provide a dynamic experience.
-
Follow best practices to ensure notifications are relevant, clear, and user-friendly.
References
Implementing notifications can significantly enhance the functionality and user engagement of your Chrome extension. By following the guidelines and best practices outlined in this guide, you can create effective and user-friendly notifications that add real value to your extension.
Last updated January 21, 2025