
How to Clean a Window
Achieve Crystal Clear Views with Expert Window Cleaning Techniques
Key Takeaways
- Optimal Timing and Conditions: Clean windows on overcast days to prevent streaks caused by rapid drying.
- Essential Tools and Solutions: Utilize the right combination of cleaning agents and tools, such as microfiber cloths and squeegees, for streak-free results.
- Comprehensive Cleaning Process: Follow a systematic approach that includes preparation, cleaning both frames and glass, and proper drying techniques.
Introduction
Clean windows not only enhance the aesthetic appeal of your home or office but also improve the amount of natural light entering the space, creating a more inviting environment. Achieving spotless, streak-free windows requires a combination of proper techniques, the right tools, and effective cleaning solutions. This comprehensive guide will walk you through each step of the window cleaning process, ensuring you attain crystal clear results every time.
Preparation for Window Cleaning
1. Choose the Right Time and Weather
Timing and environmental conditions play a crucial role in the effectiveness of window cleaning. It is advisable to clean your windows on a cloudy or overcast day. Direct sunlight can cause the cleaning solution to dry too quickly, leading to streaks and spots that mar the glass's clarity.
2. Gather Your Supplies
Having all the necessary tools and materials on hand before you begin will streamline the cleaning process and ensure thorough results. Here's a checklist of essential items:
- Microfiber cloths or lint-free rags
- Squeegee (preferably with a high-quality rubber blade)
- Bucket
- Mild dish soap (such as Dawn)
- White vinegar
- Warm water
- Sponge or scrubber
- Soft-bristled brush or vacuum for frames and sills
- Old newspapers (optional, for drying and polishing)
- Extension pole (for high or hard-to-reach windows)
- Ventipuncture sponge (optional, for detailed cleaning)
3. Prepare the Cleaning Solution
Effective cleaning solutions can make a significant difference in the outcome. You have several options to choose from:
- Vinegar Solution: Mix 1 gallon of warm water with 1/8 teaspoon of dish soap and 1/8 to 1/4 cup of white vinegar. The vinegar helps cut through grime and leaves glass streak-free.
- Dish Soap Solution: Combine a few drops of mild dish soap with warm water for a gentle yet effective cleaner.
- Commercial Glass Cleaner: Alternatively, use a high-quality commercial glass cleaner if you prefer a ready-made solution.
Step-by-Step Window Cleaning Process
1. Initial Cleanup
Begin by removing any dust, dirt, and debris from the window frames, tracks, and sills. This prevents dirt from being spread onto the glass during the cleaning process.
- Dusting: Use a vacuum with an appropriate attachment or a soft-bristled brush to eliminate dust and cobwebs from window frames and sills.
- Screen Cleaning: If applicable, remove window screens and wash them with warm, soapy water. Use a toothbrush to scrub away stubborn dirt, then rinse thoroughly and allow them to dry completely before reinstalling.
2. Cleaning the Window Frames
Maintaining clean window frames is essential for the overall appearance and function of the windows.
- Dip a sponge or cloth into the prepared cleaning solution and thoroughly wipe down the window frames. Focus on corners and edges where dirt tends to accumulate.
- For stubborn stains or mold, use a mixture of baking soda and vinegar applied with a toothbrush to gently scrub the affected areas.
3. Cleaning the Glass
The glass is the focal point of window cleaning. Achieving a streak-free shine requires careful application and proper technique.
- Applying the Cleaner: Spray the cleaning solution generously onto the glass surface. If using a sponge, dip it into the solution and apply it in a circular motion to loosen grime.
- Scrubbing: For heavily soiled windows, use a scrubber or a non-abrasive brush to remove stubborn spots without scratching the glass.
- Detailing: Use cotton swabs or a ventipuncture sponge to clean hard-to-reach corners and edges, ensuring no residue is left behind.
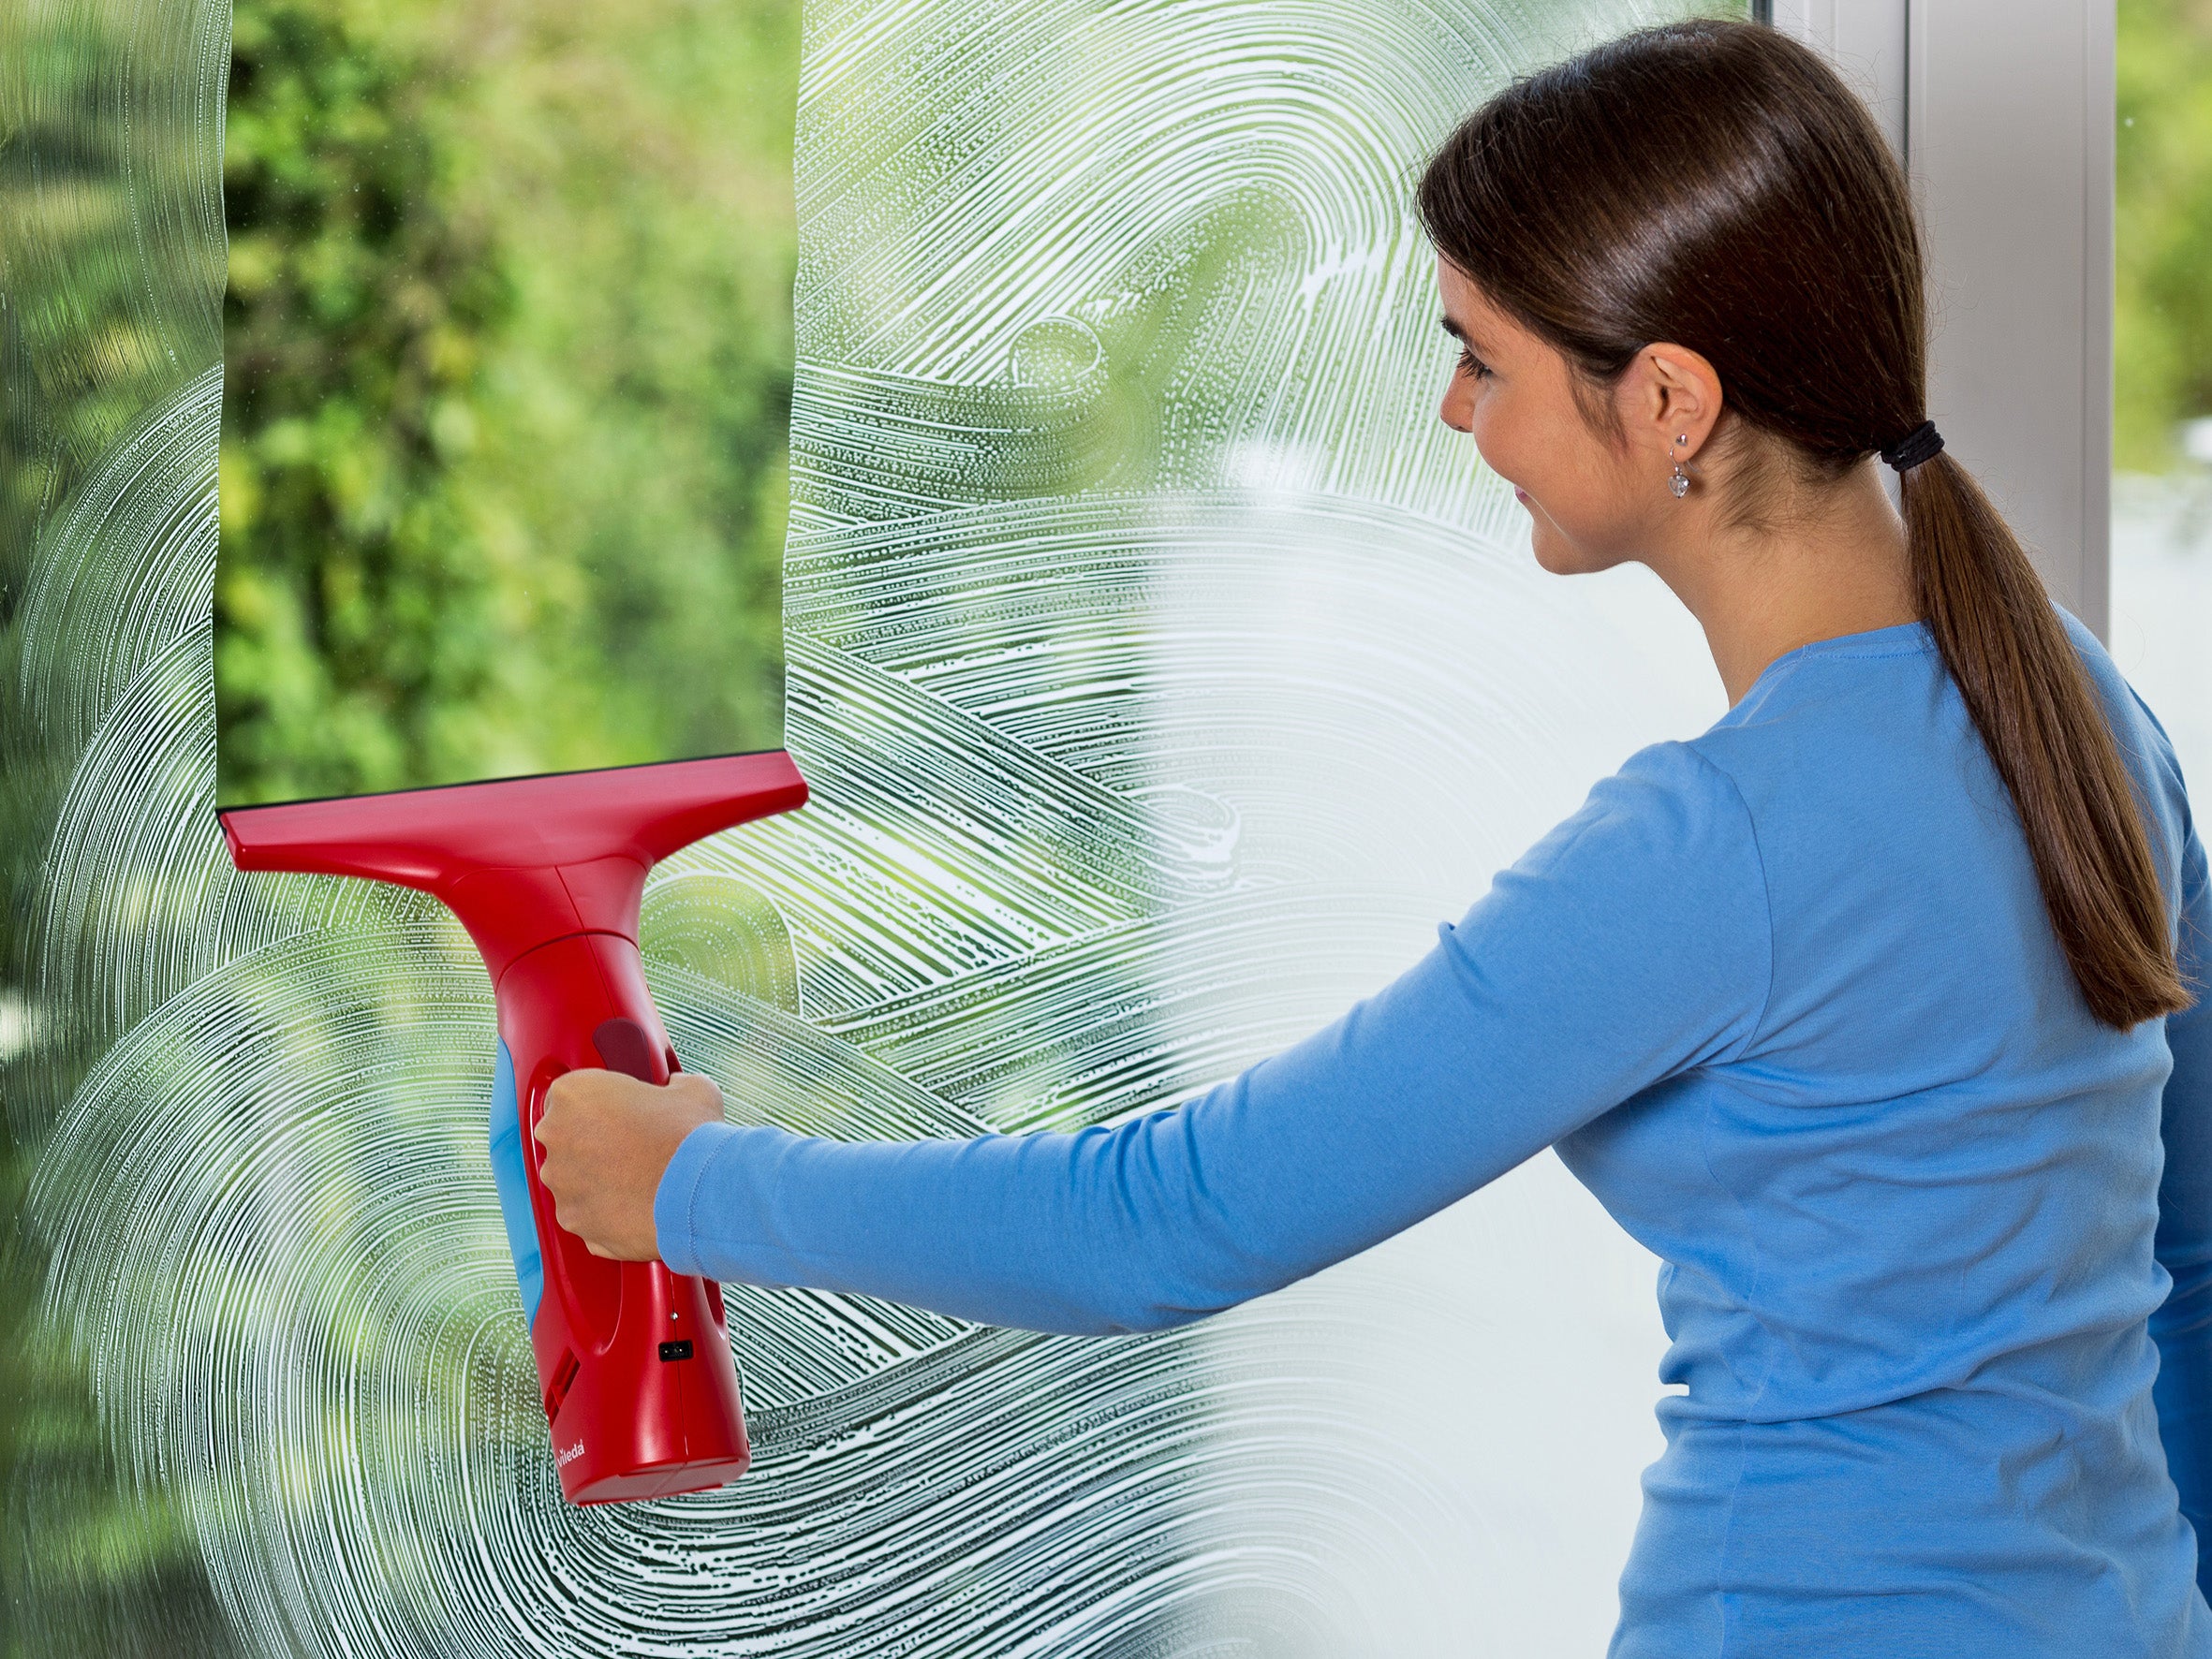
4. Using a Squeegee for a Streak-Free Finish
The squeegee is indispensable for drying the glass and preventing streaks.
- Starting Position: Begin at the top corner of the window. Place the squeegee at a slight angle against the glass.
- Movement: Pull the squeegee down in a straight, smooth motion, maintaining consistent pressure. Overlap each stroke slightly to cover the entire surface.
- Blade Maintenance: After each pass, wipe the squeegee blade with a clean, dry cloth to prevent transferring dirt back onto the glass.
- Alternative Technique: If a squeegee is unavailable, use a microfiber cloth to wipe the glass in an “S” pattern, ensuring even coverage and minimizing streaks.
5. Drying and Polishing
Proper drying ensures the removal of any remaining moisture and enhances the clarity of the glass.
- Use a dry microfiber cloth or old newspaper to buff the glass. This helps remove any residual streaks or water spots, leaving the window sparkling clean.
- For added shine, crumpled newspaper can be used to polish the glass after using the squeegee.
6. Cleaning Window Screens (If Applicable)
Clean screens improve the overall appearance and functionality of your windows.
- Remove the screens carefully to avoid damaging the frames.
- Wash them with a mixture of warm water and mild dish detergent, using a soft brush to scrub away dirt and debris.
- Rinse the screens thoroughly with clean water and allow them to air dry completely before reinstalling.
7. Repeat Cleaning for Both Sides
For a comprehensive clean, ensure that both the interior and exterior surfaces of the windows are addressed.
- Apply the same cleaning and drying techniques to the exterior side of the window. This ensures a uniform and spotless finish.
Advanced Tips for Superior Results
1. Optimize Your Tools
Investing in high-quality tools can significantly impact the quality of your window cleaning.
- Squeegee Quality: Choose a squeegee with a durable, high-quality rubber blade to ensure smooth, streak-free glides across the glass.
- Microfiber Cloths: Utilize premium microfiber cloths for wiping and polishing, as they are lint-free and highly absorbent.
- Extension Poles: For high or large windows, use an extension pole to reach elevated areas without the need for ladders, enhancing safety and efficiency.
2. Replace Squeegee Blades Regularly
Worn-out squeegee blades can cause uneven cleaning and leave marks on the glass. Regularly inspect and replace the blades to maintain optimal performance.
3. Implement a Two-Bucket System
Using two buckets—one for soapy water and another for rinsing your sponge or mop—helps prevent the redistribution of dirt and grime onto the windows.
4. Work from Top to Bottom
Always start cleaning from the top of the window and work your way down. This ensures that any drips or excess solution do not dirty the areas you've already cleaned.
5. Address Stubborn Spots Immediately
For persistent spots like paint splatters or sap, use a razor blade held at a low angle to gently scrape away the residue while the glass is still wet.
6. Clean Blinds and Curtains First
If your windows have blinds or curtains, clean them before the glass. This prevents dust and cleaning solutions from soiling the newly cleaned windows.
Safety Precautions
Maintaining safety during window cleaning is paramount, especially when dealing with high or large windows.
-
Use Stable Equipment: Ensure that ladders are sturdy and placed on flat, stable surfaces to prevent falls.
-
Handle Chemicals Carefully: Even mild cleaning solutions can cause irritation. Wear gloves and ensure good ventilation when using cleaning agents.
-
Work with a Partner: For high windows, having someone assist you can enhance safety and efficiency.
-
Avoid Overreaching: Use extension tools to reach high areas instead of stretching beyond your safe balance.
Final Recap
Cleaning windows may seem straightforward, but achieving a pristine, streak-free shine involves careful preparation, the right tools, and proper techniques. By following this comprehensive guide, you can ensure that your windows not only look clean but also contribute to a brighter and more welcoming space. Remember to prioritize safety, maintain your cleaning tools, and adopt a consistent cleaning routine to keep your windows in top condition throughout the year.
References
Last updated January 24, 2025