
Unlock Modern Browser Extension Development with Top Free Frameworks
Build powerful extensions faster using today's leading free, open-source tools and best practices.
Creating browser extensions has evolved significantly. While it's still possible to build them from scratch using core web technologies (HTML, CSS, JavaScript) and browser APIs, modern development often leverages specialized frameworks. These frameworks streamline the process, handle complex configurations, facilitate cross-browser compatibility, and integrate seamlessly with popular libraries like React and TypeScript. This guide focuses on the best free, actively maintained frameworks available today (as of May 04, 2025) to help you build your next browser extension efficiently.
Key Insights for Modern Extension Development
- Frameworks Accelerate Development: Tools like Plasmo, WXT, and crxjs automate setup, building, and even publishing, letting you focus on features.
- Manifest V3 is the Standard: Especially for Chrome, understanding and implementing Manifest V3 (which uses service workers instead of persistent background pages) is crucial. Frameworks often simplify this transition.
- Cross-Browser Compatibility is Easier: Many frameworks are designed with the WebExtensions API standard in mind, making it simpler to target Chrome, Firefox, Edge, and others with a single codebase.
Understanding the Foundation: WebExtensions API & Manifest Files
Before diving into frameworks, it's essential to understand the core components common to most browser extensions:
The WebExtensions API
This is a cross-browser standard for developing extensions, supported by major browsers like Google Chrome, Mozilla Firefox, Microsoft Edge, and partially by Apple Safari. It provides a common set of JavaScript APIs to interact with the browser, manage tabs, handle storage, modify web pages, and more. Building with this standard maximizes your extension's reach.
The Manifest File (manifest.json)
Every extension requires a manifest.json file in its root directory. This JSON file acts as the blueprint for your extension, containing critical metadata:
- Essential Information: Name, version, description.
- Permissions: Declares what browser features or websites the extension needs access to (e.g.,
storage,activeTab, specific URLs). Requesting only necessary permissions is vital for user trust and security. - Resource Definitions: Specifies icons, popup pages, options pages, etc.
- Script Declarations: Identifies background scripts (or service workers in Manifest V3), content scripts (injected into web pages), and their associated configurations (e.g., which pages content scripts run on).
Manifest V3: The New Standard
Google Chrome has transitioned to Manifest V3, which introduces significant changes primarily focused on security, privacy, and performance. Key changes include:
- Replacing persistent background pages with non-persistent Service Workers.
- Modifying how network request modifications work (using the declarativeNetRequest API).
- Restricting remotely hosted code.
While other browsers are adopting V3 at different paces, building with V3 in mind (especially for Chrome) is recommended. Modern frameworks often provide abstractions or tools to manage V3 requirements more easily.

Example of Chrome Web Store Analytics for Extensions
{
  "manifest_version": 3,
  "name": "My Awesome Extension",
  "version": "1.0.0",
  "description": "A brief description of the extension.",
  "icons": {
    "16": "icons/icon16.png",
    "48": "icons/icon48.png",
    "128": "icons/icon128.png"
  },
  "permissions": [
    "storage",
    "activeTab",
    "scripting"
  ],
  "background": {
    "service_worker": "background.js"
  },
  "action": {
    "default_popup": "popup.html",
    "default_icon": {
      "16": "icons/icon16.png",
      "48": "icons/icon48.png"
    }
  },
  "content_scripts": [
    {
      "matches": ["https://*.example.com/*"],
      "js": ["content.js"],
      "css": ["styles.css"]
    }
  ],
  "options_page": "options.html"
}
Example manifest.json structure for Manifest V3
Top Free & Active Frameworks for Browser Extension Development (2025)
Choosing the right framework depends on your project's needs, your familiarity with technologies like React or TypeScript, and your target browsers. Here are some of the most popular, free, and actively maintained options:
1. Plasmo Framework
Often described as a "battery-packed" SDK or the "Next.js for browser extensions," Plasmo aims to provide a seamless development experience, especially for those using React and TypeScript. It significantly reduces boilerplate and configuration.
Key Features:
- Zero Configuration: Handles complex build setups automatically.
- File-Based Routing/Entrypoints: Automatically generates the
manifest.jsonbased on your project's file structure. - First-Class React & TypeScript Support: Integrates these technologies out-of-the-box.
- Live Reloading & HMR: Fast development cycles with automatic reloading on code changes.
- Built-in Build & Publishing Tools: Simplifies packaging (zipping) and submitting extensions to various web stores.
- Active Community: Good documentation and support available (e.g., via Discord).
Ideal For: Developers comfortable with React/TypeScript looking for a powerful, streamlined framework with excellent developer experience (DX). It supports cross-browser builds (Chrome, Firefox, Edge, etc.).
2. WXT (Web Extension Toolkit)
WXT positions itself as a next-generation framework focused on creating unified, cross-browser extensions efficiently. Like Plasmo, it abstracts away much of the configuration complexity.
Key Features:
- Automatic Manifest Generation: Based on a file-based entrypoint system.
- Cross-Browser Focus: Designed to make building for Chrome, Firefox, Edge, etc., straightforward.
- Excellent TypeScript Support: TypeScript is deeply integrated.
- Modern Tooling: Uses modern build tools for optimized performance.
- Automated Publishing: Includes tools to assist with deployment to browser stores.
Ideal For: Developers prioritizing cross-browser compatibility from the start, especially those who appreciate strong TypeScript integration and minimal configuration.
3. crxjs
A popular Vite-based plugin and toolkit specifically designed for building browser extensions, primarily targeting Chrome but with emerging cross-browser support. It leverages Vite's speed and ecosystem.
Key Features:
- Vite Powered: Offers fast builds and Hot Module Replacement (HMR).
- React & TypeScript Ready: Common templates and configurations available.
- Content Script HMR: Provides hot reloading even for content scripts, improving DX.
- Simple Configuration: Integrates with Vite's configuration system.
Ideal For: Developers already familiar with Vite or looking for a fast, modern build process, particularly if initially targeting Chrome.
4. Extension.js
A command-line interface (CLI) tool designed for developing cross-browser extensions with minimal to no build configuration. It supports modern JavaScript, TypeScript, and even WebAssembly.
Key Features:
- No Build Configuration (Optional): Aims to simplify the setup process.
- Cross-Browser Support: Write code once and deploy across different browsers.
- Modern JS/TS/WASM: Supports contemporary web technologies.
Ideal For: Quick prototypes, simpler extensions, or developers who prefer avoiding complex build tool configurations.
5. Manual Setup (WebExtensions API + Build Tool)
While frameworks offer convenience, you can always build an extension using the standard WebExtensions API directly and manage the build process yourself with tools like Vite or Webpack.
Approach:
- Manually create and maintain the
manifest.jsonfile. - Write background scripts, content scripts, and UI pages (HTML, CSS, JS/TS).
- Use a build tool (like Vite or Webpack) to bundle scripts, process assets (like CSS or images), enable modern JS features, and potentially manage hot reloading (often requiring specific extension reloader plugins).
Ideal For: Developers who need maximum control over the build process, prefer not to use a framework's abstractions, or are building very simple extensions where a framework might be overkill.
Comparing Modern Extension Frameworks
This radar chart provides an opinionated comparison of the discussed frameworks across key development aspects. Scores are relative assessments based on typical features and community perception (higher is generally better/easier).
This comparison suggests Plasmo and WXT offer high ease of use and integrated tooling, while crxjs provides a fast Vite-based experience. A manual setup grants the most control but requires more configuration effort.
Getting Started: Example Workflow with Plasmo
Here’s a simplified step-by-step guide to creating an extension using the Plasmo framework:
Step 1: Prerequisites
Ensure you have Node.js (LTS version recommended) and npm (or yarn) installed on your system.
Step 2: Initialize Your Plasmo Project
Open your terminal and run the following command:
npm create plasmo@latest my-awesome-extensionFollow the prompts (e.g., choosing TypeScript). Then navigate into the project directory:
cd my-awesome-extensionStep 3: Develop Your Extension
Plasmo uses a file-based structure. For instance:
- Create
popup.tsxto define your extension's popup UI using React. - Create
content.tsfor your content script logic. - Create
background.tsfor your background service worker logic. - Permissions and other manifest properties can often be configured within these files or dedicated configuration files, which Plasmo uses to generate the
manifest.json.
Step 4: Run the Development Server
Start the development server with live reloading:
npm run devThis command builds the extension and watches for changes. Plasmo will output instructions on how to load the unpacked extension into your browser.
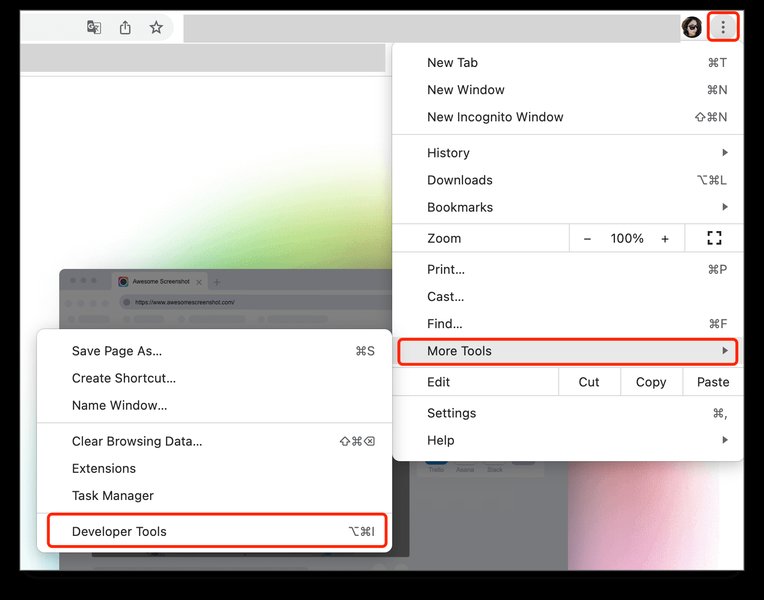
Step 5: Load the Unpacked Extension for Testing
- Open your browser (e.g., Chrome).
- Navigate to the extensions page (e.g.,
chrome://extensions/). - Enable "Developer mode" (usually a toggle in the top-right corner).
- Click "Load unpacked" and select the build output directory specified by Plasmo (often
build/chrome-mv3-devor similar). - Your extension should now appear in your browser toolbar. Changes you make to the code will trigger automatic reloading.
Example of a loaded browser extension
Step 6: Build for Production
When ready to distribute, create an optimized production build:
npm run buildThis generates zipped packages (e.g., in the build directory) suitable for uploading to browser web stores like the Chrome Web Store or Firefox Add-ons.
Visualizing the Development Process
This mindmap outlines the typical stages and components involved when building a browser extension using a modern framework.
This map highlights the flow from understanding the basics, selecting a tool, developing and testing, to finally building and deploying the extension.
Essential Tools for Your Workflow
Beyond the core framework, several other tools are indispensable for modern extension development:
- Node.js & npm/yarn: Essential for running JavaScript-based frameworks, CLIs, and managing dependencies.
- Code Editor: Visual Studio Code (VS Code) is highly popular, with numerous extensions helpful for web and extension development.
- Browser Developer Tools: Built into browsers like Chrome, Firefox, and Edge, these are critical for inspecting UI elements, debugging JavaScript (including background and content scripts), monitoring network requests, and analyzing performance.
- Version Control: Git (and platforms like GitHub/GitLab) is crucial for managing code history, collaboration, and backups.
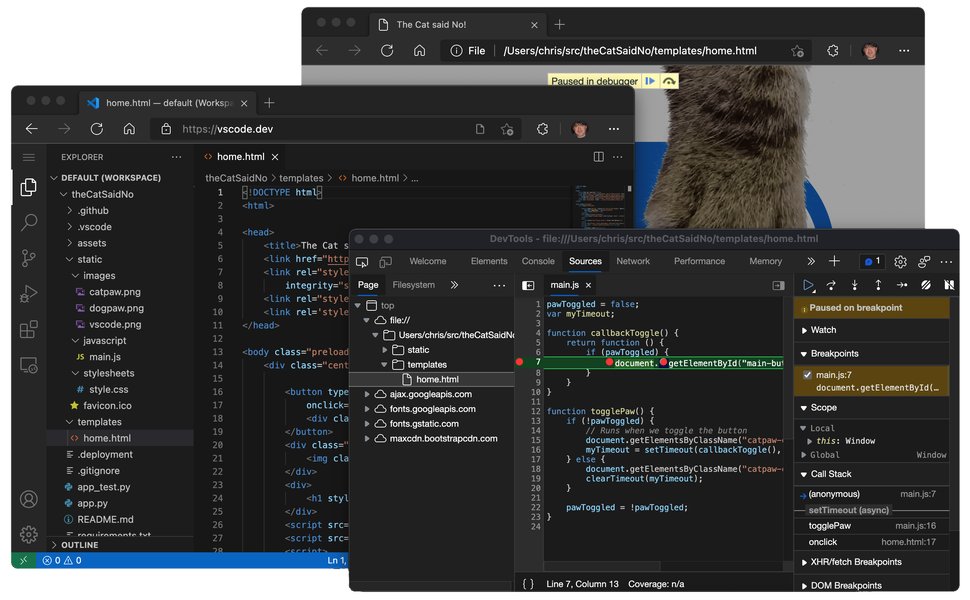
Visual Studio Code, a popular editor for web development, even runs in the browser.
Framework Feature Comparison
This table summarizes key aspects of the discussed free frameworks:
| Feature | Plasmo | WXT | crxjs (Vite) | Extension.js |
|---|---|---|---|---|
| Primary Focus | React/TS Extensions, DX | Cross-Browser, Unified Dev | Vite-based Chrome Extensions | Simplified Cross-Browser CLI |
| Auto Manifest Generation | Yes (File-based) | Yes (File-based) | Partial (via Vite config) | Less emphasized |
| React Support | Excellent (Built-in) | Good (Templating) | Excellent (Vite integration) | Manual setup likely |
| TypeScript Support | Excellent (Default) | Excellent (Default) | Excellent (Vite integration) | Good |
| Build Tooling | Integrated, Advanced | Integrated, Modern | Vite | Minimal/Optional |
| Live Reload / HMR | Yes | Yes | Yes (incl. Content Scripts) | Depends on setup |
| Publishing Assistance | Yes (CLI tools) | Yes (CLI tools) | Manual/Vite plugins | Manual |
| Actively Maintained (2025) | Yes | Yes | Yes | Yes |
Watch: Building with Plasmo
For a visual guide, this video demonstrates building a browser extension using the Plasmo framework, showcasing its ease of use and features like live reloading and React integration. Watching this can provide practical insights into the development workflow described earlier.
This tutorial walks through setting up a project, creating components, and utilizing Plasmo's features to build a functional extension quickly.
Frequently Asked Questions (FAQ)
What exactly is Manifest V3 and why is it important?
Why should I use a framework instead of just plain JavaScript and the WebExtensions API?
How do I test and debug my browser extension during development?
Are these frameworks truly free? What's the catch?
Recommended Next Steps
Explore these related topics for deeper insights:
- Compare Plasmo vs WXT for cross-browser extension development challenges.
- Understand how to manage the lifecycle of Manifest V3 service workers effectively.
- Learn about the best security practices when building extensions, especially regarding permissions.
- Discover how to integrate state management libraries within your extension's UI components.
References
Last updated May 4, 2025