
Step-by-Step Guide to Customizing Blogger Layouts
An in-depth walkthrough for personalizing your Blogger blog
Highlights
- Comprehensive Customization: Learn to modify themes, layouts, and advanced HTML/CSS settings.
- User-Friendly Interface: Step-by-step instructions on navigating the Blogger dashboard for both beginners and seasoned users.
- Responsive Design: Ensure your blog looks great on all devices through layout adjustments and mobile customization.
Introduction
Blogger is a popular platform that provides an accessible way to start a blog with ease. Its built-in tools empower users to customize the layout and design to better reflect personal brands or content themes. Whether you are new to blogging or seeking more control over your website's aesthetics, this guide provides a detailed roadmap to help you transform your Blogger layout.
Getting Started
Step 1: Signing Into Blogger
The first step in customizing your Blogger layout is signing into your Blogger account. Navigate to Blogger.com and log in with your Google account credentials. Once logged in, you will see a dashboard that lists all of your blogs. Select the blog you wish to customize to proceed.
Step 2: Accessing the Dashboard
Familiarize yourself with the Blogger dashboard where you can access various sections such as Posts, Layout, Theme, and Settings. The dashboard is user-friendly, allowing you to click through to each section effortlessly. It acts as the control center where you will manage your blog's appearance and functionality.
Customizing the Look and Feel
Step 3: Choosing a Template
Before you begin adjusting individual elements, it is essential to choose a template. A template in Blogger acts as the foundation for your blog’s design. To do this:
Navigating to the Theme Section
Find and click on the Theme option in the left-hand menu of your Blogger dashboard. Here, you can preview various pre-designed templates that Blogger offers. Select one that aligns with your content’s tone and overall aesthetic.
Selecting and Customizing Your Template
Once you select a template, click on Customize to activate the Template Designer. This tool provides further customization options, such as changing colors, fonts, and general layout arrangements. Explore the carousel or list options, preview each change live, and pick the one that best suits your vision.
Step 4: Understanding the Layout Section
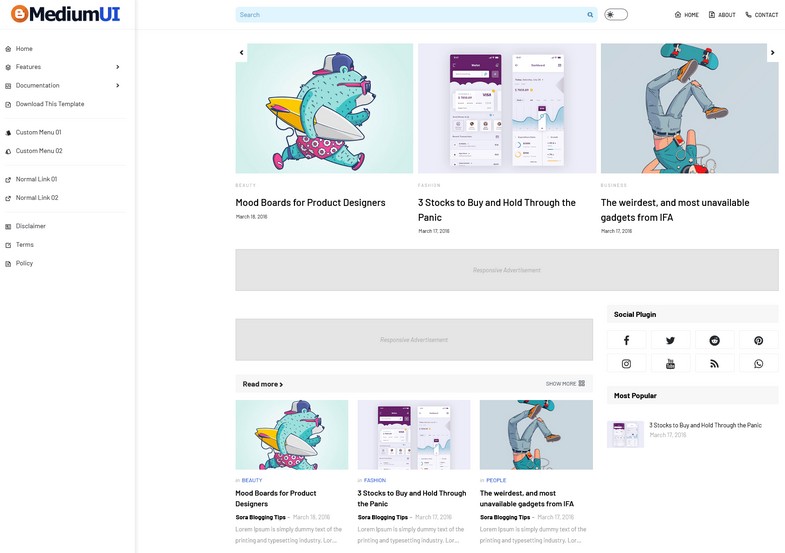
The Layout section in Blogger represents the physical structure of your site. It visually displays different components like the header, sidebar, main content area, and footer. Understanding this layout is pivotal as it allows you to reorganize and enhance the visual flow within your blog.
Navigating to Layout Options
Click on the Layout option in your Blogger dashboard. You will see a representation of your blog's structure, with identifiable segments for various sections. Each section is designed to hold gadgets or widgets that enhance functionality.
Step 5: Adding and Rearranging Gadgets
Gadgets are interactive elements like blog archives, label clouds, profiles, and more. They offer additional information and navigation aids to your visitors. To add a gadget:
Adding a Gadget
In the Layout section, locate the area where you want to add a new element and click on Add a Gadget. A pop-up list of available gadgets will appear. Browse through the gadgets, select the one that fits your needs, then click Add to place it in your selected section.
Rearranging Your Layout
Once gadgets are added, you might want to reposition them for better visual balance. Blogger supports drag-and-drop functionality for gadgets. Simply click on the gadget you wish to move and drag it into your preferred position. After rearranging, do not forget to click the appropriate save option, often labeled as Save Arrangement, to lock in your changes.
Advanced Customization Techniques
Step 6: Editing the HTML/CSS
For users with some coding knowledge, Blogger allows advanced customization through direct modifications of HTML and CSS. This approach provides granular control over every element of your blog’s design.
Accessing the HTML Editor
From your dashboard, click on the Theme option, then locate the Edit HTML button. This will open the HTML code editor, showing the full source code of your current template.
Modifying CSS for Custom Styling
Within the Edit HTML interface, you can also add or modify CSS directly. Alternatively, you can use the Advanced section under Customize to input custom CSS. This is where you can change font styles, background colors, margins, and overall aesthetics with precision.
Step 7: Uploading and Customizing Third-Party Templates
While Blogger provides multiple pre-designed templates, you might find a third-party template that better fits your brand identity. Custom templates can be downloaded from various Blogger template websites.
Uploading a Third-Party Template
First, download the template file of your choice, and if necessary, unzip it on your computer. Back in the Blogger dashboard, navigate to Theme and then locate the Backup/Restore option. Here, click Upload and select your template file to update your blog’s appearance.
Customizing the Third-Party Template
Once the new template is uploaded, you can further tailor it using Blogger’s built-in customization tools. Click on Customize to adjust settings such as header style, background, color schemes, and more. If you have expertise in HTML and CSS, use the Edit HTML feature to make more intricate changes.
Ensuring Mobile Responsiveness
Step 8: Customizing the Mobile Layout
With a significant portion of web traffic coming from mobile devices, designing a responsive layout is crucial. Blogger allows you to customize a separate mobile template to ensure a consistent user experience across different devices.
Accessing Mobile Settings
In the Theme section, locate the Customize mobile template option. Here you can activate a mobile version of your design or customize settings such as font sizes and widget arrangements to ensure your blog looks appealing and functions well on smartphones and tablets.
Testing Responsiveness
Once you have configured the mobile template, preview your blog on different devices. Use responsive design testing tools to simulate the appearance of your blog on various screen sizes. Make adjustments as needed to improve usability and visual consistency.
Detailed Step-by-Step Process Overview
For clarity, here is an overview table summarizing each major step involved in customizing your Blogger layout:
| Step | Description | Key Actions |
|---|---|---|
| 1. Sign In | Access your Blogger account using your Google credentials. | Login, select blog |
| 2. Choose a Template | Select a built-in or third-party template that fits your brand. | Navigate to Theme, preview, select |
| 3. Customize Template | Modify overall design elements such as colors, fonts, and layout. | Click Customize, adjust settings |
| 4. Edit Layout | Modify structural elements of your blog including header, sidebar, and footer. | Click Layout, add/rearrange gadgets |
| 5. Add Gadgets | Incorporate interactive features like archives, profiles, and labels. | Add a gadget, drag-and-drop, save arrangement |
| 6. Advanced Customization | Make detailed changes by editing HTML/CSS for personalized design. | Edit HTML, modify CSS |
| 7. Mobile Responsiveness | Ensure your blog displays well on mobile devices. | Customize mobile template, test across devices |
This overview provides a snapshot of the overall process and can serve as a quick reference guide while you are customizing your Blogger layout.
Additional Optimization Tips
Step 9: Fine-Tuning Widgets and Elements
After setting up the primary layout and customizations, take the time to fine-tune specific elements. Consider the following adjustments:
Editing Widget Settings
For each gadget you add, click the Edit button next to its title. Here, you can customize details such as display options, background colors, and padding. Updating these settings can improve the overall aesthetics and usability of your blog.
Updating Navigation Menus
Smooth navigation is key to retaining visitors. Customize your blog’s navigation menus to make it easier for users to find relevant content. Adjust the menu structure in the Layout section, and update the links according to your blog’s sections and categories.
Step 10: Securing Your Customizations
Once you are satisfied with your design changes, it is important to ensure that your customizations are saved properly. For each section that you modify:
Saving Your Work
Always click on the Save or Save Arrangement button to commit your changes. Regular saving prevents loss of work and ensures that new design elements are applied consistently across your blog.
Previewing Changes
Use the Preview option frequently to see how your blog is coming together. This step allows you to identify any layout issues or design inconsistencies before your changes go live. It is especially useful when handling HTML/CSS modifications.
Final Checks and Launch
Step 11: Testing Across Browsers and Devices
Once your layout customizations are complete, testing your blog across a variety of browsers (such as Chrome, Firefox, Safari, and Edge) and devices (desktop, tablet, mobile) is crucial. This ensures that your design is consistent, easy to navigate, and responsive regardless of how visitors access your content.
Step 12: Publishing and Updating Content
With the successful customization of your layout, publish your updates and continue creating quality content. Regular content updates, combined with a well-organized design, keep your audience engaged. Revisit the layout periodically to tweak elements as your blog grows or as new design trends emerge.
Conclusion and Final Thoughts
Customizing your Blogger layout is a powerful way to align your blog with your personal or brand aesthetic while enhancing user experience. Starting from choosing a template and navigating the Blogger dashboard, each step in this guide is designed to help both beginners and advanced users strategically modify and personalize the blog’s appearance. By integrating intuitive tools like drag-and-drop gadgets and advanced options like HTML/CSS editing, Blogger offers flexibility and creative freedom. In addition, the emphasis on ensuring mobile responsiveness guarantees that your blog remains accessible and visually appealing on all devices.
This comprehensive guide has explored how you can leverage both basic and advanced customization features to transform your Blogger blog into a unique, engaging platform. Remember to regularly save and preview your changes, test your layout across different devices and browsers, and update your content to maintain the blog's freshness. With these strategies, you are well-equipped to deliver an improved user experience that not only looks professional but is perfectly aligned to your personal or business needs.
References
-
Blogger Help - Google Support
- How to Edit or Change Your Blogger Theme - Quora
- How to Customize a Blogger Blog - DotTech
- Blogger Dashboard for Beginners - Innate Blogger
- Ultimate Guide to Blogger Customization - TechRBun
Recommended Queries for Deeper Insights
 css-magz.blogspot.com
Last updated February 27, 2025