
Comprehensive DIY Guide to Improving Drainage and Waterproofing in Old Apartment Bathrooms
Transform your bathroom with expert techniques for drainage and waterproofing
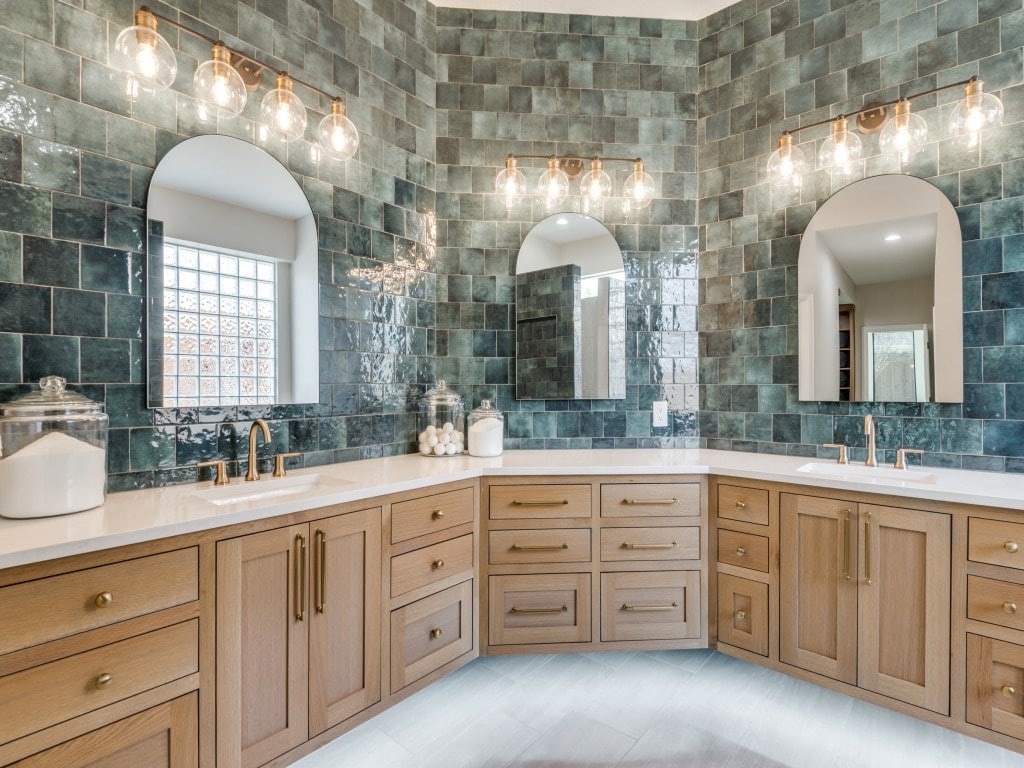
Key Takeaways
- Effective Drainage Solutions: Utilize a combination of manual removal, natural cleaners, and proper drain maintenance to ensure optimal water flow.
- Comprehensive Waterproofing: Apply appropriate waterproofing membranes and sealants tailored to different surface materials like tiles and wood.
- Regular Maintenance and Inspection: Consistently monitor and maintain drainage systems and waterproofing measures to prevent long-term damage and mold growth.
Enhancing Bathroom Drainage
Old apartment bathrooms often face drainage challenges due to aged plumbing systems, accumulated debris, and insufficient pipe sizes. Addressing these issues involves a combination of immediate fixes and long-term solutions to ensure efficient water flow and prevent persistent clogs.
1. Manual Removal of Clogs
Begin by addressing visible blockages in sinks, showers, and bathtubs. Tools such as drain zip tools or straightened coat hangers can effectively remove hair, soap scum, and other surface-level debris.
Techniques:
- Drain Zip Tools: These specialized tools are designed to grab and remove clogs without damaging the pipes.
- Coat Hanger Method: Straighten a metal coat hanger and create a small hook at the end to fish out debris.
2. Natural Cleaning Solutions
For mild clogs, avoid harsh chemical drain cleaners that can corrode old pipes. Instead, opt for a natural baking soda and vinegar mixture.
Baking Soda and Vinegar Method:
- Pour ½ cup of baking soda down the drain.
- Add ½ cup of vinegar and allow the mixture to fizz for about 15 minutes.
- Flush the drain with boiling water to clear any remaining debris.
3. Using Plungers and Drain Snakes
For more stubborn clogs, mechanical methods like plunging or using a drain snake can be highly effective.
Plunger Technique:
- Ensure the plunger creates a tight seal over the drain.
- Use vigorous up-and-down motions to generate suction and dislodge the blockage.
Drain Snake Usage:
- Insert the snake into the drain until resistance is felt.
- Rotate the handle to break up or retrieve the clog.
4. Installing Drain Covers and Screens
Prevent future clogs by installing drain covers or screens that catch hair and debris before they enter the pipes.
- Choose covers that fit the specific drain size and type.
- Regularly clean the covers to maintain their effectiveness.
5. Re-grading the Bathroom Floor
Ensuring that the bathroom floor has a proper slope toward the drain is crucial for effective water drainage.
Steps to Re-grade:
- Remove existing flooring if necessary.
- Apply a self-leveling compound or thin mortar to create a slope of approximately ¼ inch per foot towards the drain.
- Allow adequate drying time as per the manufacturer's instructions.
6. Addressing Venting and Pipe Sizes
Older bathrooms might suffer from inadequate venting or narrow pipes, contributing to slow drainage.
- Consult plumbing guidelines to determine if pipe sizes meet current standards.
- Consider upgrading to larger diameter pipes to enhance water flow.
- Ensure proper venting to prevent vacuum formation and facilitate smooth drainage.
7. Installing Linear or Trench Drains
For bathrooms with larger or open layouts, linear or trench drains can offer superior water management compared to traditional central drains.
Benefits:
- Enhanced water capture and distribution.
- Reduced risk of localized pooling.
Installation Considerations:
- Requires precise planning of floor slopes towards the drain channel.
- May involve more extensive floor remodeling.
Effective Waterproofing Strategies
Waterproofing is essential to protect bathroom surfaces from moisture damage, mold growth, and structural deterioration. Tailoring waterproofing methods to different materials ensures comprehensive protection.
1. Waterproofing Tiles
Tiles are a common bathroom surface that require proper sealing to prevent water ingress.
Sealing Grout Lines:
- Apply a high-quality grout sealer to make grout lines impermeable.
- Reapply annually to maintain optimal protection.
Using Grout-Free Alternatives:
- Install waterproof wall panels such as Palisade Wall Tiles, which eliminate grout lines and simplify maintenance.
2. Waterproofing Wood Surfaces
Wood elements in bathrooms, such as floors and accents, are susceptible to water damage and require special protective measures.
Applying Waterproof Coatings:
- Use polyurethane sealers or marine-grade varnishes to render wood surfaces water-resistant.
- Ensure even application with a brush or sprayer, and allow adequate drying time between coats.
Installing Wood-Effect Tiles:
- Consider ceramic or vinyl tiles that mimic the appearance of wood while offering superior waterproofing.
- Available options can be sourced from specialty tile retailers.
Regular Maintenance:
- Clean wood surfaces with non-abrasive cleaners to prevent damage.
- Avoid allowing water to pool on wood surfaces to minimize the risk of warping and rot.
- Reapply sealants periodically to maintain protection.
3. Implementing Waterproof Membranes
Waterproof membranes are critical for creating a barrier against moisture, especially in areas exposed to high humidity and water exposure.
Types of Waterproof Membranes:
- Liquid-Applied Membranes: Easy to apply with brushes or rollers, suitable for walls and floors.
- Sheet Membranes: Durable and effective for creating a continuous barrier, often used under tiles.
Application Process:
- Ensure all surfaces are clean, dry, and free of debris.
- Apply the membrane according to the manufacturer's instructions, ensuring complete coverage.
- Seal all seams and edges with reinforcing tape or appropriate sealants.
- Allow adequate drying and curing time before proceeding with tiling or other finishes.
4. Sealing Joints and Fixtures
Proper sealing around fixtures like bathtubs, sinks, and showers is essential to prevent water seepage.
Using Silicone Caulk:
- Select a high-quality, mold-resistant silicone caulk.
- Apply it evenly around joints and corners after ensuring surfaces are dry and primed.
- Smooth the caulk for a neat finish and optimal water resistance.
Maintaining Seals:
- Regularly inspect caulking for cracks or peeling.
- Replace damaged caulk promptly to maintain a watertight barrier.
5. Selecting Appropriate Surface Materials
Choosing the right materials for flooring and walls plays a significant role in bathroom waterproofing.
Flooring Options:
- Porcelain or Ceramic Tiles: Highly waterproof and durable, ideal for bathroom floors.
- Luxury Vinyl Tiles (LVT) or Planks (LVP): Offer water resistance with the aesthetic appeal of wood or stone.
- Waterproof Laminate: Specifically designed for high-moisture areas, providing an alternative to traditional laminates.
Wall Treatments:
- Waterproof Wall Panels: Simplify installation and maintenance by eliminating grout lines.
- Properly Sealed Tiles: Ensure all tiles are installed with waterproofing measures to prevent moisture penetration.
- Waterproof Paints: Apply specially formulated paints that resist moisture and prevent mold growth.
6. Installing Secondary Drainage Systems
Secondary drainage systems can capture any water that penetrates through joints or cracked tiles, adding an extra layer of protection against leaks.
Benefits:
- Provides redundancy in drainage, reducing the risk of water damage.
- Helps in quickly identifying and addressing leaks before significant damage occurs.
Implementation:
- Install drainage channels or secondary traps beneath tiled surfaces.
- Ensure these systems are properly connected to the main drainage to facilitate effective water removal.
Maintenance and Best Practices
Ongoing maintenance is crucial to sustain the effectiveness of drainage and waterproofing systems in bathroom spaces.
1. Regular Inspection
Consistently inspect all drainage points, seals, and waterproofing layers to detect early signs of wear or damage.
- Check for damp spots, crumbling drywall, or dark areas near plumbing fixtures.
- Monitor for mold growth or mildew, which can indicate moisture issues.
- Examine grout lines and caulking for integrity and replace as needed.
2. Surface Cleaning
Maintain clean surfaces to prevent debris accumulation that can compromise drainage and waterproofing.
- Use non-abrasive cleaners on tiles and wood surfaces to avoid damaging protective coatings.
- Regularly clean drain covers and screens to ensure unobstructed water flow.
3. Reapplying Sealants and Grout Sealers
Protective layers can degrade over time, necessitating periodic reapplication to maintain water resistance.
- Reapply grout sealers annually to keep grout lines impermeable.
- Inspect and renew silicone caulk around fixtures to ensure continuous sealing.
4. Performing Flood Tests
After waterproofing efforts, conduct flood tests to verify the effectiveness of the installed membranes and seals.
Flood Test Procedure:
- Block the drain to prevent water from escaping.
- Fill the shower or bathtub area with water to a specified level.
- Allow the water to sit for 24 hours and check for any signs of leakage.
5. Adhering to Local Building Codes
Ensure that all drainage and waterproofing modifications comply with local regulations and building standards.
- Consult local building codes before undertaking extensive drainage or waterproofing projects.
- Obtain necessary permits and approvals, especially in rental properties or older buildings.
- Consider professional consultation for complex modifications to adhere to safety and quality standards.
Materials and Tools Checklist
Having the right materials and tools is essential for successful drainage improvement and waterproofing projects.
| Category | Items | Purpose |
|---|---|---|
| Drainage Tools | Drain zip tool, straightened coat hanger, plunger, drain snake | Removing clogs and blockages from drains |
| Cleaning Supplies | Baking soda, vinegar, salt, Borax, enzyme-based cleaners | Natural cleaning solutions for unclogging drains |
| Waterproofing Materials | Grout sealer, silicone caulk, liquid waterproof membranes, sheet membranes | Sealing grout lines, joints, and creating waterproof barriers |
| Protective Coatings | Polyurethane sealers, marine-grade varnish | Protecting wood surfaces from moisture |
| Tools | Brushes, rollers, caulking gun, self-leveling compound | Applying sealants, membranes, and leveling flooring |
| Additional Items | Drain covers/screens, waterproof grout, high-quality tiles (porcelain, ceramic, LVT) | Preventing future clogs and ensuring durable, water-resistant surfaces |
Step-by-Step Waterproofing Process
Implementing a structured approach to waterproofing ensures comprehensive protection across all bathroom surfaces.
1. Surface Preparation
Proper preparation is critical for the effectiveness of waterproofing measures.
- Clean all surfaces thoroughly to remove dirt, grease, and old sealants.
- Repair any cracks or damages in the substrate using appropriate fillers.
- Ensure surfaces are completely dry before proceeding with waterproofing applications.
2. Applying Waterproof Membranes
Choose the appropriate type of membrane based on the specific area and material.
Liquid-Applied Membranes:
- Use brushes or rollers to apply the membrane evenly across walls and floors.
- Apply multiple coats as recommended, allowing each layer to dry thoroughly.
Sheet Membranes:
- Cut the membrane to fit the area, ensuring full coverage without gaps.
- Bond the membrane using thinset mortar, following manufacturer guidelines.
- Seal all seams with reinforcing tape to prevent water infiltration.
3. Sealing Around Fixtures
Ensure all fixtures are protected against water seepage by applying silicone caulk.
- Apply a continuous bead of silicone caulk around the edges of bathtubs, sinks, and showers.
- Smooth the caulk with a caulking tool or your finger for a seamless finish.
4. Installing Tiles and Flooring
Once the waterproofing layers are in place, proceed with tiling and flooring installations.
-
Use waterproof grout to fill tile joints, reducing the risk of water penetration.
-
Choose water-resistant flooring materials to complement the waterproofing efforts.
5. Conducting a Flood Test
Validate the integrity of your waterproofing by performing a flood test.
- Block the drain in the shower or bathtub area.
- Fill the area with water to a specified level.
- Allow the water to sit for 24 hours without draining.
- Inspect the area for any signs of leakage or dampness.
Conclusion
Improving drainage and waterproofing in old apartment bathrooms is a multifaceted endeavor that requires careful planning, the right materials, and diligent maintenance. By addressing immediate drainage issues through manual and natural methods, implementing robust waterproofing solutions tailored to different surfaces, and adhering to best practices in maintenance, DIY enthusiasts can successfully transform their bathrooms into durable and moisture-resistant spaces. Regular inspections and proactive maintenance further ensure the longevity and effectiveness of these improvements, safeguarding against common bathroom issues such as mold growth and structural damage.
References
Last updated February 1, 2025