
How to Drain the Carburetor of a WEN 52600i Generator for Long-Term Storage
Comprehensive Guide to Ensuring Your Generator Stays Ready for Action
Key Takeaways
- Prevent Fuel Degradation: Draining the carburetor eliminates stale fuel that can cause blockages and engine issues.
- Ensure Safety: Properly disconnecting components and handling fuel minimizes risks during the maintenance process.
- Long-Term Preservation: Following thorough storage steps guarantees reliable generator performance when needed.
Introduction
Preparing your WEN 52600i generator for long-term storage involves several critical maintenance tasks, with draining the carburetor being paramount. This ensures that stale fuel does not degrade engine performance or cause clogs, leading to reliable operation when you need the generator again. This guide provides a step-by-step approach, combining best practices from multiple expert sources to deliver a comprehensive maintenance procedure.
Safety Precautions
Before starting any maintenance work on your generator, prioritize safety to prevent accidents and injuries.
Personal Protective Equipment (PPE)
- Wear gloves to protect your hands from fuel spills and sharp components.
- Use safety glasses to shield your eyes from splashes and debris.
- Ensure you are in a well-ventilated area to avoid inhaling fuel vapors.
Work Environment
- Perform maintenance in a flat, stable, and clean area.
- Avoid working near open flames or sparks.
- Have a fire extinguisher nearby as a precaution.
Tools and Materials Needed
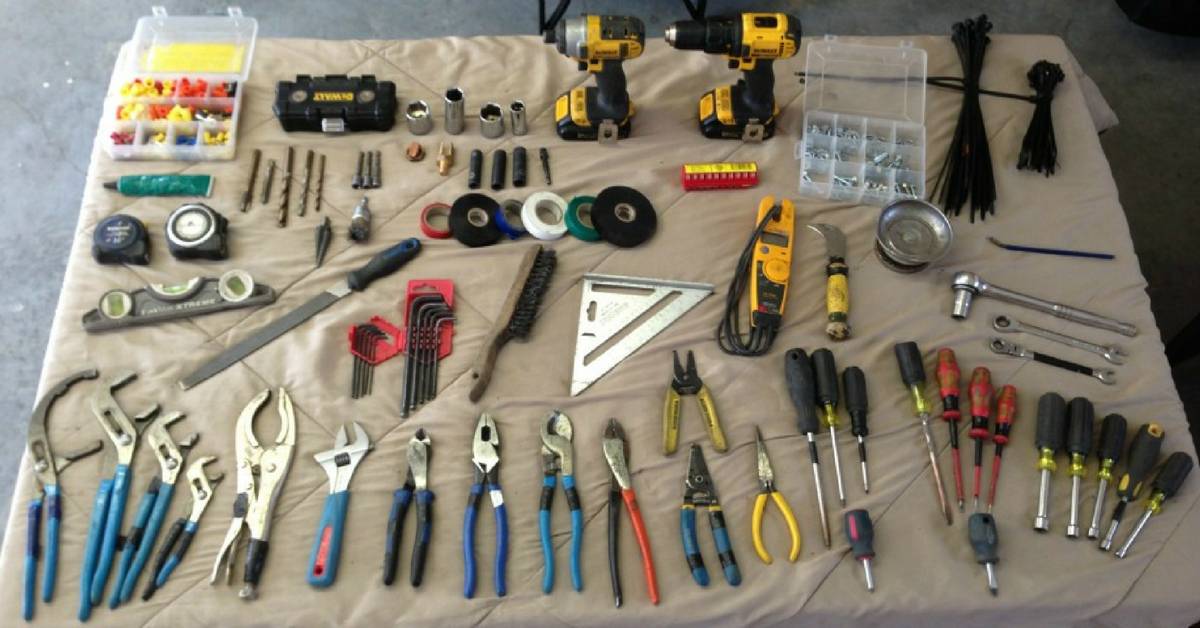
Gather all necessary tools and materials before beginning the draining process to ensure a smooth and efficient workflow.
- Flat-head and Phillips-head screwdrivers
- Fuel-safe container or drain pan
- Approved gasoline siphon (if draining the fuel tank)
- Fuel stabilizer
- Protective gloves and safety glasses
- Clean rags or paper towels
- Wrench set (if needed for drain screw)
Step-by-Step Instructions
1. Turn Off and Cool the Generator
Ensure the generator is completely turned off and has cooled down after its last use. This prevents accidental starts and reduces the risk of burns.
- Switch the generator to the "Off" position.
- Allow sufficient time for the engine to cool, especially if it was recently running.
2. Disconnect the Spark Plug
Disconnecting the spark plug is a critical safety step to prevent the engine from starting inadvertently during maintenance.
- Locate the spark plug, typically found near the top of the engine.
- Use a spark plug wrench to remove the spark plug wire from the spark plug.
- Store the wire safely away from the spark plug to avoid accidental contact.
3. Shut Off the Fuel Valve
Turning off the fuel valve stops the flow of gasoline from the tank to the carburetor, ensuring no additional fuel enters the system during draining.
- Locate the fuel valve, usually near the fuel tank or along the fuel line.
- Turn the valve to the "Off" position.
- Confirm that the fuel flow has ceased by observing the carburetor area.
4. Drain the Fuel Tank (Optional but Recommended)
For complete removal of fuel, draining the fuel tank ensures that minimal fuel remains in the system, reducing the risk of degradation.
- Use a gasoline siphon to remove fuel from the tank, or carefully tip the tank into an approved fuel container.
- Ensure all fuel is transferred safely to prevent spills.
- Properly dispose of drained fuel following local hazardous waste regulations.
5. Locate the Carburetor Drain Screw
Accessing the carburetor drain screw is essential for removing residual fuel from the carburetor bowl.
- Remove the maintenance access panel using a Phillips-head screwdriver.
- Identify the carburetor bowl, typically situated near the base of the carburetor.
- Locate the drain screw, which may be a flat-head screw or an angled bolt at the bottom or side of the bowl.
6. Prepare a Drain Pan or Container
Place a suitable container beneath the drain screw to collect the draining fuel, preventing spills and environmental contamination.
- Select a fuel-safe container with adequate capacity.
- Position the container directly under the drain screw to catch all fuel.
7. Open the Drain Screw
Carefully loosen the drain screw to allow fuel to flow out of the carburetor bowl.
- Use the appropriate screwdriver to slowly loosen the screw.
- Allow fuel to drain completely into the container.
- Monitor the flow until no more fuel is exiting.
8. Close the Drain Screw
Once draining is complete, securely tighten the drain screw to prevent leaks during storage.
- Firmly tighten the drain screw using the screwdriver.
- Ensure it is sealed properly to avoid any fuel ingress or leaks.
9. Optional: Run the Generator Until It Stops
Running the generator until it naturally stops ensures that any remaining fuel in the lines is consumed, providing an additional layer of assurance.
- Reconnect the spark plug wire if disconnected.
- Start the generator and allow it to run without load.
- Monitor the generator until it ceases operation on its own.
10. Finalize Draining Process
- Wipe up any spills using clean rags or paper towels.
- Properly dispose of used fuel according to local regulations.
- Ensure all components are securely reinstalled, including the maintenance access panel and spark plug wire.
Post-Draining Steps
Add Fuel Stabilizer
If any fuel remains in the tank after draining, adding a fuel stabilizer can prevent degradation and gum formation during storage.
- Select a fuel stabilizer compatible with gasoline engines.
- Follow the manufacturer's instructions for the correct dosage.
- Add the stabilizer to the fuel tank and mix thoroughly by running the generator briefly.
Change the Oil (Optional)
Performing an oil change prior to storage ensures that the engine remains lubricated and free from contaminants.
- Warm up the generator to ensure oil flows out smoothly.
- Drain the old oil into a suitable container.
- Replace with fresh oil, adhering to the manufacturer's specifications.
Clean the Generator
Thoroughly cleaning the generator prevents dust and debris from affecting its components during storage.
- Wipe down the exterior with a damp cloth to remove dirt and grime.
- Clean air filters and replace if necessary.
- Inspect for any signs of wear or damage and address them accordingly.
Secure All Components
Ensure that all parts, such as hoses and connectors, are properly secured to prevent any damage or disconnection during storage.
- Tighten all screws and bolts to their recommended torque settings.
- Ensure that hoses are free from kinks and are properly connected.
- Check that the spark plug wire is safely routed to prevent tripping or accidental contact.
Storage Guidelines
Choose an Appropriate Storage Location
Select a storage area that is clean, dry, and well-ventilated to protect the generator from environmental elements.
- A covered shed or garage is ideal.
- Avoid areas with high humidity or extreme temperatures.
- Ensure the storage space is free from pests and rodents.
Maintain Proper Orientation
Storing the generator in an upright and level position prevents fuel from settling unevenly and ensures stability.
- Place the generator on a flat surface.
- Avoid stacking or placing heavy objects on top of the generator.
- Use leveling tools if necessary to maintain balance.
Protect from Dust and Debris
Using a protective cover guards the generator against dust accumulation and physical damage.
- Use a breathable generator cover to prevent moisture buildup.
- Ensure the cover fits snugly without restricting airflow.
- Regularly inspect the cover for any signs of wear or damage.
Additional Storage Tips
- Consider removing the battery (if equipped) and storing it separately in a cool, dry place.
- Label fuel lines and hoses to simplify reassembly when bringing the generator back into service.
- Periodically check the generator during storage to ensure it remains in good condition.
Maintenance Tips Before Storage
Clean the Air Filter
A clean air filter ensures optimal airflow and engine performance upon reactivation.
- Remove the air filter according to the user manual.
- Clean the filter with compressed air or replace it if it is worn or damaged.
- Reinstall the air filter securely.
Check Oil Levels
Maintaining proper oil levels is crucial for engine lubrication and longevity.
- Use the dipstick to check oil levels.
- Add oil if levels are low, following the manufacturer's recommendations.
- Dispose of used oil responsibly if changing it.
Secure the Fuel System
Ensuring the fuel system is sealed prevents fuel leaks and contamination.
- Check all fuel hoses and connections for signs of wear or leaks.
- Tighten any loose fittings and replace damaged hoses.
- Use fuel-resistant tape or clamps where necessary to reinforce connections.
Troubleshooting
Fuel Residue Issues
If fuel residue remains after draining, it may cause engine performance problems.
- Double-check that the drain screw was properly tightened.
- Consider repeating the draining process to ensure complete fuel removal.
Generating Stalls or Running Roughly
Stalling or rough running can indicate residual fuel issues or other maintenance needs.
- Verify that the spark plug is correctly reconnected and in good condition.
- Inspect the air filter for cleanliness and proper installation.
- Ensure that the carburetor drain screw is securely closed.
Fuel Valve Not Shutting Off
A malfunctioning fuel valve can lead to continuous fuel flow, complicating the draining process.
-
Inspect the fuel valve for debris or obstructions.
-
Clean or replace the fuel valve if necessary.
-
Consult the user manual or a professional technician for complex issues.
Conclusion
Draining the carburetor of your WEN 52600i generator is a vital step in preparing it for long-term storage. By meticulously following the steps outlined in this guide, you can prevent fuel degradation, ensure safety, and maintain the generator's reliability for future use. Regular maintenance and proper storage practices extend the lifespan of your generator, providing peace of mind when you need it most.
References
Last updated January 27, 2025