
Fun and Engaging Green Cooking Activities for Young Summer Campers
Exploring Nature's Colors Through Culinary Adventures (No Electricity Needed!)
Highlights
- Embracing the "Green Creators" Theme: These activities are designed to introduce kindergarteners (3-4 years old) to the color green in a fun and interactive way, focusing on natural green foods and creative exploration.
- Hands-On and Kid-Friendly: Simple steps and minimal ingredients make these activities perfect for young children, promoting fine motor skills and a love for healthy foods.
- No Electricity Required: All suggested activities are specifically chosen to be completed without the need for electrical appliances, making them ideal for a summer camp setting.
Engaging young children in cooking activities offers a multitude of benefits, from developing fine motor skills and learning about different textures and tastes to fostering creativity and promoting healthy eating habits. For a summer camp with a "Green Creators" theme focusing on kindergarteners aged 3-4, incorporating no-electricity green food activities can be a wonderfully enriching experience. These activities connect children with nature's vibrant green through hands-on preparation, allowing them to become little chefs and creators using simple tools and fresh ingredients.
The "Green Creators" theme can be a fantastic way to explore the color green in various contexts, including the food we eat. By focusing on green foods that require no cooking with electricity, you can create a safe, accessible, and educational culinary adventure for young campers. This approach also ties in with broader themes of nature, sustainability, and the origins of food.
Activity 1: Green Smoothie Art
This activity allows children to create vibrant green "paint" using natural ingredients and explore their artistic side while learning about healthy foods. It's a simple, no-cook way to introduce the concept of blending fruits and vegetables.
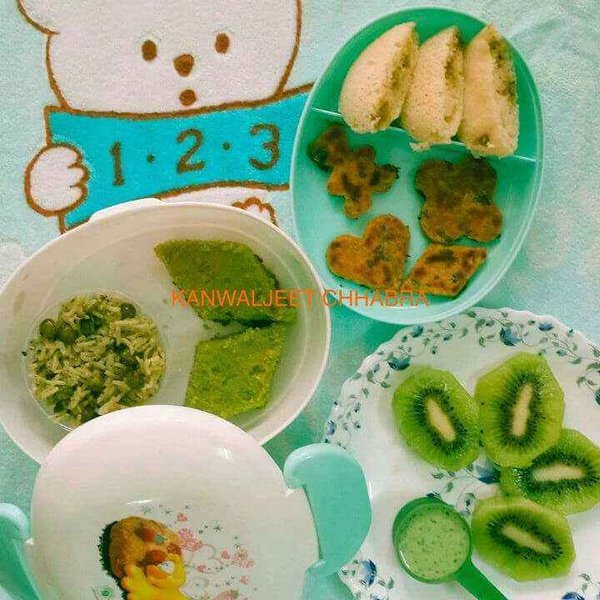
A vibrant collection of green foods for a themed meal.
What You'll Need:
- Various green fruits and vegetables (e.g., spinach, kale, kiwi, green grapes, avocado)
- Manual blender or a mortar and pestle (with adult supervision for the latter)
- Small bowls or containers
- Spoons or small spatulas
- Paper or cardstock
- Optional: water or a splash of apple juice to help with blending
Steps for Green Smoothie Art:
Guide the children in a few simple steps to create their edible green paint:
- Help the children wash and prepare the green fruits and vegetables. Talk about the names of each ingredient and where they come from.
- In small batches, assist the children in adding the ingredients to a manual blender or guide them in using a mortar and pestle to mash softer items like avocado or cooked spinach.
- Add a small amount of water or juice if needed to achieve a paint-like consistency.
- Once blended or mashed, pour the green mixture into small bowls.
- Provide paper and spoons or spatulas and let the children use the green mixture to create their own edible art. Encourage them to explore the textures and colors.
- Discuss the different shades of green they created and how they taste.
This activity reinforces color recognition, introduces new foods, and allows for creative expression. It's a sensory experience that is both fun and educational.
Activity 2: Caterpillar Cucumber Bites
This simple and fun activity transforms healthy cucumber slices into cute caterpillars, encouraging children to assemble their own snacks and enjoy eating vegetables.

Creative food art can make healthy eating fun for kids.
What You'll Need:
- Cucumbers
- Cream cheese or hummus (for "glue")
- Cherry tomatoes or small red grapes (for the caterpillar's head)
- Pretzel sticks or small carrot sticks (for antennae)
- Cutting board and child-safe knives (with adult supervision)
- Small plates
Steps for Caterpillar Cucumber Bites:
Guide the children through the process of assembling their caterpillar snacks:
- Under close adult supervision, allow the children to help wash the cucumbers.
- Pre-slice the cucumbers into rounds or assist older children (with child-safe knives) in carefully slicing the cucumbers.
- Provide each child with a few cucumber slices on a plate.
- Show them how to arrange the cucumber slices in a line to form the caterpillar's body.
- Provide a small amount of cream cheese or hummus. Show the children how to use it as "glue" to attach a cherry tomato or grape as the caterpillar's head.
- Let them add pretzel or carrot stick antennae to the head using a dab of cream cheese or hummus.
- Encourage them to eat their creation!
This activity promotes stacking, spreading, and assembly skills. It also makes eating vegetables a playful experience.
Activity 3: Spinach and Cheese Roll-Ups
These no-bake roll-ups are easy for little hands to make and are a clever way to incorporate spinach into a tasty snack. The rolling motion is great for developing fine motor skills.
What You'll Need:
- Whole wheat tortillas or flatbread
- Cream cheese or a mild spreadable cheese
- Finely chopped fresh spinach (ensure it's washed and thoroughly dried)
- Optional: other finely grated green vegetables like zucchini
Steps for Spinach and Cheese Roll-Ups:
Here's how to make these simple and healthy roll-ups:
- Lay out the tortillas or flatbread for each child.
- Provide a child-safe spreader or spoon and let them spread a thin layer of cream cheese or cheese spread over the surface of the tortilla.
- Offer small bowls of finely chopped spinach and any other optional green vegetables.
- Let the children sprinkle the spinach and other greens over the cheese.
- Assist the children in carefully rolling up the tortilla tightly.
- If desired, you can gently press down on the roll-up to help it stay together.
- Serve the roll-ups as a healthy and fun snack.
This activity focuses on spreading and rolling techniques, introducing children to textures and the concept of combining ingredients.
Activity 4: Green Veggie Printing
While not strictly a "cooking" activity in the traditional sense, this creative exercise uses green vegetables as stamps to create edible art on bread or crackers, connecting the visual of the vegetable to the food itself. It's a no-cook way to interact with different green produce.
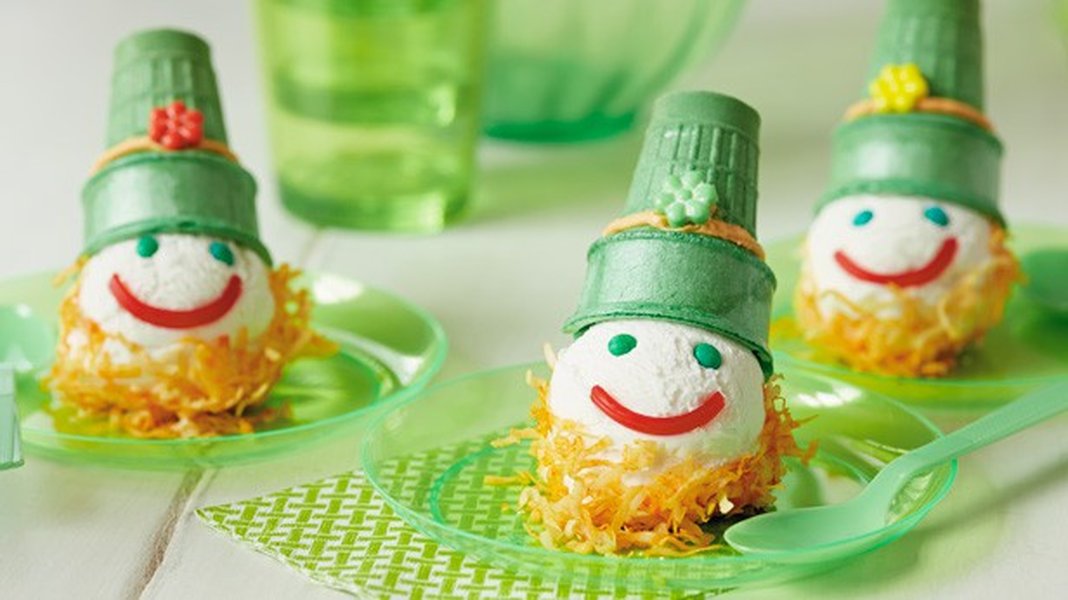
Festive treats can also incorporate themed colors.
What You'll Need:
- Assortment of green vegetables with interesting shapes when cut (e.g., broccoli florets, bell pepper rings, celery stalks cut crosswise, okra)
- Cream cheese, hummus, or a thick, spreadable dip
- Bread slices or large crackers
- Small plates
Steps for Green Veggie Printing:
Guide the children in creating edible prints with vegetables:
- Pre-cut the green vegetables to reveal interesting shapes for printing. Discuss the shapes and textures of each vegetable.
- Provide each child with a slice of bread or a few crackers on a plate.
- Place small amounts of cream cheese, hummus, or dip in bowls.
- Show the children how to dip the cut end of a vegetable into the spreadable dip.
- Then, demonstrate how to press the vegetable onto the bread or cracker to create a green print.
- Let the children experiment with different vegetables and colors (if using different dips).
- Encourage them to eat their printed creations!
This activity is a fun way to explore the shapes and textures of vegetables and provides a unique, hands-on interaction with food.
Activity 5: DIY Green Trail Mix
Creating trail mix is a simple assembly activity that requires no cooking and allows children to customize their own healthy green snack using a variety of ingredients.
What You'll Need:
- Green-colored ingredients (e.g., green raisins, dried cranberries, pumpkin seeds, pistachios, green cereal, green-coated candies - in moderation)
- Small bowls for each ingredient
- Resealable bags or small containers
- Scoops or large spoons
Steps for DIY Green Trail Mix:
Set up a trail mix station and let the children create their own mixes:
- Set out bowls with different green-colored ingredients.
- Talk about each ingredient and its color.
- Provide each child with a resealable bag or container.
- Let the children use scoops or spoons to add the ingredients they like to their bags. Encourage them to choose a variety.
- Help them seal their bags or close their containers.
- They can enjoy their trail mix as a snack during the camp day.
This activity is great for practicing scooping and transferring skills. It also gives children a sense of ownership over their snack and encourages them to try different textures and flavors.
Benefits of No-Electricity Cooking Activities
These types of activities offer several advantages, especially in a summer camp setting with young children:
- Safety: Eliminates the risks associated with hot stoves or ovens.
- Accessibility: Can be done virtually anywhere, indoors or outdoors.
- Simplicity: Focuses on basic food preparation skills like washing, tearing, spreading, and mixing.
- Sensory Exploration: Encourages children to touch, smell, and observe ingredients.
- Connection to Nature: Highlights foods that come from plants and the earth.
Here is a table summarizing the activities and their key learning aspects:
| Activity | Key Skills Developed | Focus |
|---|---|---|
| Green Smoothie Art | Blending/Mashing, Spreading, Creativity, Color Recognition | Natural Food Colors, Edible Art |
| Caterpillar Cucumber Bites | Arranging, Spreading, Assembly, Fine Motor Skills | Healthy Snacking, Fun Shapes |
| Spinach and Cheese Roll-Ups | Spreading, Rolling, Combining Ingredients | Incorporating Greens, Simple Prep |
| Green Veggie Printing | Dipping, Pressing, Shape Recognition, Sensory Exploration | Exploring Vegetable Shapes, Edible Art |
| DIY Green Trail Mix | Scooping, Transferring, Customization | Ingredient Recognition, Healthy Choices |
Integrating Learning and Fun
Beyond the simple preparation, these activities provide opportunities for discussion and learning. Talk to the children about where green foods come from, why they are good for our bodies, and the different shades of green they can observe in nature. Singing songs about colors or healthy eating can also enhance the experience.
For instance, you could sing a song about green foods to the tune of "Old MacDonald Had a Farm":
(Tune: Old MacDonald Had a Farm)

There's a color we all know,
G-R-E-E-N.
It's the color that means "Go!"
G-R-E-E-N.
Oh, grass is green and lettuce is green,
Leaves and spinach and peas are green.
And on our plate, the green we've seen,
G-R-E-E-N.
This type of interactive learning makes the cooking activities even more memorable and educational.
Considerations for Young Chefs
When working with kindergarteners, keep these points in mind:
-
Adult Supervision is Key: Always provide close supervision, especially when using any tools or handling food.
-
Keep it Simple: Break down steps into manageable actions for young children.
-
Focus on the Process, Not Perfection: The goal is engagement and exploration, not perfectly crafted dishes.
-
Hygiene: Emphasize washing hands before and after handling food.
-
Allergies: Be aware of any food allergies among the campers and adjust ingredients accordingly.
-
Encourage Tasting: Gently encourage children to try the foods they prepare, but never force them.
These activities align well with a "Green Creators" theme by highlighting the natural colors and forms of green foods and empowering children to be active participants in preparing their snacks. The no-electricity aspect simplifies the logistics and keeps the focus on the natural ingredients and the children's direct interaction with them.
FAQ
Are these activities safe for 3-4 year olds?
Yes, these activities are designed with simple steps and require no hot surfaces or sharp tools (when child-safe versions are used under supervision). Adult supervision is essential to ensure safety during preparation and handling of ingredients.
What if a child is a picky eater?
These activities are a great way to introduce new foods in a fun and non-threatening environment. Encourage them to participate in the preparation, and they may be more willing to try the finished product. Offering choices within the activity (like in the trail mix) can also be helpful.
How can I adapt these activities for a larger group?
Set up stations for each activity with pre-portioned ingredients. Have adult volunteers or older campers assist at each station to help guide the younger children. Prepare some ingredients in advance (like chopping vegetables) to save time.
What other green foods can be used?
Many green fruits and vegetables work well. Consider green apples, pears, snap peas, edamame (shelled), or even green olives (if appropriate for the age group and any allergies). The key is to choose ingredients that are easy for young children to handle and prepare without cooking.
How do these activities support the "Green Creators" theme?
These activities connect the concept of "green" to the natural world and healthy eating. Children are "creating" with green ingredients, exploring the colors and textures found in nature, and learning about the foods that come from the earth.
Relevant Video
This video provides additional ideas for green food options that can be incorporated into lunchboxes or snack times, aligning with the theme of green foods for children.
References
Last updated May 15, 2025