
Resolving the GRUB Menu Stuck Issue Due to Disabled Timeout Counter
Comprehensive Guide to Restore GRUB Timeout and Ensure Smooth Booting
Key Takeaways
- Understand GRUB Configuration: Properly configuring GRUB settings is crucial to prevent boot issues.
- Manage recordfail Mechanism: The
recordfailflag can disable the GRUB timeout, requiring specific steps to reset. - System Maintenance: Regular updates and clean shutdowns help maintain GRUB functionality and prevent errors.
Introduction to the GRUB Menu Timeout Issue
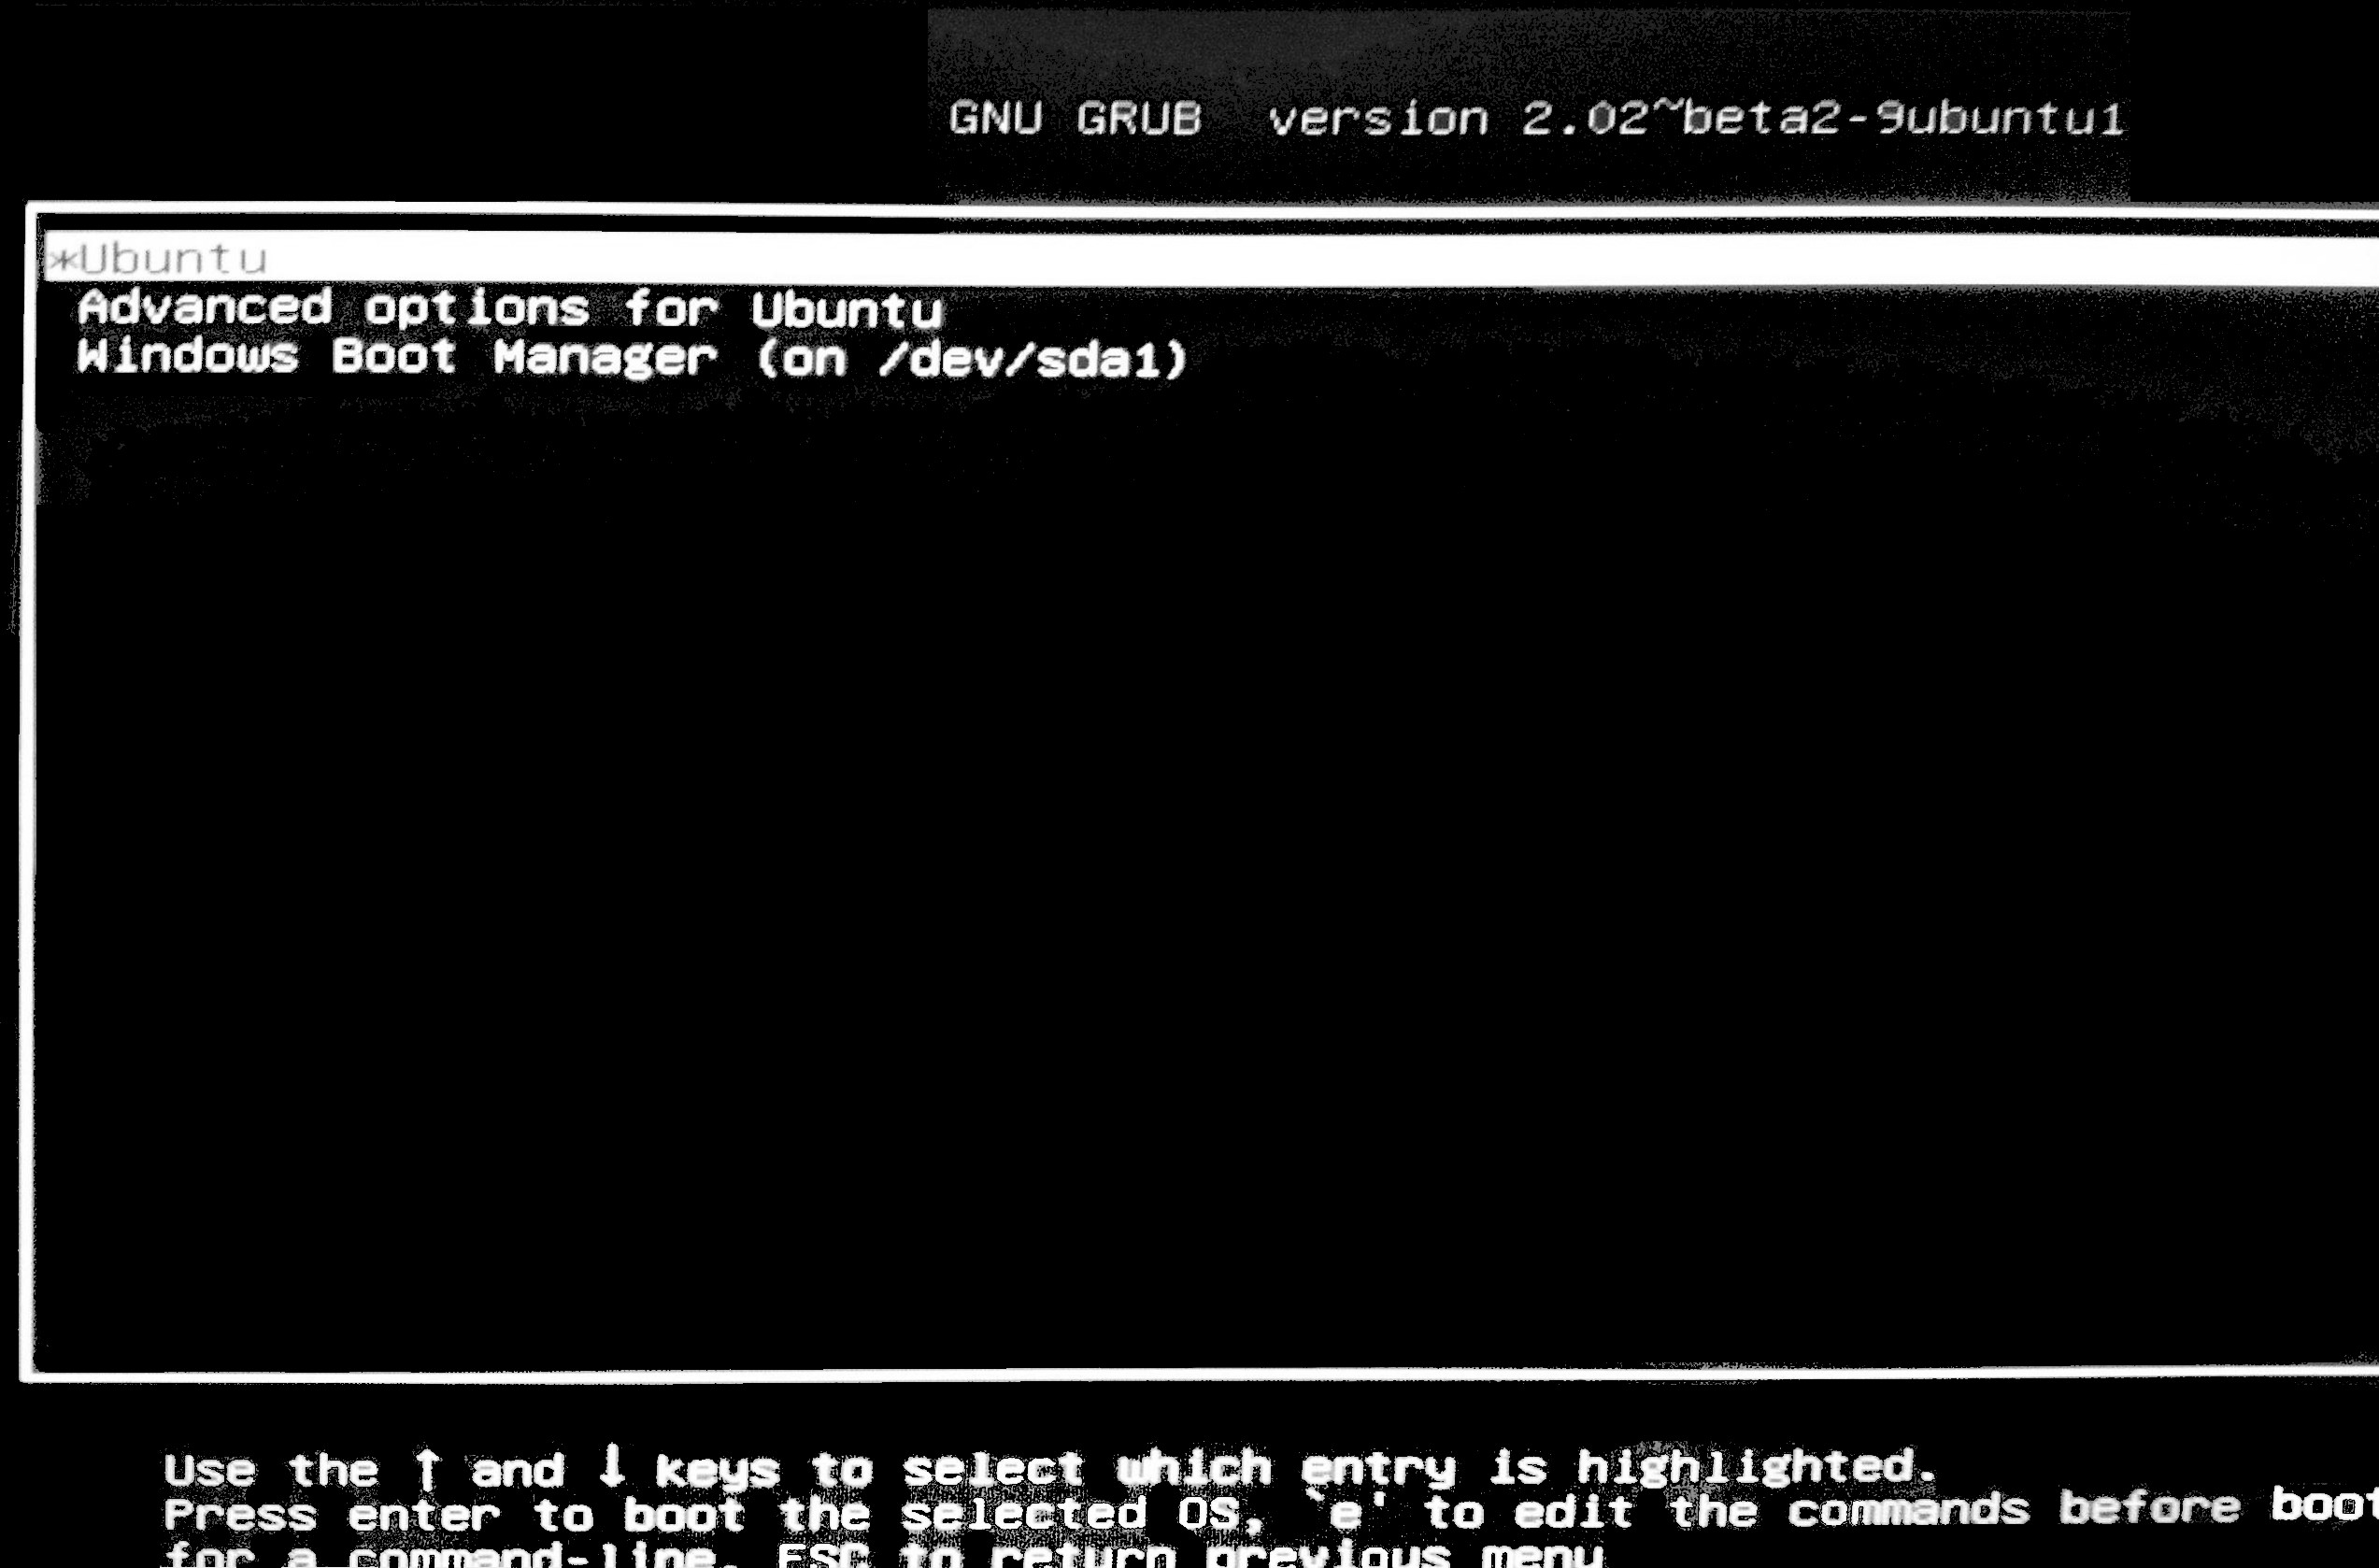
The GRUB (GRand Unified Bootloader) menu serves as a crucial interface for selecting the operating system or kernel version to boot. However, users may encounter a persistent issue where the system remains stuck at the GRUB menu, failing to proceed to the intended operating system. This problem is typically caused by the GRUB timeout counter becoming disabled, preventing it from reaching zero and initiating the automatic boot process.
Understanding the underlying causes and implementing effective solutions is essential to restore normal boot behavior. This guide provides an in-depth analysis of the GRUB timeout issue, common causes, and step-by-step solutions to resolve it.
Understanding the GRUB Timeout Mechanism
What is GRUB Timeout?
GRUB timeout refers to the duration (in seconds) that the GRUB menu remains visible before automatically booting the default operating system. This feature allows users to select different boot options or kernels if necessary. Configuring the timeout ensures that the system doesn't wait indefinitely at the GRUB menu.
Role of recordfail in GRUB
The recordfail flag is a GRUB mechanism designed to detect failed boot attempts. When a system fails to boot correctly, GRUB sets this flag, altering its behavior to prioritize user intervention. Specifically, when recordfail is active, GRUB may disable the timeout counter, causing the menu to wait indefinitely for user input, thus leading to the appliance being stuck at the GRUB menu.
Common Causes of GRUB Timeout Issues
1. Misconfigured GRUB Settings
Incorrect configurations in the GRUB settings file can lead to the timeout counter being disabled. For instance, setting GRUB_TIMEOUT=-1 instructs GRUB to wait indefinitely for user input, effectively disabling the timeout.
2. Active recordfail Flag
As mentioned earlier, if GRUB detects a failed boot, it sets the recordfail flag, which can override the default timeout settings and prevent the system from booting automatically.
3. Corrupted GRUB Environment File
A corrupted grubenv file can disrupt GRUB's normal operations, leading to unexpected behaviors such as indefinite waits at the GRUB menu.
4. Compatibility Issues
Systems with specific configurations, such as UEFI setups or Logical Volume Management (LVM), can introduce complexities that affect GRUB's timeout functionality.
Step-by-Step Solutions to Resolve the GRUB Timeout Issue
1. Modify GRUB Configuration File
a. Accessing the Configuration File
Begin by accessing the GRUB configuration file located at /etc/default/grub. This file dictates GRUB's behavior during the boot process.
b. Editing Timeout Settings
Open the file using a text editor with administrative privileges:
sudo nano /etc/default/grubLocate the following lines and modify them as needed:
GRUB_TIMEOUT=5– Sets the timeout to 5 seconds.GRUB_RECORDFAIL_TIMEOUT=5– Ensures that even ifrecordfailis set, GRUB will timeout after 5 seconds.GRUB_TIMEOUT_STYLE=menu– Ensures that the menu is displayed.
If GRUB_RECORDFAIL_TIMEOUT is not present, add it to override the recordfail behavior.
c. Apply the Changes
After editing, save the file and update the GRUB configuration:
sudo update-grub2. Reset the recordfail Flag
If the recordfail flag is active, resetting it can restore normal timeout behavior.
a. Access the Terminal
Boot into the system or use a live CD if the system is not bootable, and open the terminal.
b. Unset the recordfail Flag
Run the following command to unset the recordfail flag:
sudo grub-editenv /boot/grub/grubenv unset recordfailc. Update GRUB Configuration Again
Apply the changes by updating GRUB:
sudo update-grub3. Verify and Repair the GRUB Environment File
A corrupted grubenv file can cause GRUB to malfunction. Ensuring its integrity is vital.
a. Backup Current Configuration
Before making changes, create a backup of the current GRUB configuration:
sudo cp /etc/default/grub /etc/default/grub.backupb. Reinstall GRUB
If issues persist, reinstalling GRUB can repair corrupted files:
For BIOS systems:
sudo grub-install /dev/sdaFor UEFI systems:
sudo grub-install --efi-directory=/boot/efic. Update GRUB Post-Reinstallation
After reinstalling, update the GRUB configuration:
sudo update-grub4. Ensure Proper Shutdown Procedures
Improper shutdowns can trigger the recordfail flag. Ensuring clean shutdowns helps maintain GRUB's normal operations.
a. Execute Proper Shutdown Commands
Always use system commands to shut down the appliance:
sudo shutdown -h nowb. Avoid Abrupt Power Cuts
Refrain from powering off the system abruptly, as this can lead to file system corruption and trigger recordfail.
5. Advanced Solutions
a. Modify GRUB Scripts for Headless Servers
For servers without a connected keyboard, GRUB may require specific configurations.
Edit the /etc/grub.d/00_header file:
sudo nano /etc/grub.d/00_headerFind and modify the timeout function:
make_timeout () { echo "set timeout=0"; }Then, update GRUB:
sudo update-grub2b. Inspect BIOS/UEFI Settings
Sometimes, BIOS or UEFI settings can interfere with GRUB's operation. Ensure that boot settings are correctly configured and that the hardware is recognized properly.
c. Manual Booting from GRUB Prompt
If stuck at the GRUB prompt (grub>), manually set the root and load the kernel:
grub> set root=(hd0,1)
grub> linux /vmlinuz root=/dev/sda1
grub> initrd /initrd.img
grub> boot
Replace hd0,1 and /dev/sda1 with appropriate identifiers for your system.
Preventive Measures to Avoid GRUB Timeout Issues
-
Regular System Updates: Keep your system and GRUB updated to benefit from the latest fixes and improvements.
-
Backup Configuration Files: Always backup configuration files before making changes to facilitate easy recovery in case of issues.
-
Ensure Clean Shutdowns: Avoid abrupt shutdowns to prevent triggering the
recordfailflag. -
Monitor System Health: Regularly check system logs and GRUB settings to detect and address issues proactively.
Advanced Troubleshooting Techniques
1. Analyze GRUB Logs
Inspecting GRUB logs can provide insights into what might be causing the timeout issue.
a. Accessing GRUB Logs
GRUB doesn't maintain detailed logs by default, but you can increase verbosity by modifying GRUB settings:
sudo nano /etc/default/grubAdd or modify the following line:
GRUB_TERMINAL=consoleThen, update GRUB:
sudo update-grubb. Reviewing Boot Process
During boot, observe the GRUB output for any error messages or warnings that could indicate configuration issues.
2. Rebuild GRUB Configuration from Scratch
If multiple attempts to fix the timeout issue fail, rebuilding the GRUB configuration may help.
a. Backup Existing Configuration
Ensure that you have a backup:
sudo cp /etc/default/grub /etc/default/grub.backupb. Remove Existing Configuration
Delete the current configuration to allow GRUB to generate a new one:
sudo rm /etc/default/grubc. Recreate Configuration File
Create a new /etc/default/grub with default settings, adjusting timeout parameters as necessary:
GRUB_DEFAULT=0
GRUB_TIMEOUT=5
GRUB_DISTRIBUTOR=$(lsb_release -i -s 2>/dev/null || echo Debian)
GRUB_CMDLINE_LINUX_DEFAULT="quiet splash"
GRUB_CMDLINE_LINUX=""
d. Update GRUB
Apply the new configuration:
sudo update-grubReboot to test the changes.
3. Utilize a Live USB for Recovery
If the system is unbootable due to GRUB issues, a Live USB can be used to access and repair GRUB configurations.
a. Boot from Live USB
Create a Live USB with a Linux distribution and boot the appliance from it.
b. Mount the Root Partition
Identify and mount the root partition:
sudo mount /dev/sda1 /mntc. Chroot into the System
Change root to the mounted partition:
sudo chroot /mntd. Reinstall and Update GRUB
Reinstall GRUB and update its configuration:
grub-install /dev/sda
sudo update-grub
Exit chroot and reboot the system.
Preventive Maintenance for GRUB
1. Regular System Updates
Keeping the system and GRUB updated ensures that you benefit from the latest patches and improvements, reducing the likelihood of encountering timeout issues.
sudo apt update && sudo apt upgrade -y2. Backup Configuration Files
Regularly back up GRUB configuration files to facilitate easy recovery if issues arise:
sudo cp /etc/default/grub /etc/default/grub.backup3. Monitor System Health
Use system monitoring tools to keep an eye on system logs and GRUB settings, enabling proactive detection and resolution of potential issues.
Conclusion
The GRUB menu stuck issue due to a disabled timeout counter can be a significant hindrance to system usability. By understanding the GRUB configuration, managing the recordfail mechanism, and performing regular system maintenance, users can effectively prevent and resolve this problem. Implementing the step-by-step solutions outlined in this guide will restore normal boot functionality, ensuring a smooth and efficient system startup process.
References
Last updated January 24, 2025