
Unlock ModusToolbox 3.5+: Your Guide to Installing the Eclipse IDE
Step-by-step instructions for integrating the powerful Eclipse IDE with the latest ModusToolbox environment.
Starting with ModusToolbox version 3.4.0, and continuing with version 3.5 and later, the installation approach for the Eclipse IDE has changed. Instead of being bundled with the core tools, the Eclipse IDE for ModusToolbox™ is now provided as a separate, optional package. This modular approach offers greater flexibility, allowing you to choose your preferred development environment. The recommended method for installation is using the ModusToolbox Setup program, which manages the download and installation of all necessary components.
Key Installation Highlights
- Download the Setup Program: Obtain the latest ModusToolbox Setup program directly from Infineon. This is your gateway to installing all components.
- Select Eclipse IDE during Setup: When running the Setup program, ensure you explicitly select the "Eclipse IDE for ModusToolbox" package alongside the core tools package (v3.5 or later).
- Install and Launch: Follow the Setup wizard prompts to complete the installation, then launch the Eclipse IDE and configure your workspace to begin development.
Prerequisites for Installation
Ensuring System Compatibility
Before starting the installation, verify that your system meets the necessary requirements for ModusToolbox 3.5 and the Eclipse IDE:
- Supported Operating Systems: Windows (x86-64), Linux (various distributions), and macOS. Ensure your OS version is supported by the specific ModusToolbox release.
- Internet Connection: Required for downloading the Setup program and the selected software packages.
- Disk Space: Allocate sufficient disk space. While the Eclipse IDE package itself might be around 200-300 MB, a full ModusToolbox environment with core tools, libraries, and the IDE can require several gigabytes. Plan for at least 5-10 GB of free space.
- Java Runtime Environment (JRE): Eclipse IDE requires a JRE. While the ModusToolbox installer might handle this dependency, having a recent JRE (typically version 11 or later is recommended for modern Eclipse versions) installed can prevent potential issues. Check the specific ModusToolbox release notes for JRE requirements if you encounter problems.
- Administrator Privileges: You might need administrator rights to install the software, especially on Windows or if installing system-wide components.
Step-by-Step Installation Guide
Using the ModusToolbox Setup Program
Follow these steps carefully to install the Eclipse IDE for ModusToolbox version 3.5 or later.
Step 1: Download the ModusToolbox Setup Program
Navigate to the official Infineon ModusToolbox software page or the Infineon Developer Center. Download the Setup program specific to your operating system (e.g., .exe for Windows, .tar.gz for Linux, .dmg for macOS).
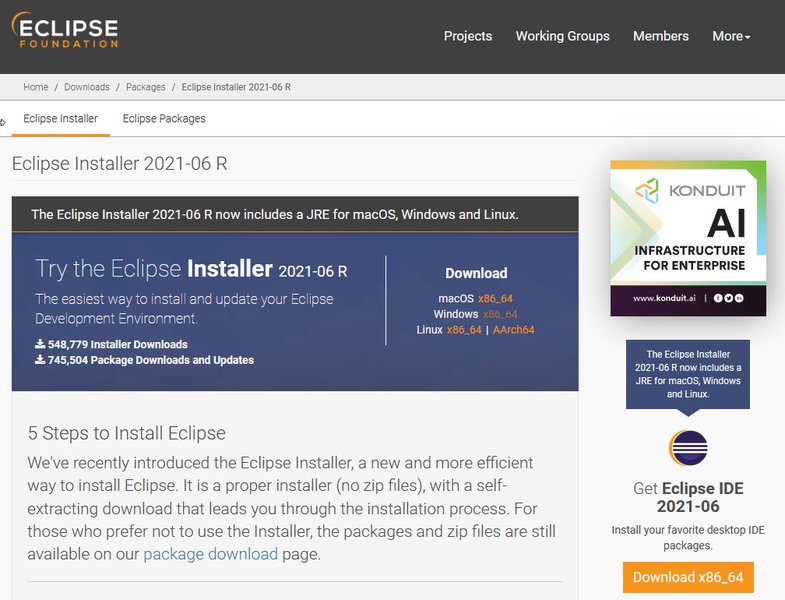
Conceptual example of a software download page. Obtain the ModusToolbox Setup program from the official Infineon source.
Step 2: Run the Setup Program
Launch the downloaded Setup program:
- Windows: Double-click the
.exefile. - Linux: Extract the
.tar.gzarchive and run the setup script (often found within the extracted directory) from your terminal. You might need to make it executable (chmod +x setup_program_name). - macOS: Open the
.dmgfile and run the installer application inside.
The Setup program will guide you through the installation process with a wizard-like interface.
Step 3: Select Components for Installation
This is a crucial step. Within the Setup program's interface:
- Select the main ModusToolbox Tools Package (ensure it's version 3.5 or later).
- Locate and explicitly check the box for the Eclipse IDE for ModusToolbox package. It will be listed as a separate, optional item.
- Review other optional packages, such as specific device support (BSPs - Board Support Packages), libraries (e.g., Middleware), documentation, and potentially necessary compilers (like GCC ARM Embedded). Select those required for your development needs. Dependencies might be selected automatically.
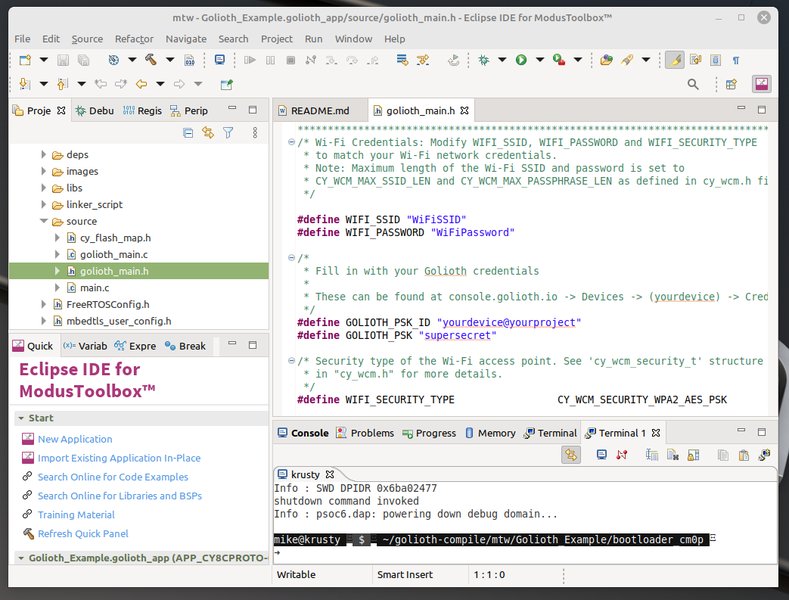
Example showing component selection within a setup tool, similar to the ModusToolbox Setup program where you'd select the Eclipse IDE.
Step 4: Complete the Installation
Proceed through the Setup wizard:
- Accept any license agreements presented for ModusToolbox and the Eclipse IDE.
- Confirm the installation directory. The default locations are typically within your user home directory (e.g.,
C:\Users\<YourUser>\ModusToolboxon Windows,~/ModusToolboxon Linux/macOS), with the Eclipse IDE often in a subdirectory likeide_<version>/eclipse. - Click "Install" or "Next" to begin the download and installation of the selected packages. This may take some time depending on your internet connection speed and the number of packages chosen.
- Wait for the Setup program to indicate that the installation is complete.
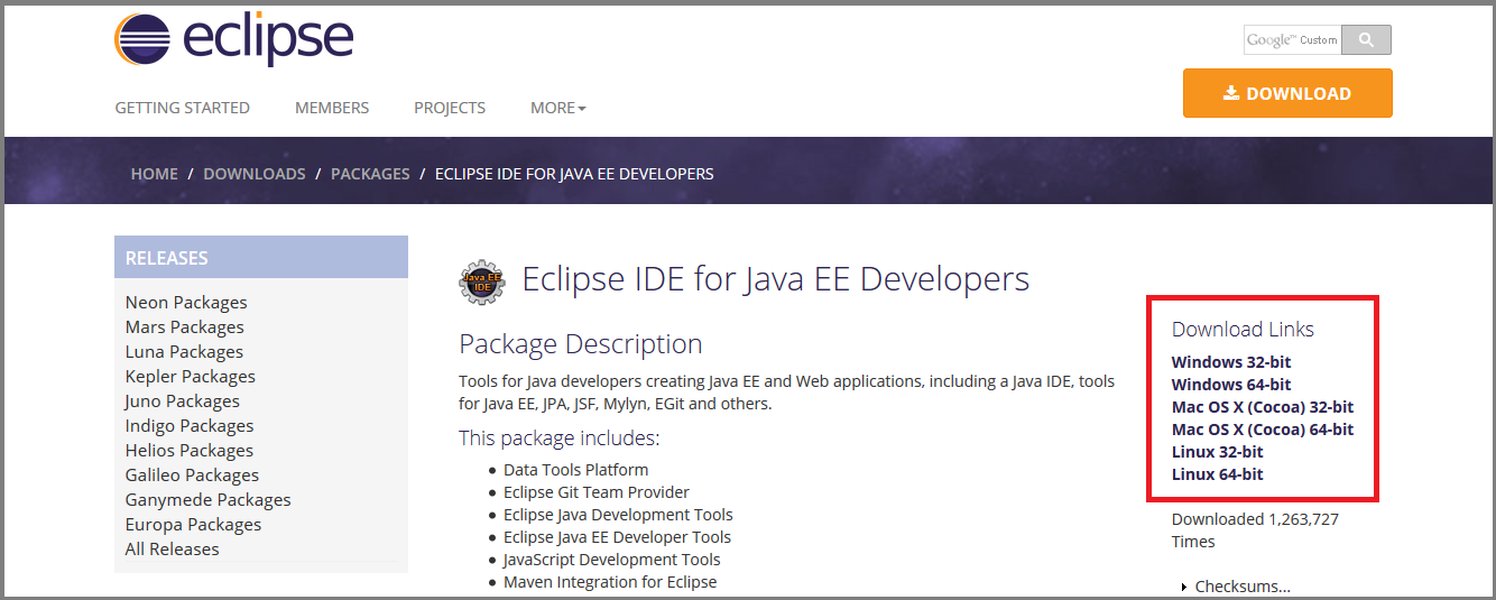
Conceptual example of an installation progress window.
Installation Flow Mindmap
Visualizing the Process
This mindmap outlines the key stages involved in installing the Eclipse IDE for ModusToolbox 3.5+.
Post-Installation Steps
Launching and Configuring Eclipse
Launching the IDE
Once installed, launch the Eclipse IDE for ModusToolbox:
- Windows: Find "Eclipse IDE for ModusToolbox" in the Start Menu or navigate to the installation directory (e.g.,
<user_home>\ModusToolbox\ide_<version>\eclipse) and runeclipse.exe. - Linux: Navigate to the installation directory (e.g.,
~/ModusToolbox/ide_<version>/eclipse) and run theeclipseexecutable from the terminal or create a desktop shortcut. - macOS: Find the ModusToolbox application bundle (potentially in
/Applications/ModusToolbox) and launch the Eclipse IDE from within it or via a direct path if installed elsewhere.
Setting Up the Workspace
Upon the first launch, Eclipse will prompt you to select a directory for your workspace. This is where your projects and settings will be stored. Choose a suitable location (e.g., <user_home>\ModusToolbox\mtw). It's generally recommended to keep your workspace outside the ModusToolbox installation directory.
Verification
To ensure the installation was successful and the IDE is integrated correctly:
- Explore the Eclipse interface. Look for ModusToolbox-specific menus or perspectives.
- Check the "Quick Panel" if available, which often provides links to create new projects, open examples, and access tools.
- Try creating a new ModusToolbox application using File > New > ModusToolbox Application (or similar). Select a target board (BSP) you installed and a basic template (e.g., "Empty PSoC App"). If the project builds successfully, your environment is likely set up correctly.
ModusToolbox IDE Integration Comparison
Understanding Your Options
ModusToolbox supports several IDEs. While this guide focuses on Eclipse, it's helpful to understand how it compares to other popular choices like Visual Studio Code (VS Code) within the ModusToolbox ecosystem. This chart provides a subjective comparison based on common development factors.
Interpretation: The Eclipse IDE provided by Infineon offers deep integration with ModusToolbox tools and features but might consume more system resources compared to the lighter VS Code. VS Code, while requiring an extension for ModusToolbox support, is highly extensible, potentially has a gentler learning curve for web developers, and benefits from a vast community. IAR is a traditional embedded IDE known for its powerful debugging and optimization features but might be less customizable than VS Code or Eclipse.
Installation Summary by Operating System
Quick Reference Table
This table summarizes the key actions for downloading, running the setup, and launching the Eclipse IDE across different operating systems.
| Operating System | Download Setup Program | Run Setup Program Action | Launch Eclipse IDE Action |
|---|---|---|---|
| Windows | Download .exe installer |
Double-click the .exe file |
Use Start Menu shortcut or run eclipse.exe from install directory |
| Linux | Download .tar.gz archive |
Extract archive, run setup script via terminal (e.g., ./ModusToolbox_Setup) |
Run eclipse executable from install directory via terminal or shortcut |
| macOS | Download .dmg disk image |
Open .dmg, run the installer application inside |
Launch from Applications folder or installed location |
Introductory Video: Creating Applications
Getting Started with ModusToolbox
This video provides an overview of creating new applications within the ModusToolbox environment, which is the primary task you'll perform using the newly installed Eclipse IDE. It helps contextualize the purpose of the IDE within the broader development workflow.
Watching this can give you a head start on navigating the ModusToolbox ecosystem once your Eclipse IDE is up and running, showing how to leverage project creators and configurators available within the IDE.
Important Considerations
Tips and Best Practices
- Eclipse is Optional: Remember that ModusToolbox supports other IDEs like Visual Studio Code, IAR Embedded Workbench, and Arm Keil MDK. If you prefer one of those, you don't need to install the Eclipse IDE package.
- Updates via Setup Program: The ModusToolbox Setup program is also used for updating your environment. Run it periodically to check for newer versions of the core tools, Eclipse IDE, libraries, and device support.
- Handling Previous Versions: If you have older ModusToolbox versions (e.g., 2.x), version 3.5 will typically install alongside them in a separate directory. The Setup program might offer options to manage or uninstall older versions. Always back up your workspaces before making major changes.
- Troubleshooting: If Eclipse fails to launch, double-check JRE compatibility or potential path issues. Consult the official ModusToolbox documentation and community forums for solutions to common problems. Ensure required tools like compilers and debug probes are correctly configured within the IDE preferences if not automatically detected.
- Environment Variables: On some systems (especially Linux), you might need to set environment variables manually if tools like debuggers (e.g., J-Link) are installed in non-standard locations.
Frequently Asked Questions (FAQ)
Common Queries About Eclipse IDE Installation
Do I have to use the Eclipse IDE with ModusToolbox 3.5?
No. Starting with version 3.4.0, the Eclipse IDE is an optional component. ModusToolbox provides support for other popular IDEs, including Visual Studio Code (via an extension), IAR Embedded Workbench, and Arm Keil MDK. You can choose the development environment that best suits your workflow.
Where is the Eclipse IDE installed by default?
The default installation location is typically within the main ModusToolbox installation directory, under your user's home folder. For example:
- Windows: `C:\Users\<YourUser>\ModusToolbox\ide_<version>\eclipse\`
- Linux: `~/ModusToolbox/ide_<version>/eclipse/`
- macOS: Often found within `/Applications/ModusToolbox/ide_<version>/eclipse/` or `~/ModusToolbox/ide_<version>/eclipse/`
Note that `<version>` refers to the specific version of the IDE package installed.
How do I update the Eclipse IDE for ModusToolbox?
The recommended way to update the Eclipse IDE, along with other ModusToolbox components, is to re-run the ModusToolbox Setup program. It will detect your existing installation and allow you to select newer versions of packages if available.
What if I already installed ModusToolbox 3.5 core tools but not Eclipse?
You can simply run the ModusToolbox Setup program again. It will recognize your existing core tools installation. In the component selection screen, just select the "Eclipse IDE for ModusToolbox" package and proceed with the installation. It will add the IDE to your existing ModusToolbox environment.
Recommended Next Steps
Explore Further
- Learn how to create your first project using the ModusToolbox Eclipse IDE.
- Explore a comparison between Eclipse and VS Code for ModusToolbox development.
- Find solutions for common ModusToolbox installation problems.
- Discover how to use the ModusToolbox command-line interface for building and managing projects.
References
Official Documentation and Resources
 static4.arrow.com
static4.arrow.com
static4.arrow.com
 docs.aws.amazon.com
Last updated May 2, 2025