
Unlock System Insights: Your Comprehensive Guide to Adding Sensors in OpenBMC
Navigate the essentials of OpenBMC sensor integration, from hardware configuration to D-Bus exposure and verification.
Adding new sensors to an OpenBMC (Baseboard Management Controller) system is a critical task for enhancing hardware monitoring capabilities. This process allows for the collection of vital data such as temperature, voltage, fan speed, and more, which is essential for system health management, diagnostics, and alerting. Successfully integrating a sensor involves understanding OpenBMC's architecture, configuring the hardware at the kernel level, and ensuring the sensor data is correctly exposed and accessible through OpenBMC's management interfaces.
Key Takeaways: Adding Sensors to OpenBMC
- D-Bus is Central: OpenBMC maps physical hardware sensors to D-Bus objects, making sensor data and threshold events accessible system-wide. Sensor values are typically found under paths like
/xyz/openbmc_project/sensors/<type>/<label>. - Kernel and Hardware First: Sensor integration begins with ensuring the hardware is recognized by the Linux kernel, often requiring Device Tree (DTS) modifications to define the sensor's properties and connection (e.g., I2C address).
- Configuration is Key: OpenBMC relies on configuration files (often YAML or JSON) to define how sensor data from the kernel's Hwmon (Hardware Monitoring) subsystem is interpreted, processed, and exposed by daemons like
phosphor-hwmonordbus-sensorsin conjunction withentity-manager.
Understanding the OpenBMC Sensor Architecture
The Foundation of Hardware Monitoring
OpenBMC employs a layered architecture for sensor management, designed for flexibility and compliance with Linux standards. At its core, OpenBMC leverages the Linux Hwmon subsystem, which provides a standardized way for kernel drivers to expose hardware monitoring capabilities through the sysfs filesystem (e.g., /sys/class/hwmon/hwmonX/).
The data from Hwmon is then picked up by various OpenBMC daemons. These daemons are responsible for reading the raw sensor values, applying scaling or offsets if necessary, and exposing them as D-Bus objects. D-Bus acts as the central inter-process communication (IPC) mechanism in OpenBMC. Sensors are typically represented on D-Bus under the path /xyz/openbmc_project/sensors/, categorized by type (e.g., temperature, voltage, fan_tach) and a unique label.
Key D-Bus interfaces for sensors include:
xyz.openbmc_project.Sensor.Value: Exposes the current sensor reading.xyz.openbmc_project.Sensor.Thresholdinterfaces (e.g.,Warning,Critical): Define and manage threshold levels.
When a sensor's value changes or a threshold is crossed, a PropertiesChanged signal is broadcast on D-Bus. This allows other OpenBMC services (like those providing Redfish or IPMI interfaces) and external monitoring tools to react to these events in real-time.

A conceptual diagram illustrating how sensors integrate into the OpenBMC ecosystem, interacting with the host system and management interfaces like REST APIs.
Step-by-Step Guide to Integrating a New Sensor
From Hardware Detection to D-Bus Exposure
Adding a new sensor to OpenBMC involves several distinct stages, ensuring the hardware is recognized, configured, and its data made available through the management stack.
1. Hardware Connection and Device Tree Configuration
The first step is to ensure your sensor hardware is correctly connected to the system (e.g., via an I2C bus, SPI, or ADC input). The Linux kernel needs to be aware of this new hardware. This is typically achieved by adding an entry to the system's Device Tree Source (DTS) file. The DTS describes the hardware present on the board to the kernel.
For example, to add an LM75 temperature sensor connected to an I2C bus at address 0x48, you might add the following to your DTS file:
&i2c1 { /* Assuming the sensor is on I2C bus 1 */
    status = "okay";

    temp_sensor: lm75@48 {
        compatible = "national,lm75"; /* Or appropriate compatible string */
        reg = <0x48>;
        status = "okay";
    };
};
After modifying the DTS, you'll need to recompile the kernel and device tree, then update your OpenBMC image.
2. OpenBMC Layer Configuration: Daemons and Files
Once the kernel recognizes the sensor and exposes it via Hwmon (e.g., in /sys/class/hwmon/hwmonX/), you need to configure OpenBMC to read and interpret this data. There are two primary approaches:
-
Using
phosphor-hwmon:This daemon is suitable for sensors directly exposed via Hwmon sysfs entries. It reads these entries and creates corresponding D-Bus objects. Configuration typically involves creating or modifying files in directories like
/etc/default/obmc/hwmon/or within your machine-specific Yocto layer.These configuration files define properties like sensor type, D-Bus path, scaling factors, and thresholds. Some systems might use a Machine Readable Workbook (MRW) to define sensors, which
phosphor-hwmoncan then process. -
Using
entity-manageranddbus-sensors:This combination offers more flexibility, especially for dynamic sensor discovery or more complex sensor types (e.g., ADC sensors, external sensors). The
entity-managerparses JSON or YAML configuration files that describe system components, including sensors. Based on these configurations,dbus-sensorsand its associated applications (likeadcsensor,cpusensor) dynamically create D-Bus sensor objects. Configuration files forentity-managerare typically located within the OpenBMC source tree (e.g.,meta-yourmachine/recipes-phosphor/sensors/oropenbmc/entity-manager/config/).An example JSON configuration for an external temperature sensor managed by
dbus-sensorsmight look like:{ "Name": "AmbientTempFront", "Units": "DegreesC", "MinValue": -20.0, "MaxValue": 85.0, "Timeout": 5.0, "Type": "ExternalSensor", "MonitorPath": "/some/external/sensor/path", // Path to sensor data if not standard Hwmon "Scale": 1000 // Example: if sensor reports in millidegrees }
3. Defining Sensor Interfaces and Thresholds
OpenBMC uses YAML files to define the D-Bus interfaces for sensors, including their properties and threshold behaviors. These are generally located in the phosphor-dbus-interfaces repository, under paths like xyz/openbmc_project/Sensor/Value.yaml or xyz/openbmc_project/Sensor/Threshold/Warning.yaml. While you typically don't modify these core interface definitions, your sensor configuration files (JSON or specific daemon configs) will reference these interfaces and provide values for properties like Unit, Scale, MinValue, MaxValue, and threshold limits (e.g., WarningHigh, CriticalLow).
4. Building, Deploying, and Verifying the Sensor
After adding the necessary DTS entries and configuration files, rebuild your OpenBMC image and flash it to your target system. Once the system boots, you need to verify that the sensor is correctly recognized and reporting data.
Verification using busctl:
You can use the busctl command-line utility to inspect D-Bus objects:
- List sensor services:
busctl tree xyz.openbmc_project.sensors - Introspect a specific sensor object (replace path as needed):
busctl introspect xyz.openbmc_project.sensors /xyz/openbmc_project/sensors/temperature/temp_sensor - Get a sensor's value:
busctl get-property xyz.openbmc_project.sensors /xyz/openbmc_project/sensors/temperature/temp_sensor xyz.openbmc_project.Sensor.Value Value
Verification using REST API:
If bmcweb (OpenBMC's web server) is running, you can query sensor data via its REST API:
curl -b cjar -k https://<BMC_IP>/xyz/openbmc_project/sensors/temperature/temp_sensor
Replace <BMC_IP> with your BMC's IP address and the sensor path accordingly. If the host system (the main server) needs to be powered on for the sensor to be active, ensure it is on using commands like obmcutil poweron.
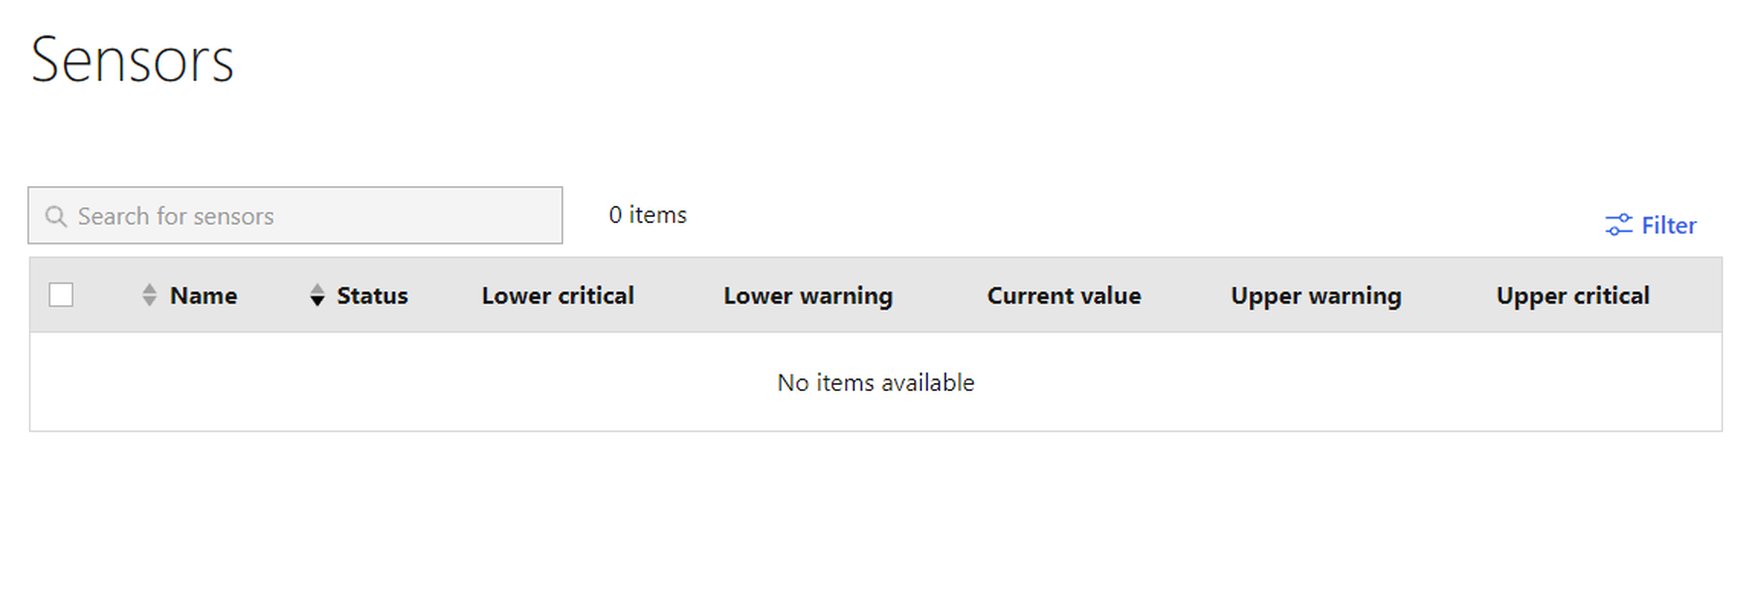
Example of an OpenBMC web interface showing hardware status, where newly added sensors would appear.
Key Sensor Management Components in OpenBMC
Several daemons and services work together to manage sensors in OpenBMC. Understanding their roles can help in troubleshooting and configuration.
| Component | Primary Role | Configuration Method | Typical Use Case |
|---|---|---|---|
phosphor-hwmon |
Reads sensor data directly from Linux Hwmon sysfs entries and exposes them as D-Bus objects. | Configuration files (e.g., in /etc/default/obmc/hwmon/ or via MRW) defining mappings and properties. |
Sensors with standard Hwmon kernel drivers. Simpler, static configurations. |
dbus-sensors |
A suite of applications for more flexible and dynamic sensor detection and D-Bus object creation. Includes specific handlers like adcsensor, cpusensor, and fansensor. |
Often works with entity-manager using JSON/YAML configuration files. Can also read from Hwmon, other D-Bus services, or directly from drivers. |
Complex sensor types, external sensors, ADC-based sensors, or scenarios requiring dynamic configuration. |
entity-manager |
Parses system configuration data (typically JSON files) that describe the hardware entities on the platform, including sensors and their properties. | JSON or YAML configuration files stored in the OpenBMC filesystem or within machine-specific layers. | Provides a structured way to define the system's inventory and how components, including sensors, are managed and interconnected. |
| ExternalSensor Daemon | A specific application (often part of or used by dbus-sensors) that supports adding sensors with flexible configurations not tied directly to Hwmon sysfs. |
JSON configuration files specifying sensor name, units, value ranges, and how to read the sensor. | Sensors whose data is available through non-standard kernel interfaces or other means. |
This table summarizes the primary roles and configuration approaches for key sensor management components within the OpenBMC framework. The choice of component often depends on the sensor type and the complexity of its integration.
Visualizing Sensor Integration Complexity
Effort Distribution Across Different Sensor Types
Adding different types of sensors to OpenBMC can vary in complexity across several aspects of the integration process. The following radar chart provides an opinionated visualization of the relative effort or knowledge typically required for integrating common sensor types. The scores (1-10, higher means more effort/complexity) are illustrative and can vary based on the specific hardware and OpenBMC version.
This chart helps to understand that while some aspects like D-Bus interfacing might be consistently involved, the effort in areas like kernel driver availability or Device Tree configuration can differ significantly. For instance, a standard I2C temperature sensor with good kernel support might be simpler than a custom PMBus device requiring more intricate configuration.
Mapping the OpenBMC Sensor Integration Flow
A Bird's-Eye View of the Process
The following mindmap illustrates the general workflow and architectural layers involved when adding a sensor to an OpenBMC system. It highlights the journey of sensor data from the physical hardware up to the point where it's accessible by management applications.
(I2C, SPI, ADC, PMBus)"] id2["Linux Kernel Layer"] id2_1["Device Tree (DTS)
Describes sensor to kernel"] id2_2["Kernel Driver
Interacts with hardware
Exposes data via Hwmon (sysfs)"] id3["OpenBMC Software Layer"] id3_1["Sensor Management Daemons"] id3_1_1["phosphor-hwmon
Reads Hwmon sysfs, static config"] id3_1_2["dbus-sensors Suite
(adcsensor, iiosensor, etc.)
Reads Hwmon/D-Bus, dynamic config"] id3_1_3["entity-manager
Parses system JSON/YAML
for sensor configurations"] id3_2["D-Bus Inter-Process Communication"] id3_2_1["Sensor D-Bus Objects
(e.g., /xyz/openbmc_project/sensors/temperature/Ambient)"] id3_2_2["Standard Interfaces
(Sensor.Value, Sensor.Threshold.*)"] id3_2_3["PropertiesChanged Signals
For value/threshold updates"] id4["Management Applications & Interfaces"] id4_1["REST API (via bmcweb)"] id4_2["IPMI Interface"] id4_3["Web User Interface"] id4_4["Command-Line Utilities (e.g., busctl)"] id4_5["External Monitoring Systems"]
This mindmap visually breaks down the sensor integration process, showing how different components interact, from the physical hardware layer through the Linux kernel and into the OpenBMC software stack where sensor data is ultimately consumed.
Diving Deeper: OpenBMC Entity Manager
Understanding Dynamic Component Management
The Entity Manager is a crucial subsystem in OpenBMC responsible for discovering and managing system components, including sensors, in a dynamic way. It often works in conjunction with services like dbus-sensors to populate the D-Bus with objects representing the hardware inventory. This video provides an overview of the Entity Manager, its role, and how it uses configuration data (often JSON) to understand the system's makeup. This is particularly relevant when adding sensors that are part of a more complex or dynamically configured system.
Understanding how Entity Manager processes configuration files and interacts with other daemons is key for successfully integrating new sensors, especially in systems that rely heavily on it for hardware discovery and representation.
Frequently Asked Questions (FAQ)
Recommended Further Exploration
- How does OpenBMC manage sensor thresholds and alerts?
- What are the differences between phosphor-hwmon and dbus-sensors in OpenBMC?
- Can you provide an example of adding a PMBus sensor to OpenBMC?
- How to debug D-Bus communication for sensors in OpenBMC?
References
Last updated May 14, 2025