
Conquering Corroded Connections: Your Guide to Removing That Stubborn Rusted Spigot Screw
Don't let a tiny rusted screw defeat you! Discover proven methods to release it and get your outdoor spigot back in working order.
A broken outdoor water spigot handle is an inconvenience, made worse when the retaining screw is fused by rust. This common household problem can be frustrating, but with the right approach and a bit of patience, you can successfully remove that stubborn screw and replace the handle. This guide will walk you through various techniques, from gentle persuasion to more assertive tactics.
Key Insights: Tackling a Rusted Spigot Screw
- Patience and Penetrants are Paramount: Generously apply penetrating oil and allow ample time for it to work its magic on the rust.
- Gradual Escalation of Force: Start with the least invasive methods and progressively try more robust techniques if the screw remains stuck.
- Safety and Support are Crucial: Always wear protective gear and ensure the spigot body is well-supported to prevent damage to plumbing.
Initial Preparations: Safety and Setup
Before you begin your assault on the rusted screw, a few preparatory steps are essential for a safe and effective operation. Rushing this stage can lead to more significant problems, so take your time.
Shut Off the Water Supply
First and foremost, locate and turn off the water supply to the outdoor spigot. This might be an individual shut-off valve for the spigot (often found in the basement or crawlspace near where the pipe exits the house) or you may need to shut off the main water supply to your entire house. This step prevents any unexpected watery messes or complications during the repair.
Gather Your Arsenal: Tools and Materials
Having the right tools on hand will make the process smoother. You'll likely need a combination of the following:
- Penetrating oil (e.g., PB Blaster, Liquid Wrench, or even WD-40 as a starting point)
- A well-fitting screwdriver (Phillips or flathead, depending on the screw)
- A hammer (for tapping)
- Wire brush or steel wool (for cleaning rust)
- Pliers (needle-nose, locking/vice-grips)
- Safety glasses and work gloves
- Optional (for more stubborn screws): Heat gun or propane torch, screw extractor kit, rotary tool (like a Dremel), hand impact driver, correct sized socket and ratchet.
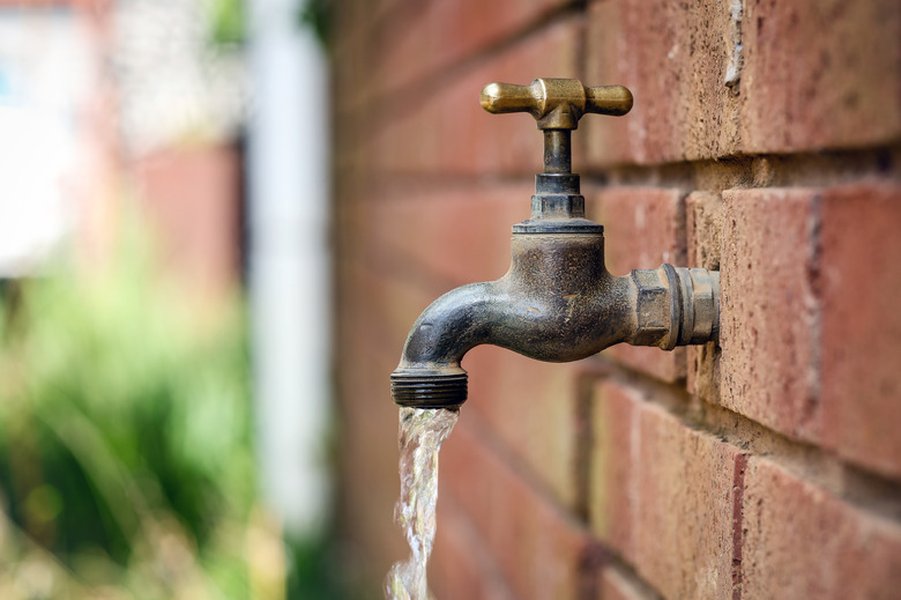
An outdoor spigot handle, often the site of a problematic rusted screw.
Support the Spigot
When applying force, especially twisting or hammering, it's crucial to support the body of the spigot. You can do this by firmly holding it with one hand, using a pipe wrench for counter-torque (carefully, to avoid crushing it), or by bracing it with a block of wood. This prevents transferring excessive force to the pipe inside the wall, which could lead to a much more serious and costly plumbing issue like a broken pipe or leaks.
Commencing the Attack: Breaking the Rust Bond
With preparations complete, it's time to start working on the screw itself. The primary goal here is to break the bond that rust has formed between the screw threads and the spigot.
Applying Penetrating Oils: Your First Line of Defense
Penetrating oils are specifically designed to seep into tight spaces and dissolve rust and corrosion. Clean the screw head and surrounding area with a wire brush to remove loose rust and debris, then liberally spray the rusted screw with your chosen penetrating oil. Ensure the oil gets into the seam where the screw meets the spigot handle or stem.
Allow the oil to soak for at least 15-60 minutes; for severely rusted screws, letting it sit for several hours or even overnight can significantly improve your chances of success. Reapply the oil periodically during this waiting time. Some sources suggest tapping the screw head lightly with a hammer after applying oil to help the lubricant penetrate deeper.
The Power of Percussion: Tapping and Impact Techniques
Sometimes, a few well-aimed taps can be enough to break the rust's grip.
- Gentle Tapping: Using a hammer, tap the head of the screwdriver while it's seated firmly in the screw slot. Alternatively, tap the screw head directly downwards. These light shocks can help fracture the rust.
- Chiseling (with care): If the screw head is damaged but still has some edge, you can use a small, sharp chisel and a hammer to gently tap the edge of the screw head in a counter-clockwise direction (the loosening direction). Be very careful not to damage the spigot body.
- Hand Impact Driver: This tool converts a hammer blow into a powerful rotational force. Place the appropriate bit in the impact driver, set it to "loosen," position it on the screw, and strike the end of the driver firmly with a hammer. Remember to support the spigot.
Escalating Tactics: When Gentle Methods Fall Short
If penetrating oil and tapping haven't budged the screw, it's time to consider more assertive methods.
Turning Up the Heat: Thermal Expansion to Loosen Rust
Applying heat can cause the metal around the screw to expand, potentially breaking the rust seal. Use a heat gun or a propane torch (with extreme caution) to heat the area around the screw for 30-60 seconds. The goal is to heat the spigot housing more than the screw itself, causing differential expansion.
Caution: Be extremely careful when using heat. Avoid applying direct flame to any plastic or rubber components, and be mindful of flammable materials nearby, such as vinyl siding, which can melt or ignite. After heating, you can try applying more penetrating oil (some oils are flammable, so let it cool slightly or use with caution) and then attempt to turn the screw. The rapid cooling and contraction when the oil hits the hot metal can also help break the rust bond.
Getting a Better Grip: Tools for Stripped or Stubborn Heads
If the screw head is partially stripped or your screwdriver keeps slipping, you need to enhance your grip:
- Rubber Band Trick: Place a wide rubber band over the screw head and then insert your screwdriver. The rubber can fill in the stripped gaps and provide extra friction.
- Valve Grinding Compound/Friction Drops: A small dab of valve grinding compound or specialized screw-grab friction drops on the screw head can also provide the extra bite needed.
- Locking Pliers (Vice-Grips) or Needle-Nose Pliers: If enough of the screw head is exposed, clamp onto it as tightly as possible with locking pliers or robust needle-nose pliers. Then, try to turn the screw counter-clockwise. This method provides excellent leverage.
- Socket Wrench: If it's a hex-head screw, ensure you're using the correct size socket. A snug fit is crucial to avoid stripping it further.
Advanced Maneuvers: For Seriously Seized Screws
When the screw simply refuses to yield, more invasive techniques may be necessary. These methods carry a higher risk of damaging the screw or spigot if not done carefully.
Precision Work: Rotary Tools and Screw Extractors
These tools are designed for situations where the screw head is badly damaged or the screw is broken.
- Cutting a New Slot (Rotary Tool): If the screw head is stripped (e.g., a Phillips head is now rounded), you can use a rotary tool (like a Dremel) with a thin abrasive cutting wheel to carefully cut a new, straight slot across the screw head. This allows you to use a flathead screwdriver for removal. Make the slot deep enough for good engagement but not so deep that you weaken the screw head excessively.
- Screw Extractor (Easy-Out): A screw extractor set is designed to remove broken or hopelessly stripped screws. This process typically involves drilling a pilot hole into the center of the damaged screw. Then, an extractor bit, which has reverse threads, is inserted into the hole. As you turn the extractor counter-clockwise (with a tap wrench or pliers), it bites into the screw, and continued turning should unscrew the damaged screw. Use a center punch to create a starting divot for your drill bit to prevent it from wandering. Left-hand drill bits can sometimes achieve this in one step, as they drill and may grab the screw to turn it out simultaneously.
The Final Option: Carefully Drilling Out the Screw
If all else fails, you may need to drill out the entire screw. This is a last resort as it can damage the threads in the spigot stem if not done with extreme care.
Start with a drill bit that is slightly smaller than the screw's shank (the threaded part). The goal is to drill out the center of the screw, effectively destroying it. Drill slowly and straight. Once the head is drilled off, you should be able to remove the handle. Any remaining portion of the screw shank might then be removable with pliers. If you need to preserve the threads in the spigot, aim to drill out only the screw head first. This might relieve enough tension to remove the handle, and then you can grip the remaining stud with locking pliers.
Visualizing Removal Strategies: Effectiveness vs. Risk
Different methods for removing a rusted screw come with varying levels of effectiveness and potential risk to the spigot or surrounding components. The radar chart below offers a conceptual comparison of common techniques. "Effectiveness" refers to the likelihood of successfully removing a very stuck screw, "Risk of Collateral Damage" indicates the chance of harming the spigot or other parts, and "Ease of Execution" reflects the skill and effort required.
This chart is a general guide; the best method for your specific situation will depend on the severity of the rust, the condition of the screw head, and the tools you have available.
Understanding the Process: A Mindmap Overview
To help visualize the entire process from start to finish, here’s a mindmap outlining the key stages and decisions involved in removing a rusted spigot screw:
(Gloves, Glasses)"] id1c["Clean Screw Area
(Wire Brush)"] id1d["Support Spigot Body"] id2["Initial Attempts (Least Invasive)"] id2a["Apply Penetrating Oil
(Soak adequately)"] id2b["Gentle Tapping
(Screwdriver/Hammer)"] id2c["Use Correct Screwdriver
(Proper fit & type)"] id3["Escalated Methods (Moderate Force)"] id3a["Heat Application
(Heat gun/Torch - CAUTION!)"] id3b["Increased Leverage
(Pliers, Vice-Grips)"] id3c["Hand Impact Driver"] id3d["Rubber Band/Friction Drops
(For stripped heads)"] id4["Advanced Solutions (Higher Risk/Effort)"] id4a["Cut New Slot
(Rotary tool like Dremel)"] id4b["Use Screw Extractor Kit
(Requires drilling pilot hole)"] id4c["Drill Out Screw Head/Shank
(Last resort, requires precision)"] id5["Post-Removal & Next Steps"] id5a["Inspect Spigot Stem & Threads"] id5b["Install New Handle & Screw
(Use anti-seize on new screw)"] id5c["If Spigot Damaged:
Consider Full Spigot Replacement"] id5d["Test for Leaks"]
This mindmap provides a structured approach to troubleshooting, starting with simpler methods and moving towards more complex solutions if needed.
Method Comparison Table
To help you choose the best approach, here's a table summarizing the common methods, their requirements, and considerations:
| Method | Tools Required | Pros | Cons | Relative Difficulty |
|---|---|---|---|---|
| Penetrating Oil & Tapping | Penetrating oil, hammer, correctly sized screwdriver, wire brush | Low risk, simple, often effective for light to moderate rust | May not work on severe rust, requires patience for oil to soak | Easy |
| Heat Application | Heat gun or propane torch, penetrating oil, screwdriver/pliers | Can be very effective for stubborn rust by expanding metal | Risk of damage to spigot, nearby siding (vinyl), or seals; fire hazard if not careful | Medium |
| Enhanced Grip (Pliers/Vice-Grips) | Locking pliers (Vice-Grips), needle-nose pliers, rubber band, friction drops | Good grip on accessible or partially stripped heads | Needs enough of the screw head exposed; can further damage a soft screw head | Easy to Medium |
| Cut New Slot (Rotary Tool) | Rotary tool (e.g., Dremel) with cutting wheel, flathead screwdriver, safety glasses | Effective for stripped Phillips or Allen heads; creates a new gripping surface | Requires a steady hand and precision; generates sparks and debris | Medium to Hard |
| Screw Extractor Kit | Drill, drill bits (including left-hand bits if available), screw extractor set, center punch, cutting oil | Designed for broken or severely stripped screws | Requires careful drilling; extractor can break if too much force is applied incorrectly; risk of damaging threads | Medium to Hard |
| Drilling Out Screw Head | Drill, various sizes of quality drill bits, cutting oil, center punch | A last resort that will remove the screw head, allowing handle removal | High risk of damaging spigot stem threads if not done precisely; destroys the screw | Hard |
Visual Aid: Removing a Stuck Faucet Screw
Sometimes, seeing a demonstration can clarify the techniques involved. The video below offers insights into tackling stuck faucet screws, with principles applicable to your spigot situation. It covers methods like using penetrating oil and applying appropriate force.
This video demonstrates techniques for removing stuck faucet screws, which can be adapted for spigot screws.
After the Battle: Post-Removal Considerations
Once the stubborn screw is finally out and the old handle is removed, take a moment to inspect the spigot stem. Check the threads where the screw goes – are they damaged? Is the stem itself in good condition?
When installing the new handle, use a new screw, preferably stainless steel, to prevent future rusting. Applying a small amount of anti-seize compound to the threads of the new screw can make future removal much easier. Ensure the new handle fits correctly; not all spigot handles are universal in size or design.
If the spigot itself is very old, heavily corroded, or if you suspect damage to the stem threads from the removal process, it might be more prudent to replace the entire spigot assembly. While this is a more involved job, it can prevent future headaches.
If at any point you feel uncomfortable or the job seems beyond your capabilities, don't hesitate to call a licensed plumber. Sometimes, professional expertise is the quickest and safest solution.
Frequently Asked Questions (FAQ)
What's the best penetrating oil to use for a rusted spigot screw?
Can I damage the spigot pipe while trying to remove the screw?
What if the screw head is completely stripped or broken off?
When should I give up and call a plumber?
Conclusion
Removing a rusted screw from an outdoor water spigot handle requires a methodical approach, starting with gentle persuasion and escalating to more forceful techniques as needed. By using the right tools, applying penetrating oils generously, employing heat judiciously, and always prioritizing safety and proper support for the spigot, you stand a good chance of successfully extracting the stubborn screw. Remember that patience is key, and if the task becomes overwhelming, professional help is always an option.
Recommended Further Exploration
- How do I determine the correct replacement handle size for my specific outdoor spigot model?
- What regular maintenance can I perform on outdoor spigots to prevent screws and parts from rusting and seizing in the future?
- When is it better to replace the entire outdoor spigot unit rather than just the handle, and how is that done?
- What are the key differences between common penetrating oils, and which ones are most effective for severe rust on plumbing fixtures?
References
Last updated May 21, 2025