
Creating a Snake Game: A Comprehensive Guide
A detailed walkthrough to design and build your own Snake game project
Highlights
- Core Mechanics: Learn the fundamental components such as snake movement, collision detection, and food generation.
- Multiple Language Approaches: Detailed steps for implementing your game in Python using libraries like Pygame and Tkinter, as well as JavaScript with HTML5 Canvas.
- Step-by-Step Implementation: Includes code snippets, tables, and detailed explanations to kickstart your development.
Introduction
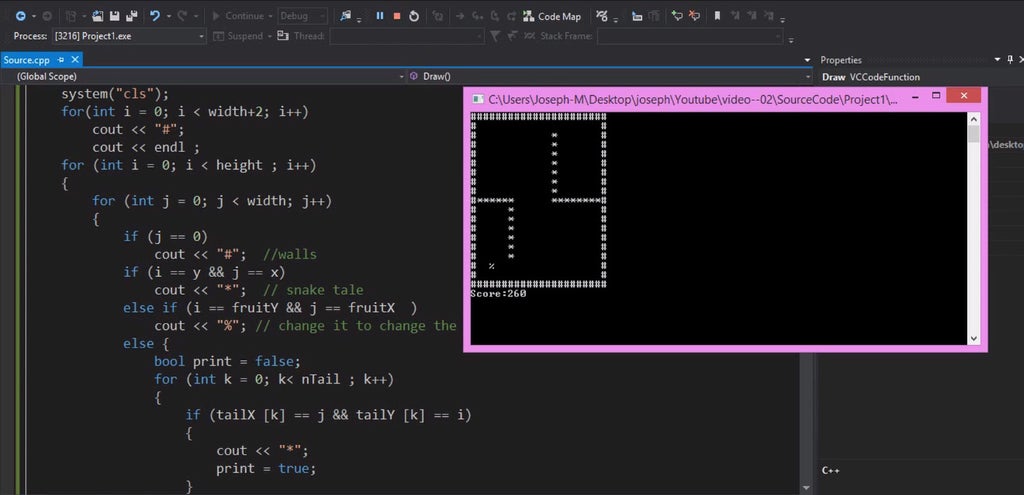
The Snake Game is one of the most popular beginner projects in programming. It provides a fun and engaging way to learn various programming concepts including loops, conditional logic, collision detection, and graphical rendering. In this guide, we will explore how to create a Snake Game using multiple programming languages and frameworks. We'll cover core game mechanics, development approaches, and improvement ideas. Whether you are using Python or JavaScript, this guide is structured to give you a complete walkthrough.
Core Game Mechanics
Regardless of the programming language or framework, every Snake Game revolves around a set of key components:
Game Objectives:
The primary goal is to control the snake so that it consumes food items, which increases both its length and your score. As the snake grows, the challenge increases since it becomes harder to navigate without colliding with itself or the boundaries.
Snake Movement:
The snake moves continuously along a grid. The player’s keystrokes update the snake's direction (up, down, left, or right). Movement is typically implemented using a game loop that repetitively updates the position of the snake’s head and shifts the rest of the body.
Collision Detection:
Collision detection involves monitoring the snake’s interaction with:
- Itself: If the snake's head collides with its body, the game ends.
- Wall Boundaries: The snake should either cause a game over upon hitting the wall or reappear from the opposite edge (wrapping effect).
- Food Items: Eating food increases the score and the snake’s length.
Scoring System:
Each food item consumed increases the score. The scoring mechanism can be as simple as incrementing a counter or tied to the snake's growing length. Advanced versions may include multipliers or time-based challenges.
Understanding these components is essential since they form the backbone of your Snake Game. Next, we explore how to implement these mechanics in different programming languages.
Implementing the Snake Game in Python
Python offers several libraries which simplify game development for beginners. Here, we cover two popular choices: Tkinter for a basic graphical interface and Pygame for a more advanced game loop and rendering experience.
Using Tkinter
Setting Up the Environment
Tkinter is Python’s standard GUI toolkit. It is easy to learn and ideal for beginners who want to create simple games. Begin by importing Tkinter and other necessary libraries.
# Import necessary modules
import tkinter as tk
import random

# Set up the main window
window = tk.Tk()
window.title("Snake Game")
canvas_width, canvas_height = 500, 500
canvas = tk.Canvas(window, width=canvas_width, height=canvas_height, bg="black")
canvas.pack()

# Initialize snake parameters
snake_block_size = 10
snake_x, snake_y = 50, 50
snake = canvas.create_rectangle(snake_x, snake_y,
                                snake_x + snake_block_size, snake_y + snake_block_size,
                                fill="white")

# Generate food at a random location
food_color = "red"
food_x = random.randint(0, canvas_width - snake_block_size)
food_y = random.randint(0, canvas_height - snake_block_size)
food = canvas.create_rectangle(food_x, food_y,
                               food_x + snake_block_size, food_y + snake_block_size,
                               fill=food_color)

def game_loop():
    global snake_x
    snake_x += snake_block_size  # Example: moving the snake right
    canvas.move(snake, snake_block_size, 0)
    window.after(100, game_loop)

game_loop()
window.mainloop()
Key Concepts in Tkinter
In this simple version, the snake is represented as a rectangle that moves continuously on a canvas. You can expand upon this by implementing:
- User input handling with key press events to control the snake's direction.
- Collision detection with walls and the snake itself.
- Dynamic food generation and score update when food is eaten.
Using Pygame
Project Setup
Pygame is a more sophisticated library that allows developers to create fully functional games with animation, sound, and robust event handling. First, install Pygame using:
# Install Pygame via pip
pip install pygame
Pygame Implementation
Below is a sample code snippet that illustrates the use of Pygame to create a Snake Game:
import pygame
import random
import sys

# Initialize Pygame
pygame.init()

# Screen dimensions and colors
WIDTH, HEIGHT = 800, 600
BLOCK_SIZE = 20
BLACK = (0, 0, 0)
WHITE = (255, 255, 255)
RED = (255, 0, 0)

# Set up the display
screen = pygame.display.set_mode((WIDTH, HEIGHT))
pygame.display.set_caption('Snake Game')
clock = pygame.time.Clock()

# Initial snake and food positions
snake = [(200, 200), (220, 200), (240, 200)]
direction = 'RIGHT'
food = (random.randint(0, (WIDTH - BLOCK_SIZE) // BLOCK_SIZE) * BLOCK_SIZE,
        random.randint(0, (HEIGHT - BLOCK_SIZE) // BLOCK_SIZE) * BLOCK_SIZE)
score = 0

def move_snake(snake, direction):
    head_x, head_y = snake[-1]
    if direction == 'UP':
        head_y -= BLOCK_SIZE
    elif direction == 'DOWN':
        head_y += BLOCK_SIZE
    elif direction == 'LEFT':
        head_x -= BLOCK_SIZE
    elif direction == 'RIGHT':
        head_x += BLOCK_SIZE
    new_head = (head_x, head_y)
    snake.append(new_head)
    return snake

def check_food_collision(snake, food):
    if snake[-1] == food:
        return True
    return False

# Main game loop
running = True
while running:
    for event in pygame.event.get():
        if event.type == pygame.QUIT:
            pygame.quit()
            sys.exit()
        elif event.type == pygame.KEYDOWN:
            if event.key == pygame.K_UP and direction != 'DOWN':
                direction = 'UP'
            elif event.key == pygame.K_DOWN and direction != 'UP':
                direction = 'DOWN'
            elif event.key == pygame.K_LEFT and direction != 'RIGHT':
                direction = 'LEFT'
            elif event.key == pygame.K_RIGHT and direction != 'LEFT':
                direction = 'RIGHT'

    move_snake(snake, direction)

    # Check if food is eaten
    if check_food_collision(snake, food):
        score += 1
        food = (random.randint(0, (WIDTH - BLOCK_SIZE) // BLOCK_SIZE) * BLOCK_SIZE,
                random.randint(0, (HEIGHT - BLOCK_SIZE) // BLOCK_SIZE) * BLOCK_SIZE)
    else:
        snake.pop(0)

    # Check for collisions with the edge or self
    head = snake[-1]
    if head[0] < 0 or head[0] >= WIDTH or head[1] < 0 or head[1] >= HEIGHT or head in snake[:-1]:
        print("Game Over! Final Score:", score)
        pygame.quit()
        sys.exit()

    screen.fill(BLACK)
    for pos in snake:
        pygame.draw.rect(screen, WHITE, pygame.Rect(pos[0], pos[1], BLOCK_SIZE, BLOCK_SIZE))
    pygame.draw.rect(screen, RED, pygame.Rect(food[0], food[1], BLOCK_SIZE, BLOCK_SIZE))

    pygame.display.update()
    clock.tick(15)
This Pygame implementation provides a more dynamic setup with controlled snake movement, food collision detection, and game over conditions. Adjusting the game speed via the clock tick or adding enhancements such as sound effects, wrap-around boundaries, or increasing difficulty levels are simple next steps.
Implementing the Snake Game in JavaScript (HTML5 Canvas)
Web developers can create the Snake Game using JavaScript with the HTML5 Canvas element. This method is ideal for learning how to integrate graphics, handle events, and update the game state within a web browser.
HTML and CSS Setup
First, create an HTML file that includes a canvas element. Here’s a simplified markup:
<!DOCTYPE html>
<html lang="en">
<head>
  <meta charset="UTF-8">
  <title>Snake Game</title>
  <style>
    body { background-color: #000; margin: 0; }
    #gameCanvas { display: block; margin: auto; background-color: #111; }
  </style>
</head>
<body>
  <canvas id="gameCanvas" width="600" height="400"></canvas>
  <script src="snake.js"></script>
</body>
</html>
JavaScript Game Logic
The following JavaScript code illustrates the basic mechanics of moving the snake, rendering the food, and game loop logic. Save this as "snake.js".
// Get canvas element and context
const canvas = document.getElementById('gameCanvas');
const ctx = canvas.getContext('2d');

let snake = [{x: 150, y: 150}];
let food = {x: 300, y: 300};
let dx = 10, dy = 0;
const snakeSize = 10;

function drawSnake() {
  snake.forEach(segment => {
    ctx.fillStyle = 'lime';
    ctx.fillRect(segment.x, segment.y, snakeSize, snakeSize);
  });
}

function moveSnake() {
  const head = {x: snake[0].x + dx, y: snake[0].y + dy};
  snake.unshift(head);

  // Check if food was eaten
  if (head.x === food.x && head.y === food.y) {
    generateFood();
  } else {
    snake.pop();
  }
}

function generateFood() {
  food.x = Math.floor(Math.random() * canvas.width / snakeSize) * snakeSize;
  food.y = Math.floor(Math.random() * canvas.height / snakeSize) * snakeSize;
}

function drawFood() {
  ctx.fillStyle = 'red';
  ctx.fillRect(food.x, food.y, snakeSize, snakeSize);
}

function updateGame() {
  ctx.clearRect(0, 0, canvas.width, canvas.height);
  drawFood();
  moveSnake();
  drawSnake();
  requestAnimationFrame(updateGame);
}

// Listen to arrow key events
document.addEventListener('keydown', event => {
  if (event.key === 'ArrowUp' && dy === 0) {
    dx = 0; dy = -snakeSize;
  } else if (event.key === 'ArrowDown' && dy === 0) {
    dx = 0; dy = snakeSize;
  } else if (event.key === 'ArrowLeft' && dx === 0) {
    dx = -snakeSize; dy = 0;
  } else if (event.key === 'ArrowRight' && dx === 0) {
    dx = snakeSize; dy = 0;
  }
});

// Start the game loop
updateGame();
With this simple JavaScript structure, you can expand by adding collision detection (with walls or self), scoring, and even more interactive elements.
Comparative Table of Implementation Languages
| Aspect | Python (Tkinter/Pygame) | JavaScript (HTML5 Canvas) |
|---|---|---|
| Ease of Learning | Beginner-friendly with well-documented libraries | Familiar to web developers; uses common web technologies |
| Graphics | Sufficient for 2D games; Pygame offers advanced rendering | Canvas provides powerful 2D graphics capabilities |
| User Input | Handles keyboard events; libraries simplify input management | Direct DOM manipulation and event listeners |
| Game Loop Control | Managed with timers and clock ticks | Utilizes requestAnimationFrame for smooth animations |
| Cross-Platform | Desktop applications; can be compiled or run as scripts | Runs directly in web browsers |
Additional Considerations and Enhancements
After implementing the basic game mechanics, consider adding additional features to enhance your game:
- Boundary Wrap: Allow the snake to reappear from the opposite side when it crosses one boundary.
- Speed Increment: Gradually increase the snake's speed as the score increases to up the challenge.
- Sound Effects: Include sounds for consuming food, collisions, and game overs to make the game more engaging.
- Graphical Improvements: Use images or custom themes instead of simple colored blocks for a more visually interesting interface.
- Mobile Controls: If deploying on a web platform, consider incorporating touch controls for mobile users.
- Advanced Scoring: Use multipliers or create levels that offer different challenges as the game proceeds.
These improvements not only enhance the gameplay experience but also provide an opportunity for further learning and experimentation in game development.
Learning Resources and Next Steps
Diving into game development with a project like the Snake Game is a stepping stone to more complex projects. Here are some next steps to enhance your programming skills:
- Experiment with different graphical libraries to understand rendering techniques.
- Explore collision detection algorithms for more complex game mechanics.
- Learn about state management in games to design menus, pause screens, and high score tracking.
- Investigate sound integration in your games to add immersive audio effects.
Whichever programming language you choose, focus on incremental improvements. Start by building the core functionalities, then progressively enhance the game with new features. This project not only reinforces your understanding of loops, conditionals, and graphical rendering but also introduces you to debugging and iterative development.
References
- Create a Snake Game in Python - Python Guides
- Python Snake Game Tutorial - Code with Faraz
- Snake Game in Python using Pygame - GeeksforGeeks
- Snake Game with Pygame - Edureka
- Create Snake Game with HTML, CSS, and JavaScript - CodingNepal
- HTML5 Snake Game Tutorial - Rembound
- Beginners Guide to Python Snake Game - Code with Faraz
- Step-by-Step Guide for Snake Game Development - Medium
- Snake Game using Pygame - GeeksforGeeks
- Pygame Snake Game Tutorial - Edureka
Recommended Queries
Last updated March 1, 2025