
Drawing a Lifelike Three-Legged Dog
Master the art of realistic canine sketching with tailored guidance
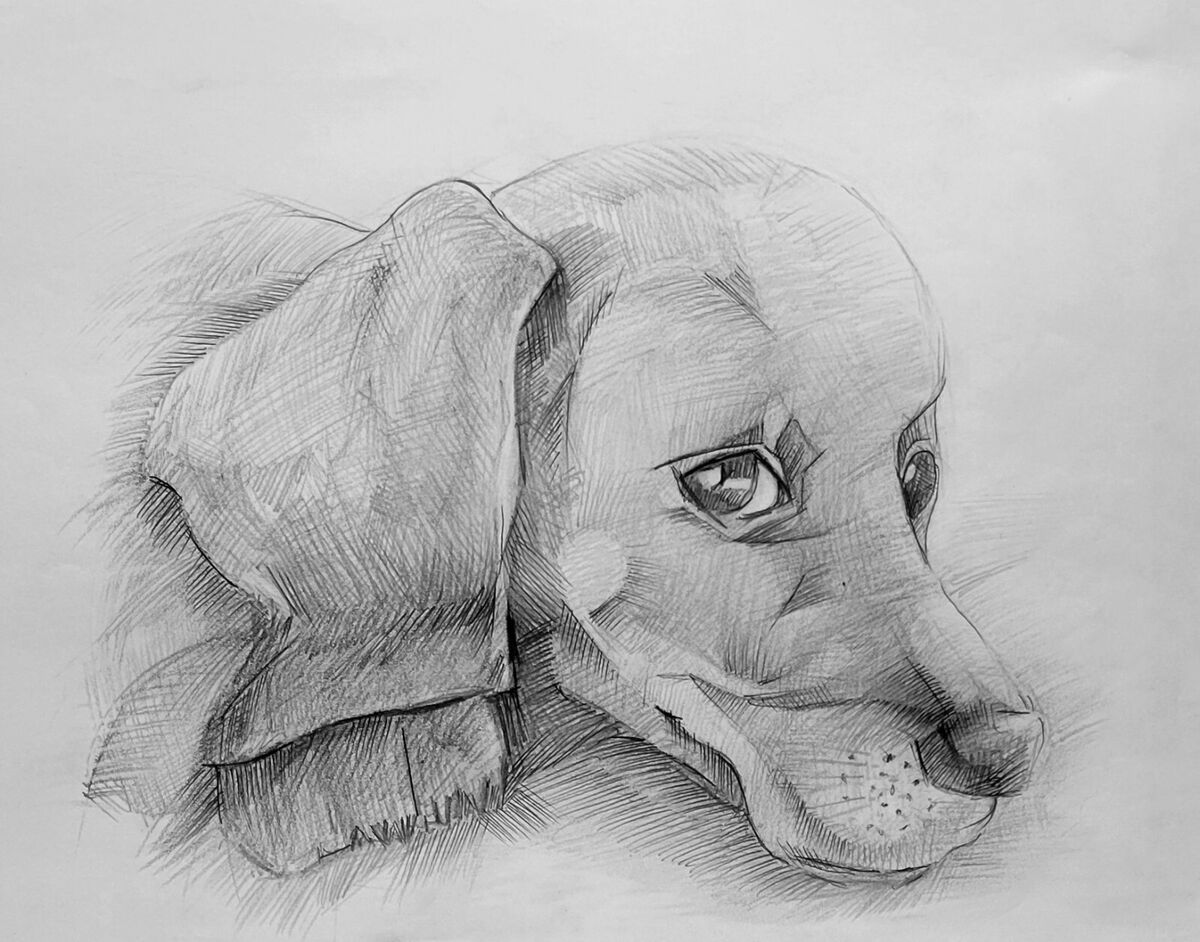
Key Takeaways
- Understand Canine Anatomy: Grasp the adjusted anatomy and balance necessary for depicting a three-legged dog.
- Structured Approach: Follow a sequential process from basic shape sketching to detailed shading and texturing.
- Attention to Details: Emphasize realistic features like muscle definition, fur texture, and facial expressions to bring your drawing to life.
Introduction
Drawing a lifelike three-legged dog might sound like a unique artistic challenge, yet it can transform into an engaging and creative exercise that tests your comprehension of anatomy, proportion, and emotion in art. Whether you’re an experienced artist or a beginner, the task of capturing the natural movement, balance, and essence of a three-legged dog will offer you fresh insights into animal sketching. In this detailed guide, you will learn not only how to plan a proportionate structure for a three-legged dog but also how to manage the aesthetic adjustments required to simulate balance and emotion accurately.
Step-by-Step Guide
1. Research and Observational Analysis
Before putting pencil to paper (or pen to canvas), begin with research. Gather several reference images and videos of three-legged dogs in motion. Studying these resources will allow you to analyze how the dog’s body adjusts its posture and weight distribution due to the absence of a leg. Observe elements such as muscle development, posture, and the dynamics of the dog's gait.
Focus on understanding:
- The balance adjustments in the dog's structure.
- How the remaining legs compensate by displaying adapted musculature and altered joint positions.
- The natural positioning of the head, tail, and overall body curve.
Take time to appreciate the subtleties, such as the tension in the muscles, the impact of natural shadows on the fur, and the expression in the eyes, which together bring authenticity to your drawing.
2. Sketching the Basic Structure
a. Establishing Basic Shapes
Effective drawing begins with the establishment of basic shapes. Start by sketching simple circles and ovals to represent the dog’s head, torso, and hip area. Consider these simplified shapes as the building blocks of your detailed artwork:
- The Head: Use a circle or an oval to position the head. Then add guidelines to facilitate the correct placements for the eyes, nose, and ears.
- The Torso: Draw a larger, horizontal oval to symbolize the body. Tailor the shape to reflect the natural curve of a dog’s body, making it slightly elongated.
- Hips: Represented by a smaller circle or a more refined oval, this highlights where the hind legs connect to the torso.
Drawing these shapes lightly enables you to adjust proportions easily and maintain flexibility in your sketch.
b. Defining the Body Framework
Using your initial shapes as guidelines, begin connecting them with soft, flowing lines that outline the forming canine structure. Mark the locations of the legs, ensuring that the missing limb is accounted for with the necessary adjustments. For a three-legged dog, decide which leg you want to omit; in many compositions, omitting one front leg creates a sense of dynamic movement, balanced by an enhanced weight on the existing limbs.
It is important to consider the following:
- Adjust positioning slightly for balance – understanding that the weight distribution changes with a missing limb is critical.
- In the area of the missing leg, you might include a gentle curve suggesting a stump, or even a prosthetic element if that fits your creative vision.
- Connect the head to the torso with a softened neck curve that matches the natural flow of the dog’s anatomy.
3. Detailed Anatomy and Proportions
a. Outlining the Legs
With your basic framework in place, now focus on drawing the limbs of the dog. Since the dog has three legs, you will render:
- One front leg on the side where the three-legged condition is depicted.
- Two hind legs, both portraying muscular definition and natural articulation.
Begin by drawing elongated cylinders for the legs, taking care to denote the joints—shoulder, elbow, and knee—and later, the paw. Use reference images to confirm accurate joint angles and muscle attachments.
b. Determining Balance and Weight Distribution
The absence of a leg means the dog's balance is notably altered. Emphasize the posture:
- Shift in Weight: Depict a slight forward or lateral tilt depending on which leg is missing. Often, the remaining front leg might exhibit a bit more stress, and the rear legs may lean together as they support a greater portion of the weight.
- Muscle Development: Enhance the features of the legs that remain. The muscle fibers in these areas are typically more pronounced, which can be showcased with careful shading to imply strength and adaptation.
Use light guidelines to ensure symmetry and proportion, and then gradually refine them as you add more detail.
4. Adding Facial and Head Features
a. Sketching the Eyes, Nose, and Ears
A dog’s face holds much of its character. Start by sketching a circular outline for the eyes along with a small, gentle arc to define the eyebrows. Place the nose toward the lower portion of the head and allow it to overlap slightly with the chin area. The ears, whether droopy or erect, should reflect the breed and personality of your canine subject.
Some key points include:
- Eyes: Generate a spark of life by lightly shading and including a tiny highlight in each eye to give a sense of realism.
- Nose: The nose can be shaded darkly and may be slightly textured, depending on the lighting in your reference image.
- Ears: Outline their distinctive shape and include internal lines to suggest softness and fur detail.
b. Enhancing with Expressions
Beyond an anatomically correct face, the expression can convey the dog’s resilience and character. Focus on creating slight furrows in the brow or a gentle tilt of the head. These subtleties contribute significantly to the drawing’s lifelikeness. The strong emotion that shines through in a three-legged dog can evoke both admiration and empathy, and ensuring that the facial features mirror that can elevate your artwork.
5. Adding Fine Details and Realism
a. Infusing Fur Texture and Muscle Definition
As you concentrate on the finer details, use a series of short, precise strokes to mimic the texture of fur. Draw strands following the natural direction of the fur growth; this technique helps add depth and dynamism. In areas where the dog’s muscles are most prominent, especially on the more heavily weighted limbs, use careful shading to evaluate how shadows and light interplay.
Techniques to consider include:
- Layered Strokes: These will provide a subtle gradient in areas of intense muscle or shadow.
- Varying Pressure: Use lighter strokes for softer fur areas and heavier marks where shadows need emphasis.
- Blending: If using pencils, smudge lightly in soft areas to create a natural look without losing the texture.
b. Final Adjustments and Detailing
Once the broader components of the sketch are in place, step back and evaluate the overall balance and harmony of the drawing. Look carefully for:
- Discrepancies in the proportions or anatomical inaccuracies.
- Improper shadow placements that might flatten the three-dimensionality of the dog.
- Areas where the detailing might be enhanced further to convey personality and emotion.
Keep your eraser handy to refine any aspects, and gradually build up the final shapes until you feel that the composition stands as a complete, lifelike rendition of a three-legged dog.
6. Experimentation with Different Styles
While the steps above provide a realistic approach, do not be afraid to experiment with your artistic style. You might:
- Combine Techniques: Integrate elements from line art, shading, and even minimal color if desired.
- Incorporate an Artistic Narrative: Sometimes, adding a simple background or context—like a park or home interior—can further accentuate the life in your dog’s portrayal.
- Try Digital Tools: For those comfortable with digital art, explore software that enables layering, brush texture simulation, and gradient manipulation to further refine the drawing.
Each method presents its own challenges and rewards. Experimenting ensures that you develop a personal style that not only captures the lifelike essence of your subject but also imbues your work with individuality.
7. Integrative Visual Guide
For clarity, let’s look at a summarized visual guide encapsulated in a table to remind you of each critical stage and the techniques involved:
| Stage | Key Tasks | Techniques |
|---|---|---|
| Research | Gather references, study anatomical differences | Observation, image analysis |
| Basic Sketch | Establish shapes for head, body, and hips | Basic shapes, guidelines |
| Framework Construction | Outline body structure and limb positions | Light sketching, adjusting proportions |
| Leg and Face Detail | Add limbs, facial expressions | Line drawing, anatomical reference |
| Texture & Shading | Enhance fur, muscle tone, and shadowing | Layered strokes, shading techniques |
| Final Touches | Refine details and overall balance | Eraser corrections, style experimentation |
This table serves as a concise checklist that can help you navigate each stage of your drawing process, ensuring that all aspects are appropriately covered.
Additional Creative Approaches
While detailed anatomical instructions serve as a comprehensive guide, creative exploration is essential in art. Consider these additional methods:
Integrating Storytelling
A drawing, especially one that accentuates unique features like a three-legged condition, can carry an entire story within its lines. You may integrate small narrative elements such as:
- A specific expression or pose that implies a remarkable journey or resilience.
- Subtle background elements signifying a habitat or moment in time (like falling leaves or a gentle breeze) to add contextual depth.
- An artistic choice such as a hint of an accessory (a collar, bandana, or even a prosthetic limb) that adds dimension to its story.
By planning these narrative details early on, you ensure the final sketch is more than just a depiction—it becomes a story etched in art.
Exploration of Alternative Mediums
Experimenting with different mediums can also add unexpected qualities to the drawing:
- Pencils: Ideal for detailed shading, blending, and the creation of soft textures that mimic fur.
- Charcoal: Offers dramatic contrast and impulse lines that can emphasize musculature and movement while conveying a sense of nostalgia in the portrayal.
- Digital Art: Using a tablet and stylus, you can layer effects, alter opacity, and integrate digital brushes providing an array of textural variations that enhance realism.
Whichever medium you choose, the key lies in understanding how light interacts with the subject, mapping regions of shadow and illuminated areas, and keeping the three-legged structure balanced within the overall design.
Incorporating Movement and Dynamics
Another crucial aspect is how you capture the dynamic movement of the dog. Even in static drawings, the impression of motion imparts a lifelike energy:
- Dynamic Poses: Experiment with angles where the head is slightly tilted or the body is caught mid-stride. This not only emphasizes the dog’s resilience but also its graceful movements.
- Smooth Transitions: Use fluid lines to suggest muscle contractions and relaxed postures, especially when a dog manages to move despite having only three legs.
- Shadow Play: Combined with dynamic poses, nuanced shading can also simulate the way light would fall on a moving body, enhancing the realism of the scene.
Integrating Digital Tools for Enhanced Realism
For artists familiar with digital illustration programs, many aspects of this drawing process can be further refined with software tools. Programs such as Adobe Photoshop, Procreate, or Clip Studio Paint provide layers, textured brushes, and blending modes that can subtly enhance the lifelike quality of your work.
Some digital art tips include:
- Layer-Based Edits: Work in layers when creating your sketch. Begin with a light outline, add additional layers for the details, and finalize with shading and texturing. This allows easy modifications in each phase.
- Custom Brushes: Explore custom brushes that imitate pencil or charcoal textures. These brushes can be advantageous for creating realistic fur patterns and nuanced muscle definitions.
- Clipping Masks: Use clipping masks to isolate areas for more detailed work, especially when refining the fur and facial features. This aids in selectively correcting sections without affecting the whole drawing.
Digital drawing can further allow you to experiment with color gradients and photo filters, thus adding an extra dimension that might closely resemble paint or natural light.
Practical Example: A Three-Legged Dog in ASCII Art
While this guide focuses on traditional and digital drawing techniques, here’s a playful example of an ASCII representation, which can be a fun starting point:
     __
    /  \__
   (     @\___
    /                O
   /     (_____ /
  /_____/   U
Although this ASCII art is a rough approximation and lacks the fine detail of a drawn illustration, it captures an impression of movement and charm that you might translate into a more detailed and realistic drawing.
Conclusion
Creating a lifelike drawing of a three-legged dog involves a thoughtful process that balances structured anatomical understanding with the nuance of artistic expression. By combining thorough research, accurate proportions, and targeted detailing—from basic shapes to dynamic shading—you can craft a representation that communicates not only the physical adjustments of a three-legged form but also the resilient spirit and lively character of the animal.
Embrace the challenges you encounter as opportunities to refine your technique. Whether you prefer the traditional pencil on paper, digital art tools, or even playful ASCII sketches, the key to realism lies in capturing subtle characteristics and understanding movement, texture, and balance. Enjoy the journey and let each stroke or pixel contribute to a portrayal that is as empathetic as it is technically proficient.
References
- Three Legged Dog Vectors - Freepik
- 3 Legged Dog Royalty-Free Images - Shutterstock
- Dog 3 Legs Illustrations - Shutterstock
-
Three Legged Dog Illustrations & Vectors - Dreamstime
- 3 Legged Dog Vectors & Illustrations - Freepik
More
Last updated February 19, 2025