
Forge Your Next Adventure: Building a Versatile 3rd Person URP Game Template in Unity
A comprehensive guide to assembling essential components for rapid action puzzle adventure game development using Unity's Universal Render Pipeline.
Key Highlights for Your Template
- Leverage Starter Assets: Utilize Unity's official Starter Assets for a robust third-person controller and URP compatibility, accelerating initial setup.
- Modular System Design: Build your template with interconnected yet independent systems (character, puzzle, inventory, UI) for flexibility and easier iteration.
- Embrace URP's Power: Take full advantage of the Universal Render Pipeline for optimized graphics, customizable visuals via Shader Graph, and broad platform support.
Creating a comprehensive third-person template in Unity, especially for an action puzzle adventure game using the Universal Render Pipeline (URP), is a strategic move to streamline game production. Such a template provides a reusable foundation, allowing you to quickly spin up new projects with core mechanics already in place. This guide will walk you through assembling the essential components, drawing on best practices and available Unity assets.
Embarking on Your URP Journey: Project Setup
Initializing Your URP Project
The Universal Render Pipeline (URP) is Unity's modern, flexible rendering solution designed for performance and scalability across various platforms. It's highly recommended for new 3D projects.
Creating or Converting to URP
When starting, you have a couple of options:
- New Project: Create a new Unity project using the "3D (URP)" or "3D Sample Scene (URP)" template from the Unity Hub. These templates come with URP pre-configured, often including sample assets and scenes that demonstrate URP's capabilities.
- Existing Project: If you have an existing project using the Built-in Render Pipeline, you can convert it to URP. This involves installing the URP package via the Package Manager and then converting your project materials to URP shaders. Unity provides an automated tool for this (Edit > Render Pipeline > Universal Render Pipeline > Upgrade Project Materials to UniversalRP Materials).
While your query mentioned "URP 6," Unity's URP versions have evolved (e.g., URP 12, 13, 15+ corresponding to Unity 2021.x, 2022.x, 2023.x releases). It's generally best to use the latest stable URP version compatible with your Unity Editor version and chosen assets for access to the newest features and optimizations.
Core Components of Your Action Puzzle Adventure Template
A robust template requires several interconnected systems. Let's break them down:
1. The Heart of Gameplay: Third-Person Character Controller
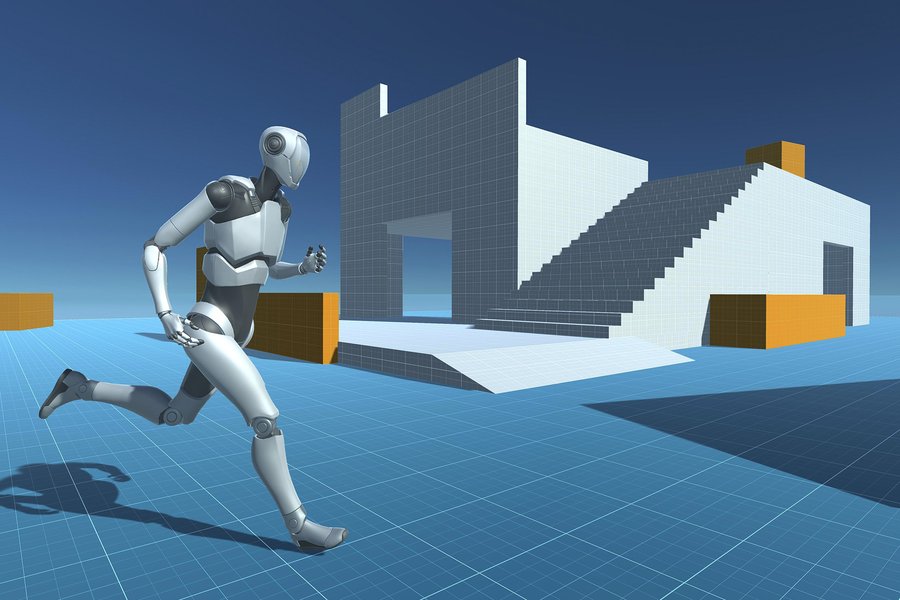
Unity's Starter Assets provide a great foundation for a third-person character.
Movement, Animation, and Physics
The character controller is fundamental. It should handle:
- Smooth Locomotion: Input-driven movement including walking, running, and jumping.
- Animation System: Integration with Unity's Animator and Mecanim state machines for seamless animation blending (e.g., idle, walk, run, jump, interact). Blend trees are crucial for smooth transitions.
- Physics Interaction: Choose between Unity's
CharacterControllercomponent or aRigidbody-based setup for physics interactions and collision detection.Rigidbodyoffers more realistic physics but can be complex to fine-tune for character movement.
Recommended Assets for Character Control
- Unity's Starter Assets: Third Person Character Controller: This is an excellent, free starting point provided by Unity. It's URP-compatible, integrates with the new Input System, and offers clean code for extension. It's highly recommended for building your template's base.
- Invector Third Person Controller: A popular, more feature-rich paid asset on the Unity Asset Store, offering advanced mechanics like combat, climbing, and more.
- Third Person System - 3.0 (2022): Another Asset Store option providing a comprehensive system for third-person mechanics.
- Action Adventure Animation Packs: Consider asset packs like "Action Adventure Animation Pack Vol 1" to populate your character with a variety of high-quality animations for movement, interactions, and combat.
2. Through the Player's Eyes: Camera System with Cinemachine
A dynamic third-person camera is crucial for immersion. Unity's Cinemachine package is the industry standard for this.
- Cinemachine FreeLook Camera: Ideal for third-person views, allowing smooth orbiting, zooming, and intelligent target following.
- Collision Avoidance: Cinemachine can automatically handle camera collisions with the environment, preventing clipping and ensuring a clear view.
- Camera Styles: Configure different virtual cameras for various gameplay states, such as exploration (wider view, player-centric) and aiming/interaction (tighter, possibly over-the-shoulder).
3. Player Intent: The New Input System
Unity's new Input System provides a flexible and powerful way to handle player input across multiple platforms.
- Action Maps: Define abstract actions (e.g., "Move," "Jump," "Interact") and map them to various physical inputs (keyboard, mouse, gamepad, touch).
- Device Support: Simplifies handling input from different controllers and devices.
- Contextual Input: Easily switch between different input schemes based on game state (e.g., gameplay, menu navigation, puzzle interaction).
4. Engaging with the World: Interaction Framework
An action puzzle adventure needs a robust system for player interaction with the game world.
- Generic Interaction System: Design a system that can detect interactable objects (puzzles, NPCs, items) within the player's range. This often involves raycasting from the camera or player, or using trigger colliders.
- Unified Input: A common approach is a single "interact" button (e.g., 'E' key or a gamepad button) that triggers context-sensitive actions.
- Feedback: Provide clear visual and audio cues for interactable objects and successful interactions.
5. Brain Teasers: Puzzle Mechanics System
The "puzzle" aspect requires a dedicated framework.
- Modular Design: Create a system that supports various common puzzle types:
- Switch Toggles (buttons, levers)
- Inventory-based Puzzles (using an item to solve)
- Lock-and-Key Systems
- Environmental Manipulation (pushing blocks, rotating platforms)
- Sequence Puzzles
- ScriptableObject Puzzles: Consider using ScriptableObjects to define puzzle data and logic, making it easy to create new puzzles.
- Asset Recommendation: The "Adventure Puzzle Kit" from the Unity Asset Store can provide a solid foundation or inspiration for puzzle mechanics.
6. Gathering Clues and Tools: Inventory and Item Management
Many adventure games feature an inventory system.
- Core Functionality: Support for picking up, dropping, examining, and using items.
- Data Structure: Implement systems for item slots, stackable items, and item properties (e.g., type, description, usability).
- UI Representation: A clear and intuitive visual inventory UI.
7. The "Action" Element: Combat and Challenges
Depending on your game's focus, you might need simple or complex action systems.
- Basic Combat: If combat is part of your "action," integrate mechanics for melee or ranged attacks, enemy AI (even if simple), and health/damage systems.
- Environmental Challenges: Obstacle courses, timed sequences, or other skill-based challenges.
- Integration: These systems should tie into the character controller, animation, and input systems.
8. Information and Interface: UI Framework
A well-designed UI is essential for conveying information and providing player control.
- Technology: Use Unity UI (Canvas-based) or the newer UI Toolkit for building your game's interface.
- HUD Elements: Health bars, stamina meters, interaction prompts, objective displays, mini-maps.
- Menus: Main menu, pause menu, inventory screen, settings.
- Visual Feedback: UI elements should provide feedback for player actions and game events.
Crafting Stunning Worlds: Visuals with URP
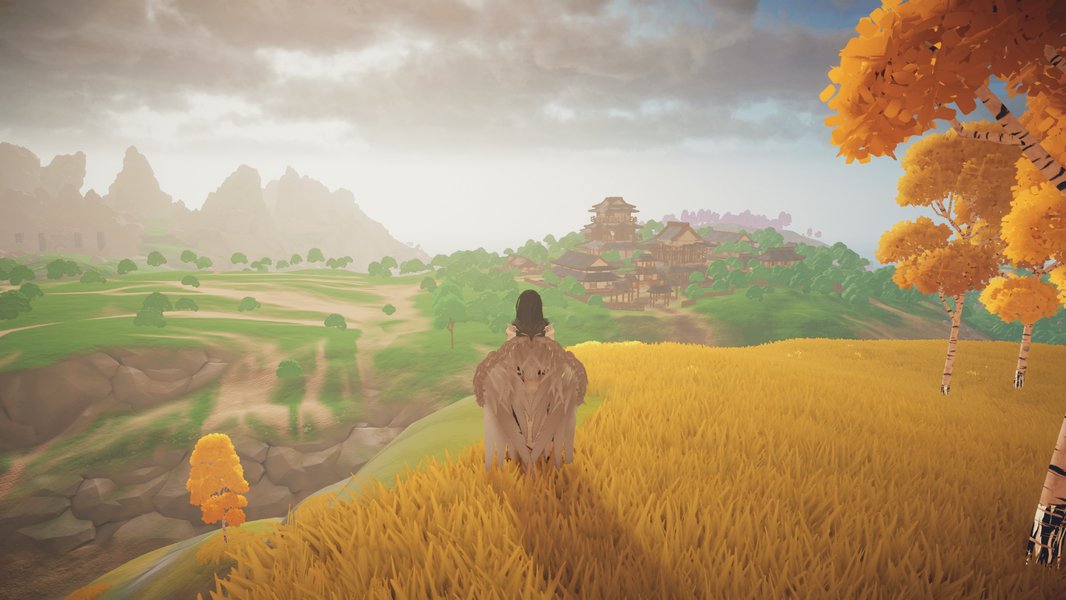
URP enables beautiful, stylized environments with features like PBR materials and custom shaders.
URP provides a suite of tools to create visually appealing games:
- Physically Based Rendering (PBR) Materials: Achieve realistic or stylized material appearances.
- Shader Graph: Create custom shaders visually without writing code, allowing for unique visual effects for characters, environments, and puzzles.
- Post-processing: Implement effects like bloom, color grading, depth of field, and anti-aliasing to enhance the scene's mood and quality. URP has an integrated post-processing stack.
- Lighting: URP supports various lighting techniques, including real-time lighting, baked lighting, and Light Probes, adaptable for different performance targets.
- Decals and Lens Flares: Add fine details to your scenes with decals and enhance realism or cinematic feel with lens flares.
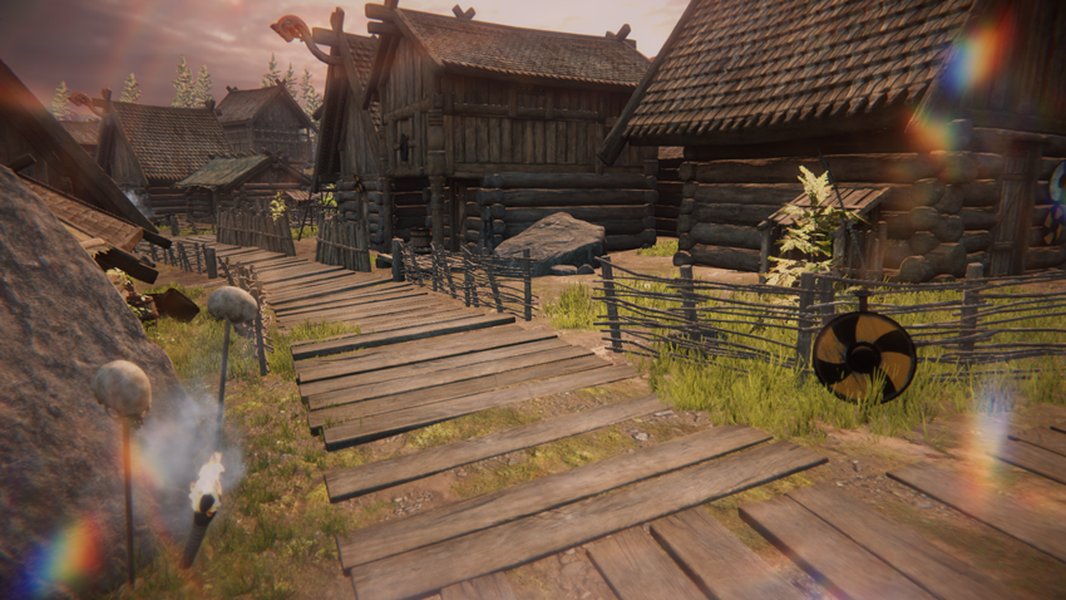
Lens flares are one of many visual enhancements available in URP.
Immersive Soundscapes: Audio Design
Audio significantly contributes to the player experience.
- Audio Manager: Implement a central audio manager to handle playback of background music, sound effects (SFX), and UI sounds.
- 3D Spatialized Audio: Use Unity's 3D audio settings to make sounds appear to emanate from their sources in the game world, enhancing immersion.
- Contextual Sounds: Trigger sounds for player actions (footsteps, jumps, item use), puzzle interactions, and environmental events.
Preserving Progress: Save/Load System
Players expect to save their progress in adventure games.
- Data to Save: Determine what needs to be saved: player position, inventory, solved puzzle states, game settings, current objectives.
- Serialization: Use techniques like JSON or binary serialization to save game data to a file. Unity's
JsonUtilityis a common choice. - ScriptableObjects for State: ScriptableObjects can be useful for managing persistent game state that needs to be saved and loaded.
Navigating the Adventure: Scene Management & Transitions
Manage how players move between different levels or areas of your game.
- Loading Scenes: Use Unity's
SceneManagerto load and unload scenes. - Persistent Data: Ensure essential data (like player stats or inventory) persists across scene loads, often by using a "DontDestroyOnLoad" manager object.
- Transitions & Cutscenes: Utilize Unity's Timeline and Cinemachine for creating smooth scene transitions, introductory sequences, or in-game cutscenes to enhance storytelling for puzzle reveals or key plot moments.
Visualizing Your Template: Interconnected Systems Mindmap
This mindmap illustrates the core systems of your action puzzle adventure template and how they relate to each other. A modular yet integrated design is key for a flexible and extensible foundation.
Essential Toolkit: Recommended Unity Assets
Leveraging existing assets can significantly speed up development. Here’s a table summarizing some highly recommended assets for your template:
| Asset Name | Category | Key Features | URP Compatibility | Primary Use in Template | Link (Asset Store) |
|---|---|---|---|---|---|
| Starter Assets: Third Person Character Controller | Character Control | Basic locomotion, animation setup, Cinemachine integration, new Input System support. | Excellent (Designed for URP) | Foundation for player character movement and interaction. | View Asset |
| Action Adventure Kit | Game Toolkit | Characters, items, inventory, persistence, input handling, AdventureCore framework. | Good (Often URP-ready or adaptable) | Comprehensive systems for adventure game mechanics. | View Asset |
| Adventure Puzzle Kit | Puzzle Systems | Variety of puzzle types, interaction systems, drag-and-drop UI puzzles. | Good | Implementing diverse puzzle mechanics. | View Asset |
| Action Adventure Animation Pack Vol 1 | Animations | Collection of animations for movement, combat, and interactions. | Universal (Animation data) | Populating character animator with high-quality actions. | View Asset |
| Cinemachine | Camera System | Dynamic smart cameras, FreeLook, StateDriven, ClearShot, DollyCams. | Excellent (Core Unity Package) | Creating professional-grade third-person camera behaviors. | Included via Package Manager |
Comparative Analysis: Character Controller Approaches
Choosing the right character controller foundation is pivotal. This radar chart offers a comparative look at different approaches, considering factors crucial for template development. The values are illustrative, reflecting general trade-offs.
As the chart suggests, Unity's Starter Assets offer a balanced approach with good URP integration and ease of setup, making them an excellent choice for a template. Advanced assets provide more features out-of-the-box but might have a steeper learning curve or cost. Building from scratch offers maximum control but is the most time-consuming.
Watch and Learn: Setting Up Unity's Starter Assets
Visual guides can be incredibly helpful. The video below demonstrates how to set up Unity's Third Person Controller Starter Asset, which is a fantastic starting point for your template, particularly if you're working with URP. It covers the initial steps to get your character moving in your scene.
This tutorial shows the process of importing and configuring the assets, which includes character movement, camera follow (using Cinemachine), and basic animation setup. It aligns well with creating a foundational layer for your action puzzle adventure game template.
Blueprint for Success: Development Best Practices
- Modular Design: Build each system (character, inventory, puzzle, UI) as an independent module with clear interfaces. This makes your template easier to manage, extend, and debug.
- Version Control: Use Git or Unity Collaborate from the very beginning to track changes, revert to previous states if needed, and facilitate teamwork if applicable.
- Regular Performance Profiling: Especially with URP, frequently use Unity's Profiler to identify performance bottlenecks. Optimize shaders, lighting, and scripts as you develop the template.
- Clear Documentation: Document your scripts, systems, and setup procedures. This is invaluable for future you or for other team members who might use the template.
- Consistent Naming Conventions: Adopt and stick to a clear naming convention for assets, GameObjects, scripts, and variables.
Frequently Asked Questions (FAQ)
Explore Further
- How can I implement advanced enemy AI for a 3rd person action adventure in Unity URP?
- What are the best practices for creating modular level design in Unity for puzzle adventure games?
- Can you explain how to create custom shaders with Shader Graph for unique visual effects in URP?
- What are effective strategies for managing game state and data persistence across multiple scenes in Unity?
References
Last updated May 10, 2025