
Mastering Car Wrapping: A Comprehensive Guide
Transform Your Vehicle's Appearance with Professional Car Wrapping Techniques
Key Takeaways
- Essential Preparation: Proper surface cleaning and workspace setup are critical for a flawless wrap.
- Skill Development: Starting with small projects and continuous practice enhances proficiency.
- Tools and Materials: Investing in quality tools and understanding vinyl types ensures better results.
Introduction to Car Wrapping
Car wrapping is an innovative method used to change a vehicle's appearance by applying a thin vinyl film over its exterior. This technique offers a versatile and non-permanent alternative to traditional painting, allowing for a wide range of colors, finishes, and custom designs. Whether for personal customization, advertising, or paint protection, car wrapping has gained immense popularity among automotive enthusiasts and professionals alike.
Understanding the Basics of Car Wrapping
What is Car Wrapping?
Car wrapping involves covering a vehicle's surface with vinyl film to alter its color, finish, or add unique graphics. The vinyl used is designed to conform to the vehicle's contours, providing a seamless look that can be removed or replaced without damaging the original paintwork.
Benefits of Car Wrapping
- Customization: Offers endless possibilities in colors, patterns, and finishes.
- Protection: Protects the original paint from scratches, UV rays, and environmental damage.
- Cost-Effective: Generally less expensive than a professional paint job.
- Reversibility: Can be removed without harming the vehicle's original paint.
- Advertising: Effective medium for business branding and promotions.
Types of Vinyl Used in Car Wrapping
There are primarily two types of vinyl films used in car wrapping:
- Cast Vinyl: Flexible and conformable, ideal for complex curves and intricate details.
- Calendared Vinyl: Thicker and less flexible, suitable for flat surfaces and temporary applications.
Essential Tools and Materials
List of Required Tools
- Vinyl wrap film
- Heat gun
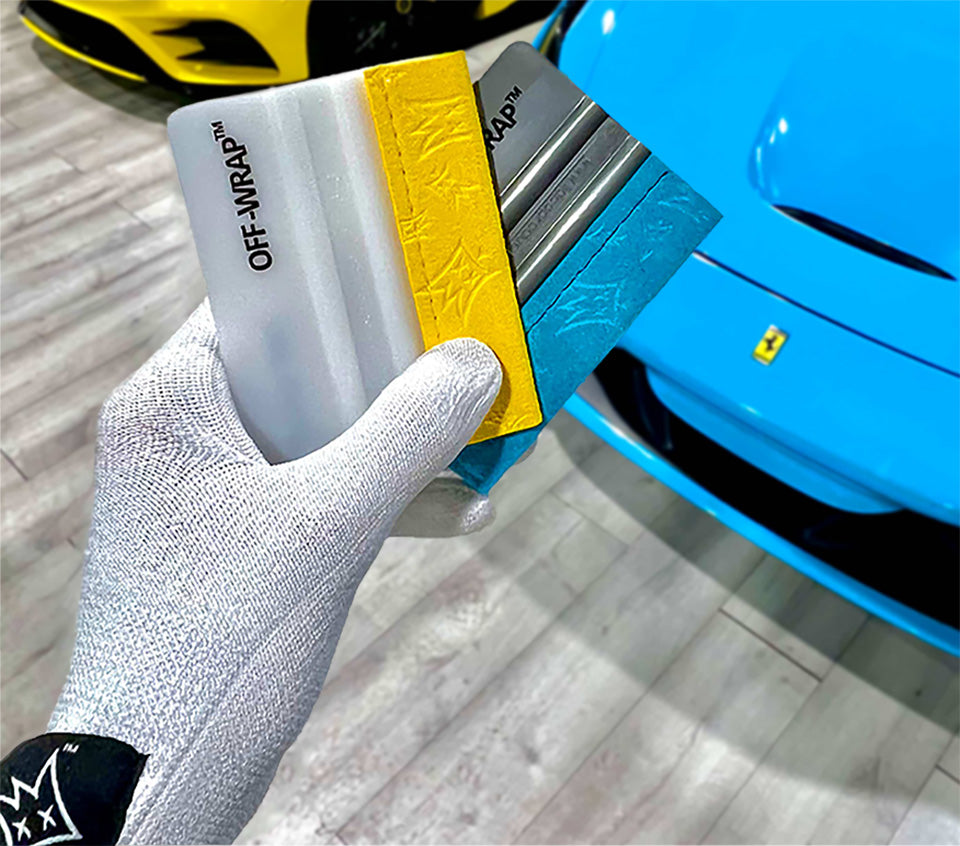
- Squeegee with felt edges
- Utility knife or blade tool
- Measuring tape
- Microfiber towels
- Isopropyl alcohol (70%)
- Cleaning supplies
- Cotton gloves
- Painter's tape
Choosing the Right Vinyl
Selecting the appropriate vinyl is crucial for achieving the desired outcome. Factors to consider include:
- Finish: Gloss, matte, satin, or textured finishes available to match aesthetic preferences.
- Durability: High-quality vinyl offers better resistance to fading, cracking, and peeling.
- Adhesive Quality: Ensures long-lasting adherence to the vehicle's surface.
Preparation for Car Wrapping
Workspace Setup
Establishing a clean, well-lit, and climate-controlled workspace is essential. Dust and contaminants can interfere with the adhesion process, leading to imperfections in the wrap.
Vehicle Preparation
- Thorough Cleaning: Wash the car to remove dirt, wax, and grease. Use isopropyl alcohol to ensure the surface is free from contaminants.
- Surface Inspection: Check for any existing paint imperfections and address them before wrapping.
- Masking: Use painter's tape to cover areas that should remain untouched, such as trim, handles, and mirrors.
Step-by-Step Car Wrapping Process
1. Measuring and Cutting the Vinyl
Accurate measurements are critical to ensure the vinyl fits the vehicle's panels seamlessly. Measure each section of the car individually, allowing extra material to account for curves and edges.
2. Applying the Vinyl
- Start with Flat Surfaces: Begin with the largest, flattest areas such as the hood and roof to build confidence.
- Positioning: Align the vinyl correctly before adhering to avoid misalignment.
- Squeegeeing: Use a squeegee to smoothly press the vinyl onto the surface, eliminating air bubbles and wrinkles.
- Applying Heat: Use a heat gun to stretch the vinyl around curves and intricate areas, ensuring a tight and conformal fit.
3. Trimming Excess Vinyl
Carefully trim the excess vinyl using a utility knife or blade tool, ensuring clean and precise edges. Pay special attention to areas around door handles, mirrors, and other protrusions.
4. Post-Application Care
-
Inspect the entire vehicle for any imperfections or remaining air bubbles.
-
Apply additional heat to any areas that need further adjustment.
-
Allow the vinyl to settle and adhere completely, avoiding immediate washing or exposure to harsh elements.
Developing Your Wrapping Skills
Start with Small Projects
Begin by practicing on smaller, less visible parts of the vehicle or on practice panels. This approach helps in building confidence and refining your techniques without the pressure of working on the entire car.
Formal Training and Resources
Enrolling in workshops or training courses can provide hands-on experience and expert guidance. Additionally, numerous online tutorials, video guides, and forums offer valuable insights and troubleshooting tips.
Continuous Practice and Learning
Car wrapping is a skill that improves with practice. Regularly working on different projects and staying updated with industry trends and new materials will enhance your proficiency and craftsmanship.
Essential Techniques and Tips
Surface Preparation
Ensuring the vehicle's surface is impeccably clean is paramount. Use isopropyl alcohol to remove any residues that could impede the vinyl's adhesion. A perfectly clean surface prevents bubbling and peeling.
Applying Heat Effectively
Using a heat gun correctly is vital for stretching and conforming the vinyl around curves. Apply heat gradually and evenly to avoid overheating, which can damage the vinyl or the vehicle's paint.
Handling Intricate Areas
Areas like mirrors, door handles, and bumpers require meticulous attention. Use smaller squeegees and precise cutting tools to ensure the vinyl fits snugly without wrinkling or bubbling.
Post-Wrapping Care and Maintenance
Inspecting the Wrap
After application, thoroughly inspect the wrap for any imperfections such as air bubbles, wrinkles, or misalignments. Address any issues immediately by lifting and repositioning the vinyl as necessary.
Cleaning and Maintenance
Maintain the wrap by washing the vehicle with mild soap and water. Avoid using harsh chemicals or automatic car washes that can damage the vinyl. Regularly inspect the wrap for signs of wear and address them promptly.
Longevity of the Wrap
With proper care, a vinyl wrap can last several years. Factors influencing longevity include the quality of the vinyl, the environment the vehicle is exposed to, and how well the wrap is maintained.
Tools and Equipment Detailed Guide
Heat Guns
Heat guns are essential for stretching and shaping the vinyl around curves. Choose a heat gun with adjustable temperature settings to provide better control over the application process.
Squeegees
Squeegees with felt edges are ideal for smoothing out the vinyl without scratching the surface. Various sizes can help in managing different areas of the vehicle efficiently.
Utility Knives
High-quality utility knives or blade tools are necessary for trimming excess vinyl precisely. Ensure the blades are sharp to make clean cuts without tearing the material.
Measuring and Cutting Tools
Accurate measuring tape and cutting tools are crucial for ensuring the vinyl fits perfectly. Precision in measuring and cutting reduces the likelihood of errors during application.
Advanced Techniques for Professional Results
Edge Finishing
Properly finishing the edges of the vinyl wrap prevents peeling and enhances the overall appearance. Use edge sealer or clear coat to secure the edges firmly.
Color Matching and Design Customization
For unique designs, customize the vinyl color and patterns to match your vision. Utilizing high-quality vinyl with vibrant colors and patterns can significantly enhance the vehicle's aesthetic appeal.
Handling Complex Curves and Angles
Mastering the art of stretching vinyl around complex curves and tight angles requires practice. Use heat effectively and work slowly to ensure the vinyl conforms perfectly without distorting.
Building a Portfolio and Professionalism
Documenting Your Work
Creating a portfolio with high-quality photos of your wrapping projects showcases your skills and attracts potential clients or employers. Include before and after images to highlight the transformation.
Seeking Certification and Training
Obtaining certification from reputable training programs can enhance your credibility as a professional wrapper. Continued education through workshops and advanced courses keeps your skills sharp and up-to-date.
Networking and Mentorship
Connecting with experienced wrappers and industry professionals provides valuable insights and opportunities for growth. Joining communities and attending trade shows can expand your knowledge and client base.
Common Challenges and Solutions
Air Bubbles and Wrinkles
Air bubbles and wrinkles are common issues during application. To prevent them, ensure the surface is thoroughly cleaned, use the squeegee effectively, and apply heat gradually to smooth out imperfections.
Vinyl Stretching and Tearing
Improper handling of the vinyl can lead to stretching or tearing. Always handle the vinyl by the edges, avoid overstretching, and use appropriate tools to maintain the integrity of the material.
Maintaining Consistent Temperature
Temperature fluctuations can affect the vinyl's flexibility and adhesion. Work in a climate-controlled environment to ensure consistent results and prevent the vinyl from becoming too brittle or excessively soft.
Conclusion
Learning to wrap cars is a rewarding endeavor that combines creativity, technical skill, and precision. By understanding the fundamentals, investing in quality tools, and practicing diligently, you can master the art of car wrapping and transform vehicles with stunning custom designs. Whether pursuing it as a hobby or a professional career, car wrapping offers endless opportunities for personalization and artistic expression.
References
Last updated February 11, 2025