
Mastering DIY Interior Storm Windows: A Comprehensive Guide to Enhanced Home Comfort and Efficiency
Unlock significant energy savings and bolster your home's insulation with easy-to-build interior storm windows.
Building your own interior storm windows is a highly effective and budget-friendly solution to improve your home's energy efficiency, reduce drafts, and enhance comfort, especially in older homes with single-pane windows. This DIY project can provide similar energy savings to replacing windows entirely, but at a fraction of the cost, making it an attractive option for homeowners looking to cut down on heating and cooling expenses.
Key Highlights of DIY Interior Storm Windows
- Cost-Effective Energy Savings: DIY interior storm windows offer significant energy efficiency improvements, potentially reducing heating and cooling bills by creating an additional insulating layer, often at a cost of less than $20 per window.
- Enhanced Comfort and Draft Reduction: By creating an airtight seal, these inserts effectively block drafts, eliminate condensation, and stabilize indoor temperatures, making your home noticeably warmer in winter and cooler in summer.
- Preservation of Home Aesthetics: Unlike exterior storm windows or full window replacements, interior storm windows are often less visible and allow you to maintain the original appearance and charm of your existing windows, particularly beneficial for historic homes.
Understanding the Benefits of Interior Storm Windows
Interior storm windows, also known as window inserts or secondary glazing, serve as an additional barrier against the elements, installed on the inside of your existing window frame. This extra layer traps a pocket of air between the original window and the storm window, creating an insulating buffer that significantly reduces heat transfer. This simple yet effective concept leads to a multitude of benefits for your home and your wallet.
Energy Efficiency and Cost Savings
One of the primary motivations for installing interior storm windows is the substantial energy savings they provide. They work by mitigating air leakage and improving the thermal performance of your existing windows. For older homes with single-pane windows, which are notorious for heat loss, adding an interior storm window can lead to dramatic improvements. In fact, installing a low-emissivity (low-e) storm window over a single-pane window can yield similar utility bill reductions as replacing the window with a new, energy code-level window, but at approximately one-third of the cost. Some studies even suggest a 15-degree temperature jump on the surface when these frames are installed.
This improved insulation means less heat escapes in winter and less heat enters in summer, leading to lower energy consumption for heating and cooling. DIY projects can keep material costs down to under $20 per window, making the payback period for energy savings remarkably short.
Enhanced Indoor Comfort and Noise Reduction
Beyond energy savings, interior storm windows significantly boost indoor comfort. They effectively eliminate drafts that often seep through older, less insulated windows, preventing cold spots in winter and hot spots in summer. By creating an airtight seal, they stabilize indoor temperatures, making your living space consistently more comfortable year-round. Additionally, the extra layer of glazing can help reduce outside noise, contributing to a quieter and more peaceful indoor environment.
Preserving Architectural Integrity
For owners of historic or older homes, maintaining the original aesthetic is often a top priority. Unlike exterior storm windows that can sometimes detract from a building's external appearance, interior storm windows are less visible and allow you to preserve the vintage charm of your existing windows. This makes them an ideal solution for those who want modern energy efficiency without compromising the historical integrity of their property.
Choosing the Right Materials and Design
The success of your DIY interior storm window project hinges on selecting appropriate materials and a suitable design. Several options are available, each with its own advantages and considerations.
Frame Materials
Wood is a popular choice for frames due to its ease of workability and aesthetic appeal. Common choices include 1.5" wide x 0.5" thick pine or 1x2 pine boards. For added durability and resistance to warping, some prefer 5/4 Sapele, a type of wood known for its stability. Frames can be assembled using various joinery methods, including pocket screws, mortise and tenon joints, dominos, dowels, or biscuits.
Alternatively, pre-made storm screen framing from a local home store can be used, which often snaps together at the corners for simpler assembly. For a more robust, long-lasting solution, consider PVC frames.
Glazing Options
The transparent material that forms the barrier is crucial. Here are the most common options:
- Plexiglass (Acrylic): A popular choice due to its light weight, durability, and ease of cutting. It's readily available at hardware stores like Lowe's. Magnetic interior storm window kits often use Plexiglass, offering an easy-to-build solution.
- Glass: Offers superior clarity and scratch resistance compared to plastic options. However, it's heavier and requires more precise handling and cutting, often needing a local glass shop to cut it to size.
- Window Insulation Film (Shrink Film): The most budget-friendly option, typically found in window insulating kits. It's lightweight and easy to work with, creating a double-layer insulation effect when applied to both sides of a wooden frame. While effective, some users may find the visual clarity less desirable than glass or Plexiglass. Heavy-duty plastic vinyl sheets are also available, designed for multiple uses.
- Low-Emissivity (Low-E) Coating: Regardless of the glazing material, applying a low-E film can further enhance efficiency by reflecting heat back into the house in winter and keeping it out in summer.
Sealing and Installation Methods
Achieving an airtight seal is paramount for the effectiveness of interior storm windows. Various methods can be employed:
- Weatherstripping: Applying weatherstripping around the edge of the frame creates a flexible seal that fills gaps and allows for minor measurement errors. This is crucial for stopping drafts.
- Two-sided Tape and Staples: For plastic film options, two-sided tape and staples can be used to secure the film to the frame.
- Magnetic Strips: Some kits use magnetic strips attached to the window frame and the storm window for a tight, removable seal.
- Glazing Points and Putty: When using glass, glazing points (small metal clips) secure the glass into the rabbet of the frame, followed by window glazing putty to create an airtight, watertight seal.
- Sash Stops and Rubber Weatherstripping: For wooden frames, ensuring the storm presses against a sash stop with rubber weatherstripping helps form an effective seal.
Step-by-Step Guide to Building Your Own Interior Storm Window
The process of building interior storm windows is manageable for most DIY enthusiasts. Here's a generalized step-by-step guide:
Step 1: Precise Measurement is Key
Accurate measurements are critical for a snug fit. Measure the width and height of your window opening in several places (top, middle, bottom for width; left, middle, right for height). Use the smallest measurements to ensure the storm window will fit without binding. Some guides suggest subtracting a small amount (e.g., 1/4" or 1/2") from your measurements to allow for expansion and contraction of the wood, and to facilitate easier installation and removal. If your windows are significantly out of square, build the storm to the largest measurements and then scribe and trim the shorter areas after the frame is constructed.
Step 2: Cutting and Assembling the Frame
Using your chosen wood (e.g., 1x2 select pine boards), cut the pieces to the dimensions determined in Step 1. Assemble the frame using pocket hole screws, corrugated fasteners, or traditional joinery like mortise and tenon. Ensure the frame is perfectly square, adjusting as needed with a belt sander or block plane if the opening is slightly out of square.
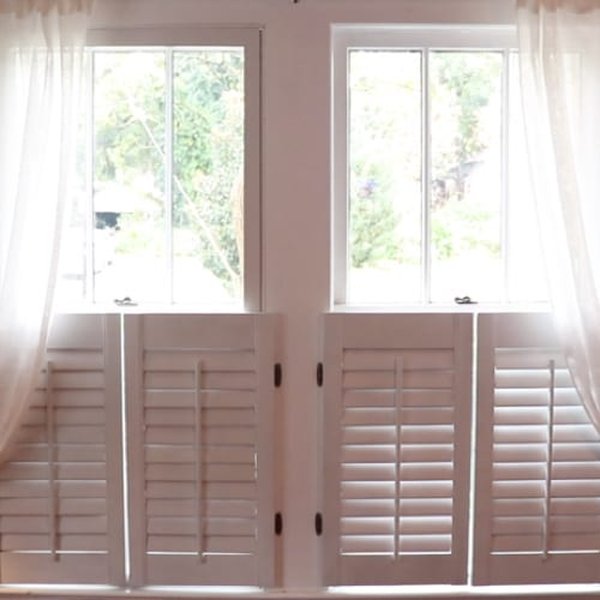
An example of a wooden frame for a DIY interior storm window.
Step 3: Preparing for Glazing (Cutting Rabbets)
If you're using glass or thicker Plexiglass, you'll need to cut rabbets (recessed grooves) along the inside edge of the frame. This creates a lip for the glazing to sit in securely. This step is often skipped if using thin shrink film or magnetic kits that attach the glazing directly.
Step 4: Installing the Glazing
- For Plexiglass or Glass: Carefully place the cut Plexiglass or glass pane into the rabbet. Secure it with glazing points spaced evenly around the perimeter. Apply window glazing putty along the edges to create an airtight seal between the glazing and the frame.
- For Shrink Film/Plastic Sheeting: Attach the shrink film to the frame using double-sided tape, ensuring it's taut. You can also use a rubber spline or special channels for a more secure fit. Some designs call for applying film to both sides of the frame to create a double-layer insulation effect.
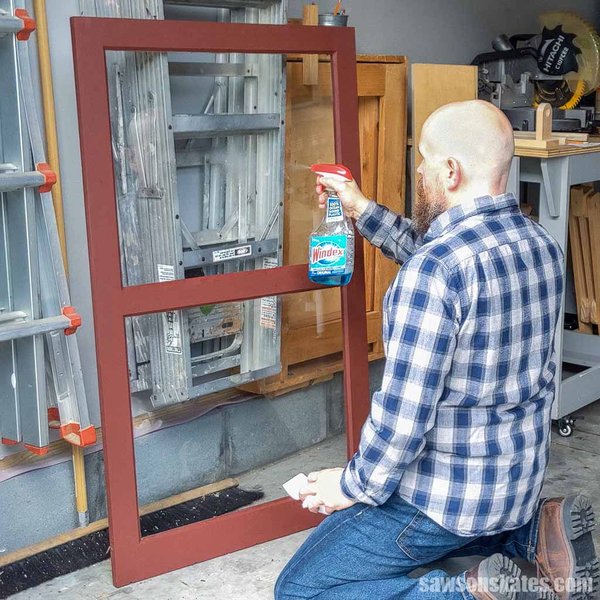
A finished wooden storm window with installed glazing, ready for sealing.
Step 5: Applying Weatherstripping and Pull Tabs
Apply weatherstripping around the exterior edge of your storm window frame. This creates a tight seal against the existing window frame or interior stops, preventing air leakage. Consider adding pull tabs (e.g., made from folded clear packing tape or small handles) to make it easier to install and remove the storm window, especially for seasonal use.
Step 6: Installation and Sealing
Position the completed storm window into the opening. It should fit snugly but not be so tight that it's difficult to install or remove. If necessary, use a belt sander or block plane to lightly trim any areas that bind. The weatherstripping should compress slightly to create an effective seal.
Video Tutorial for Visual Learners
For those who prefer a visual guide, this video provides a detailed walkthrough on building interior storm windows:
A step-by-step tutorial on building easy interior storm windows.
Considerations for Different Window Types and Situations
While the general steps apply, specific considerations may arise depending on your existing window type and home structure.
Out-of-Square Windows
Many older homes have windows that are not perfectly square. In such cases, measure the largest dimensions of the opening and build your storm window to those measurements. After the frame is built, dry-fit it and carefully scribe and trim (using a belt sander or block plane) any portions that need to be shaved down for a perfect fit.
Placement and Obstructions
Interior storm windows are typically installed within the window well, often on top of the interior stops, requiring about 3/4" of unobstructed flat space around your window. If you have blinds or shades within the window well, they might need to be removed or repositioned onto the casing or out of the way. Any existing hardware that obstructs the storm window may also need to be relocated.
Fixed vs. Removable Systems
Some interior storm windows are designed to be installed year-round, while others are removable for seasonal use or cleaning. Consider your preference and the level of accessibility you desire when choosing your design and attachment method.
Addressing Condensation
While interior storm windows generally help eliminate condensation by preventing humid room air from reaching the cold primary window, persistent condensation can indicate excessive indoor humidity or an imperfect seal. If condensation occurs, try improving the seal of the storm window. If it continues, you might consider making the exterior window slightly leakier (e.g., by slightly gapping the lower sash at the sill or removing a lower sash sill gasket) to allow condensation to drain. Controlling indoor sources of humidity is also essential.
DIY vs. Pre-made Kits vs. Professional Installation
When considering interior storm windows, you have three main avenues:
DIY from Scratch
This is the most budget-friendly option, allowing for maximum customization and often costing less than $20 per window for materials. It requires basic woodworking skills and tools, and a commitment of time. This approach is ideal if you enjoy hands-on projects and want full control over the materials and aesthetics.
DIY Kits
Several companies offer DIY interior storm window kits, such as Window Savers or RuxEco. These kits typically include pre-cut frames, Plexiglass or heavy-duty plastic sheets, and necessary hardware, often with magnetic or adhesive backing for easy assembly and installation. They offer a balance of affordability and convenience, reducing the need for extensive tools and cutting. These kits can cost hundreds of dollars for an average window, but are still significantly cheaper than full replacements.
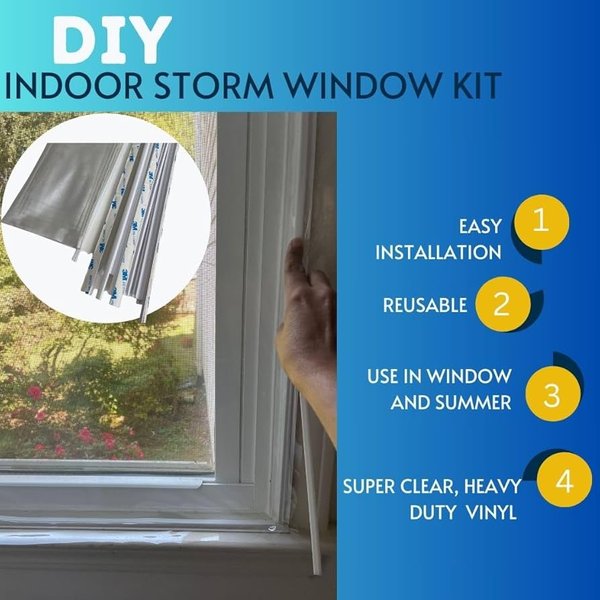
An example of a DIY interior storm window kit, offering convenience and ease of assembly.
Professional Installation
If DIY isn't your preference, professional installation services are available. While more expensive, this ensures a precise fit and professional finish without the need for personal labor or specialized tools. However, quotes for custom storm inserts can be significantly higher, sometimes exceeding $3000 for multiple windows.
The choice depends on your budget, skill level, and desired level of involvement. DIY options offer substantial savings and a rewarding personal achievement, while professional services provide convenience and guaranteed results.
Comparative Analysis of Storm Window Solutions
To better understand the strengths of DIY interior storm windows, let's compare various options using a radar chart. This chart will evaluate solutions based on factors like cost, energy efficiency, ease of installation, aesthetic impact, and sound insulation. Values are relative to each other, with higher scores indicating better performance in that category.
As the radar chart illustrates, DIY interior storm windows, particularly those made with wood and Plexiglass or simple shrink film kits, score highly in cost-effectiveness and offer a good balance across other attributes. While professional full window replacements might offer slightly better energy efficiency and sound insulation, their significantly higher cost makes them a less accessible option for many homeowners. Traditional exterior storm windows offer some benefits but can have aesthetic drawbacks and may still allow drafts if weep holes are present.
Comparative Overview of Window Insulation Options
To further contextualize the various approaches to insulating your windows, the following table provides a succinct overview of common solutions, highlighting their characteristics, pros, and cons.
| Option | Description | Pros | Cons |
|---|---|---|---|
| DIY Interior Storm Windows (Wood/Plexiglass) | Custom-built frames with Plexiglass or glass installed on the inside of existing windows. | High energy savings, aesthetic preservation, good sound insulation, customizable, cost-effective. | Requires basic woodworking skills, more time-consuming than kits. |
| DIY Interior Storm Window Kits (Shrink Film/Magnetic) | Pre-fabricated kits with plastic film or magnetic Plexiglass panels for easy assembly and installation. | Very low cost, simple installation, effective draft stopping, reusable (some kits). | Plastic film may have less clarity, less durable than rigid panels, aesthetic might be less refined. |
| Exterior Storm Windows | Panels installed on the outside of existing windows, usually with an aluminum or wood frame. | Good energy efficiency, protection from elements, can be permanently mounted. | May detract from external appearance, requires exterior work/ladders, weep holes can cause drafts. |
| Window Film (Applied directly to glass) | Thin film applied directly to the existing window pane. | Very inexpensive, easy to apply, improves insulation. | Less insulating than a full storm window, can be temporary, may not block significant drafts. |
| Full Window Replacement | Removing old windows and installing new, high-performance double or triple-pane units. | Maximum energy efficiency, modern aesthetics, low maintenance, significantly improved sound insulation. | Very high cost, disruptive installation, may alter historic aesthetics. |
Frequently Asked Questions (FAQ)
What is the main benefit of interior storm windows compared to exterior ones?
Can I use interior storm windows on any type of window?
How much money can I save by installing DIY interior storm windows?
Do I need special tools to build interior storm windows?
How do I ensure a good seal and prevent air leaks?
Conclusion
DIY interior storm windows represent an intelligent and accessible solution for improving home energy efficiency and comfort. By strategically adding an insulating layer to your existing windows, you can significantly reduce drafts, stabilize indoor temperatures, and achieve substantial savings on your heating and cooling bills, all while preserving the architectural integrity of your home. Whether you opt for a full build from scratch or a convenient kit, this project offers a rewarding path to a more comfortable and sustainable living space.
Recommended Further Exploration
- Explore advanced techniques for sealing drafty windows beyond storm windows.
- Delve into the benefits and application of low-emissivity coatings on windows.
- Understand the insulation values (R-values) of different window types.
- Learn essential maintenance tips for preserving historic wood windows.
References
Last updated May 21, 2025